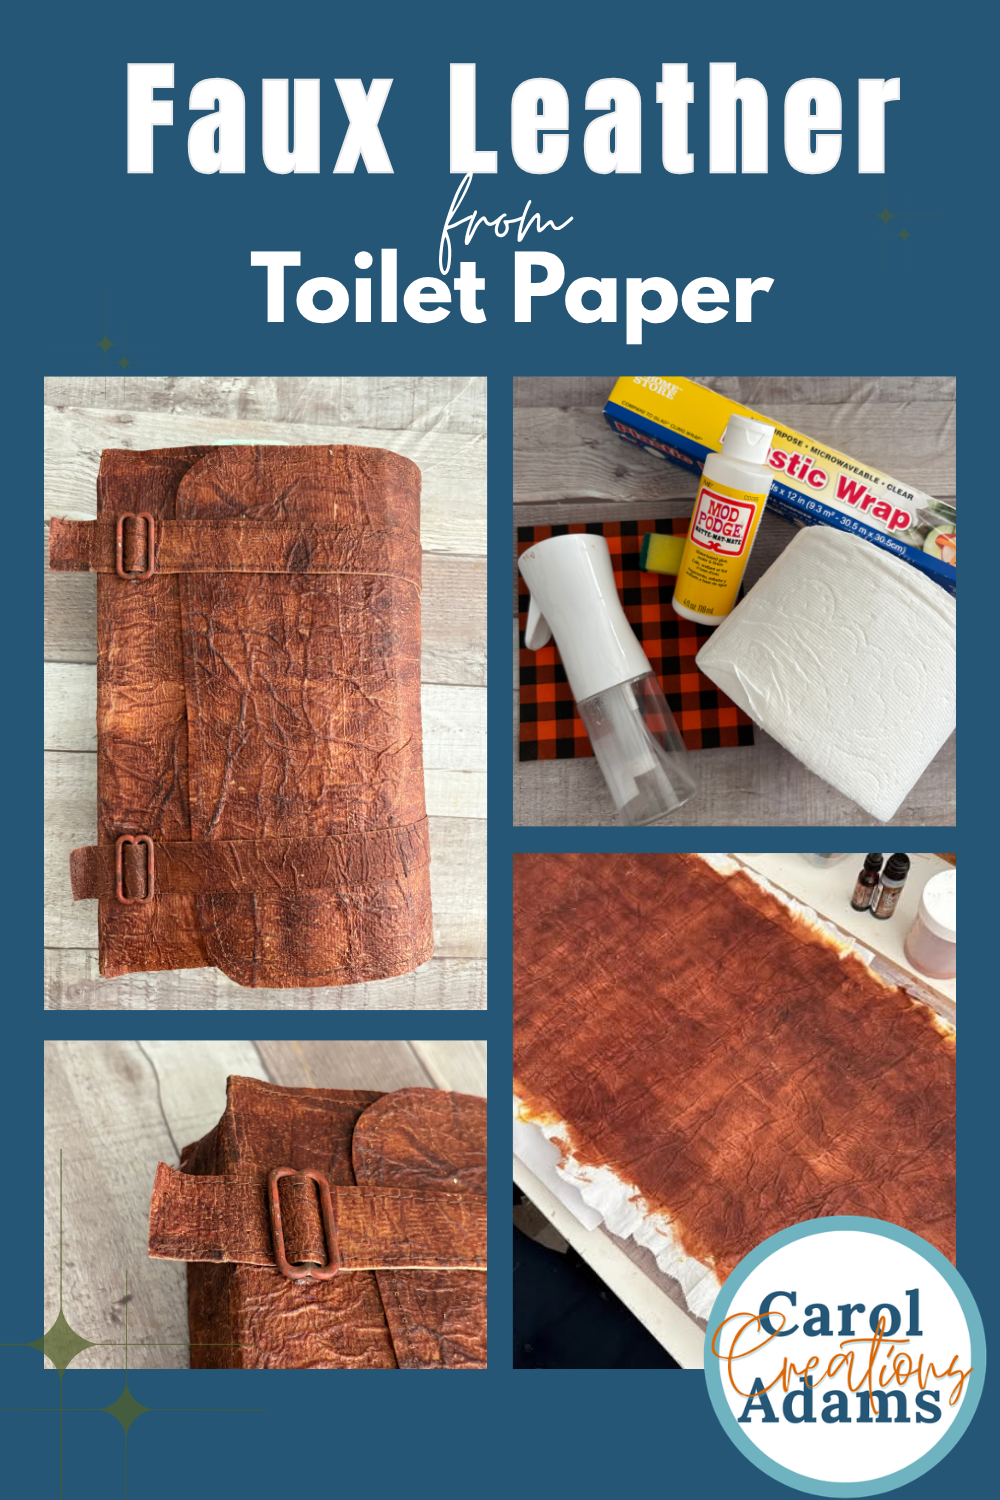
DIY Faux Leather Travel Journal Cover Using Toilet Paper!
An Easy Mixed Media Tutorial
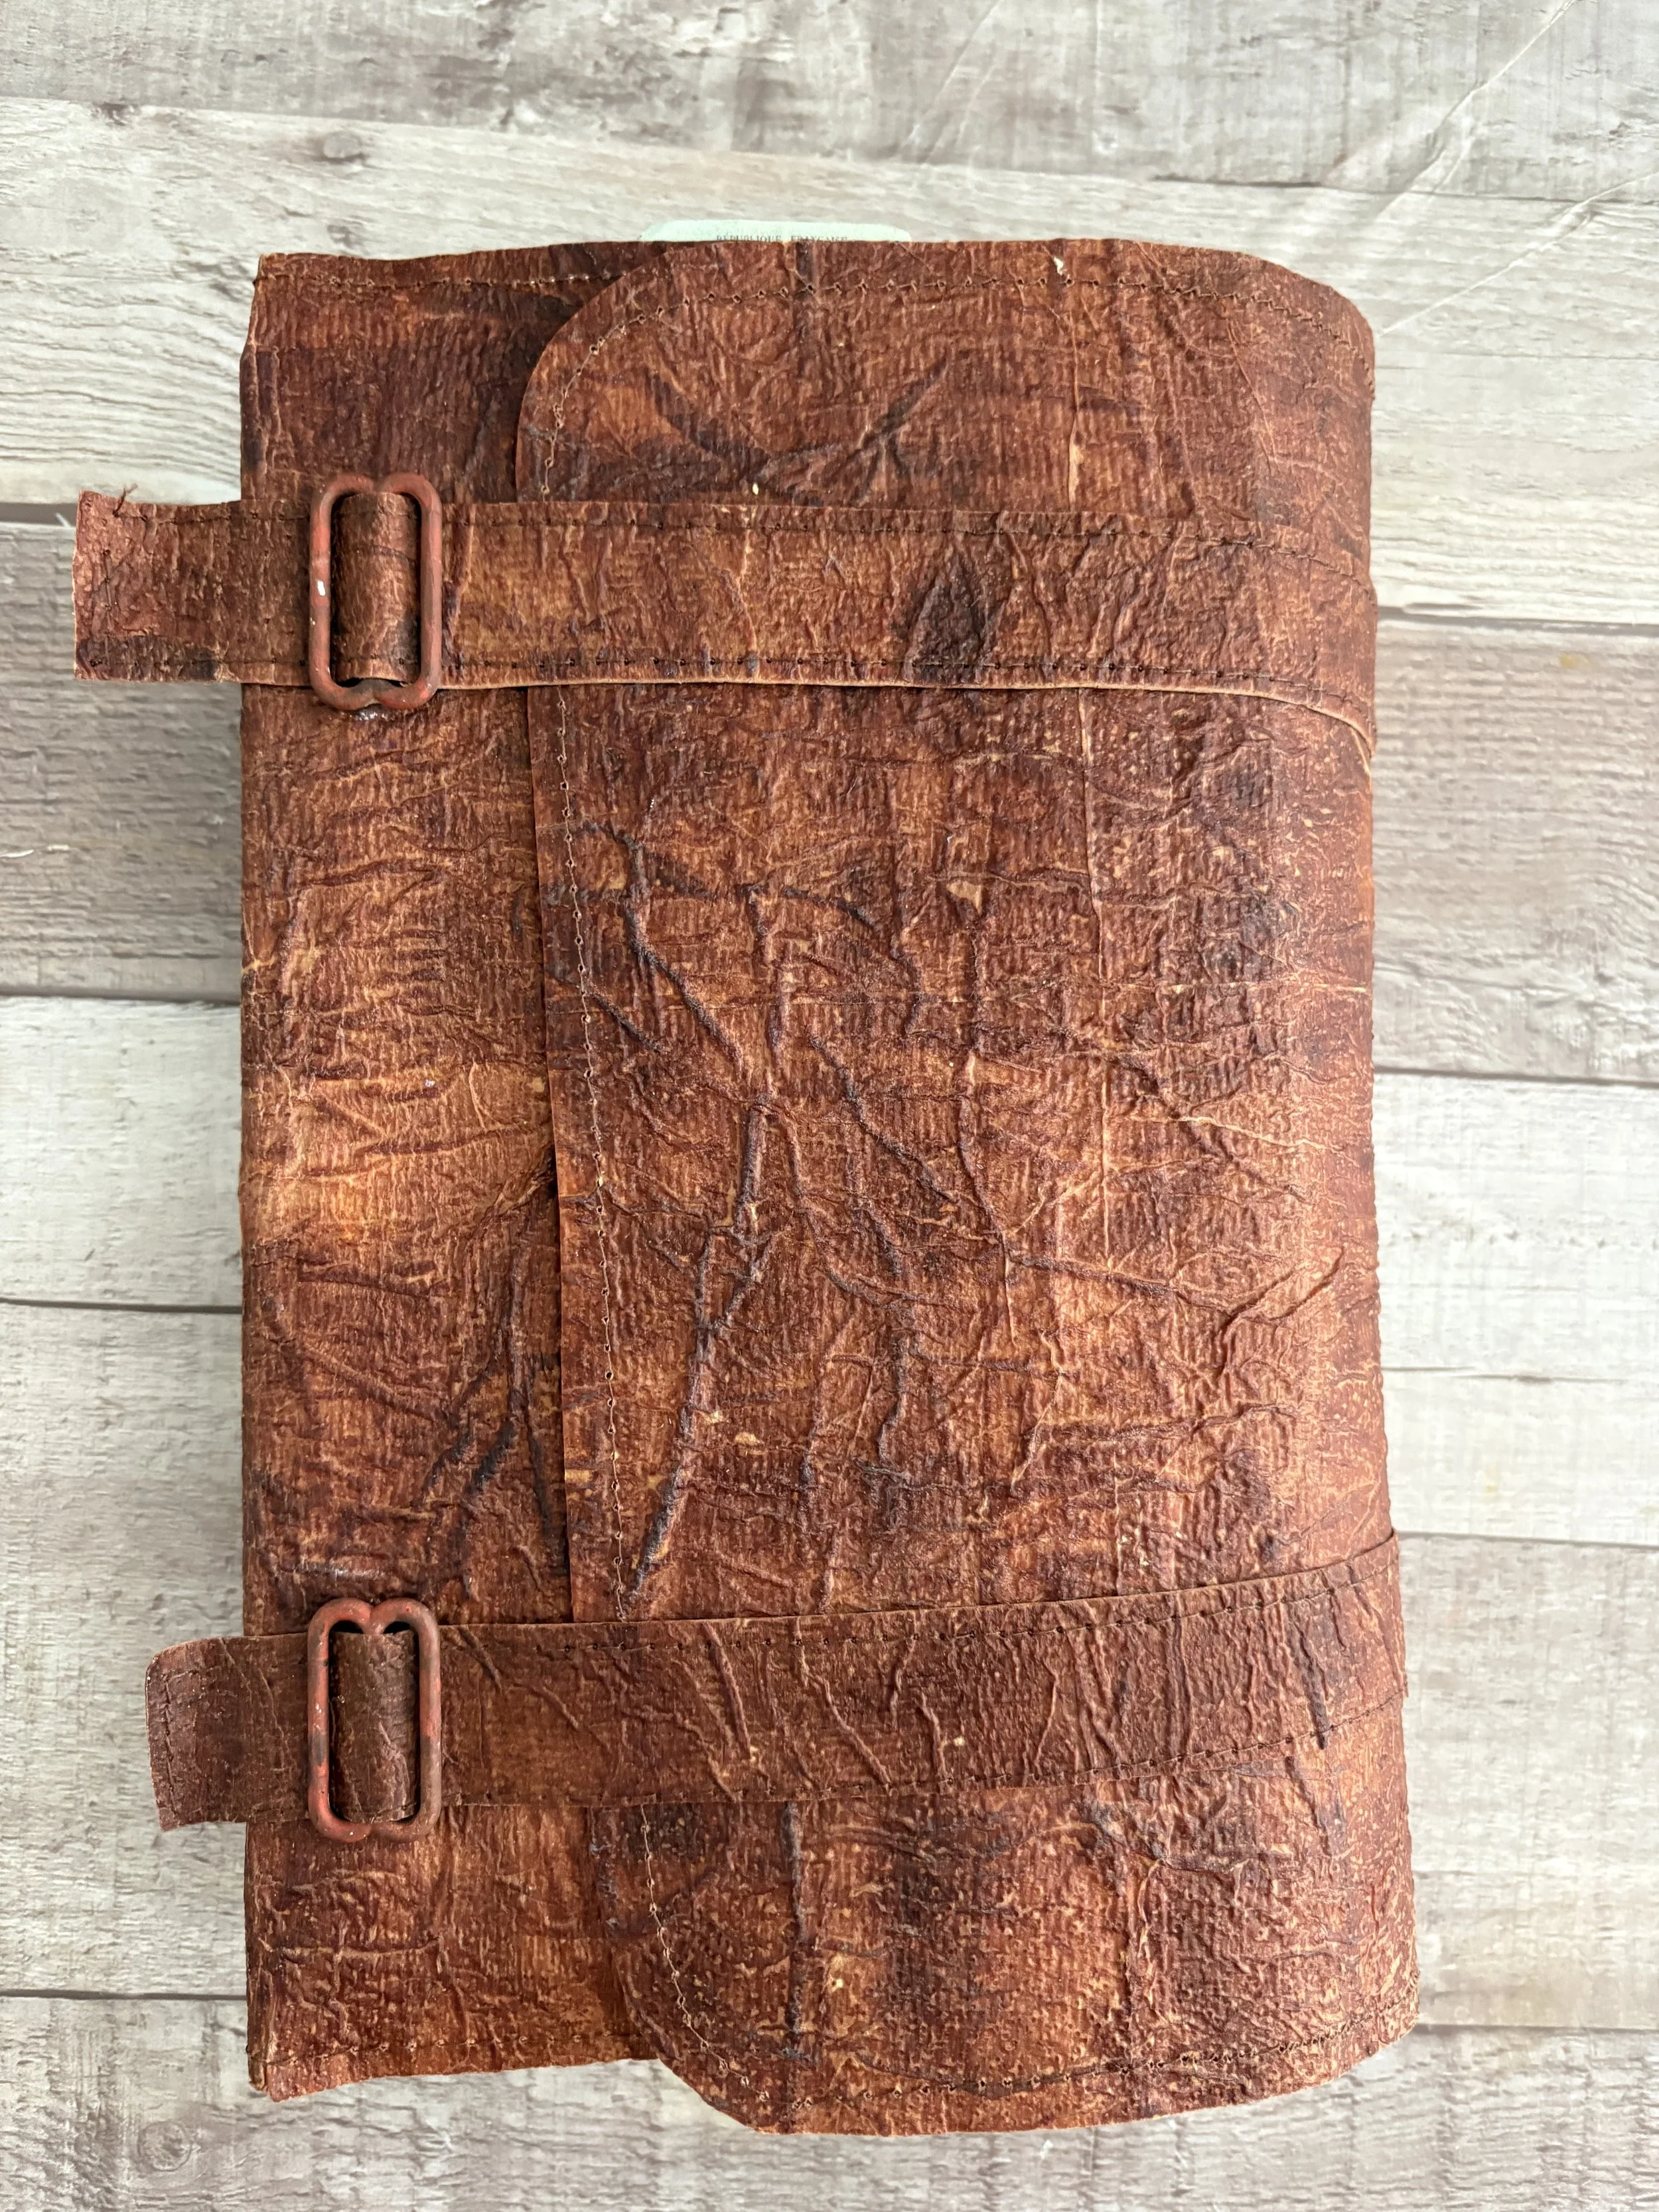
Yes. You read that correctly. We are making faux leather out of toilet paper and before you start questioning my crafting sanity, stick with me!
Before leaving for a 10-day tour of Ireland, I knew I wanted to make a travel journal that I could take along with me. I wanted somewhere to jot down memories from our trip and tuck away all those little treasures you collect while traveling—postcards, brochures, maps, tickets, receipts, photographs and other bits and pieces that might otherwise end up forgotten in the bottom of a suitcase.
But, of course, I couldn't just grab an ordinary notebook. I'm a crafter! I wanted to make my travel journal. And that's how I ended up making a faux leather journal cover out of one of the most unlikely craft supplies imaginable:
Toilet paper!
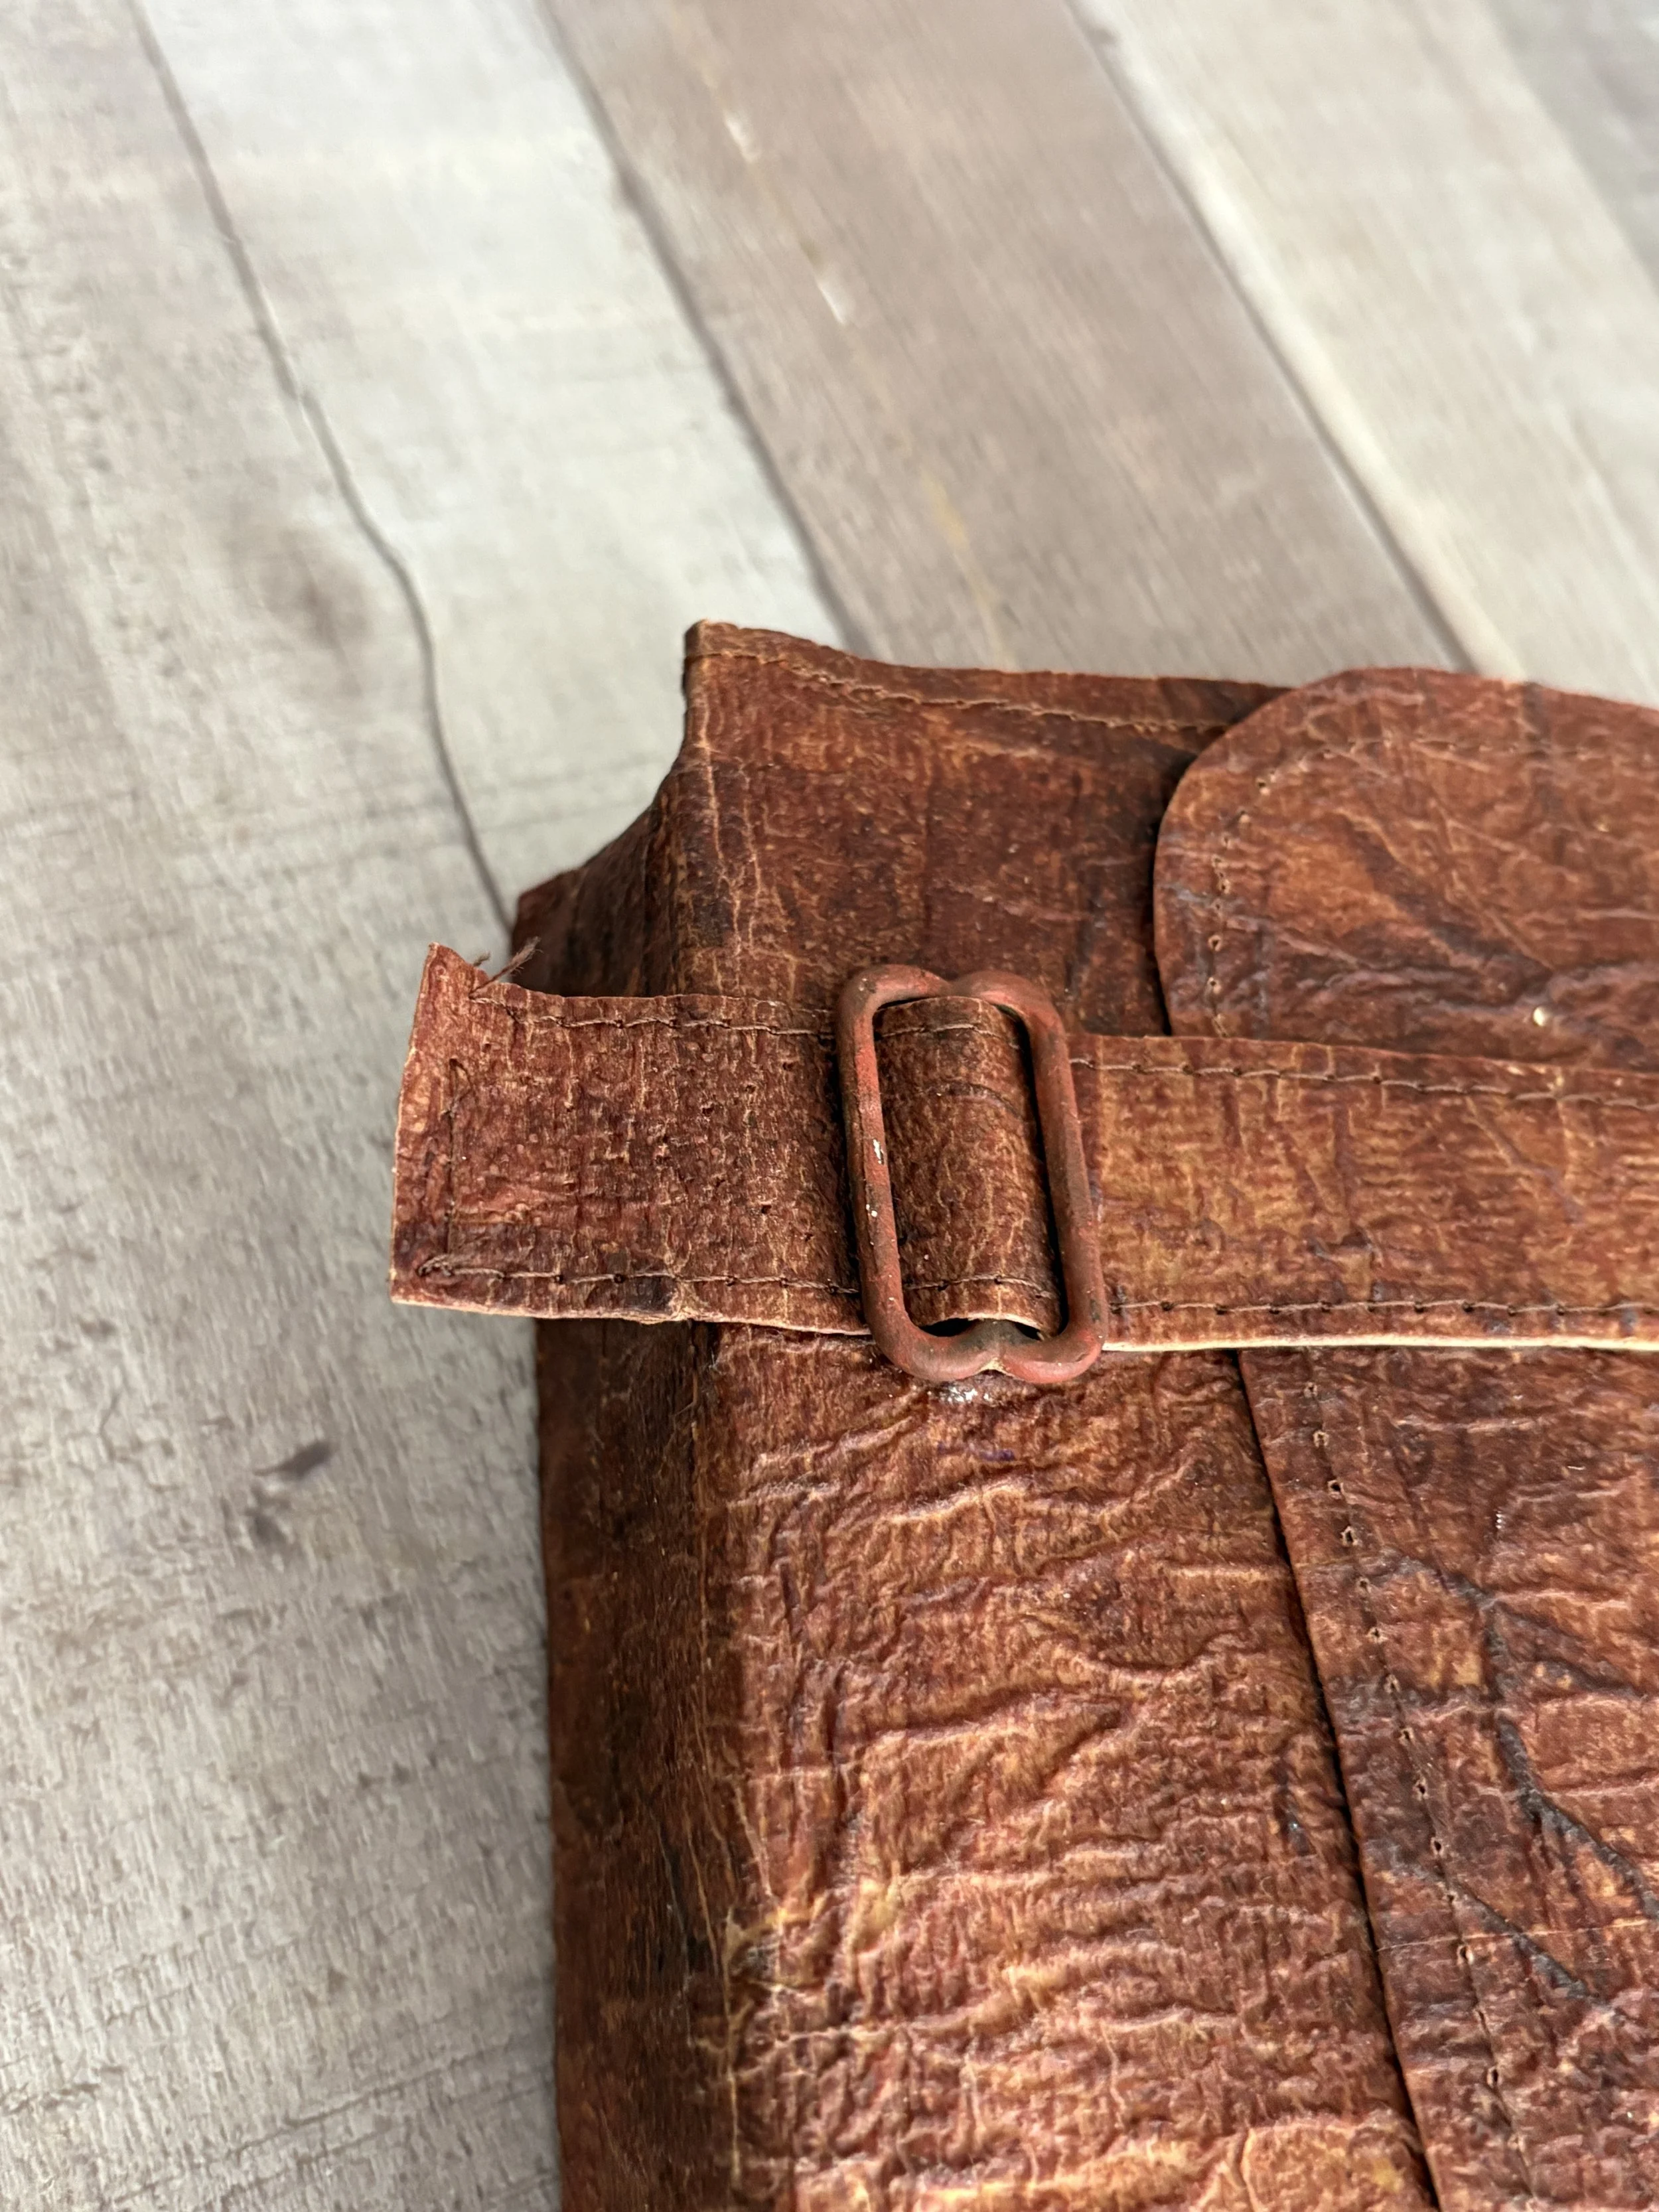
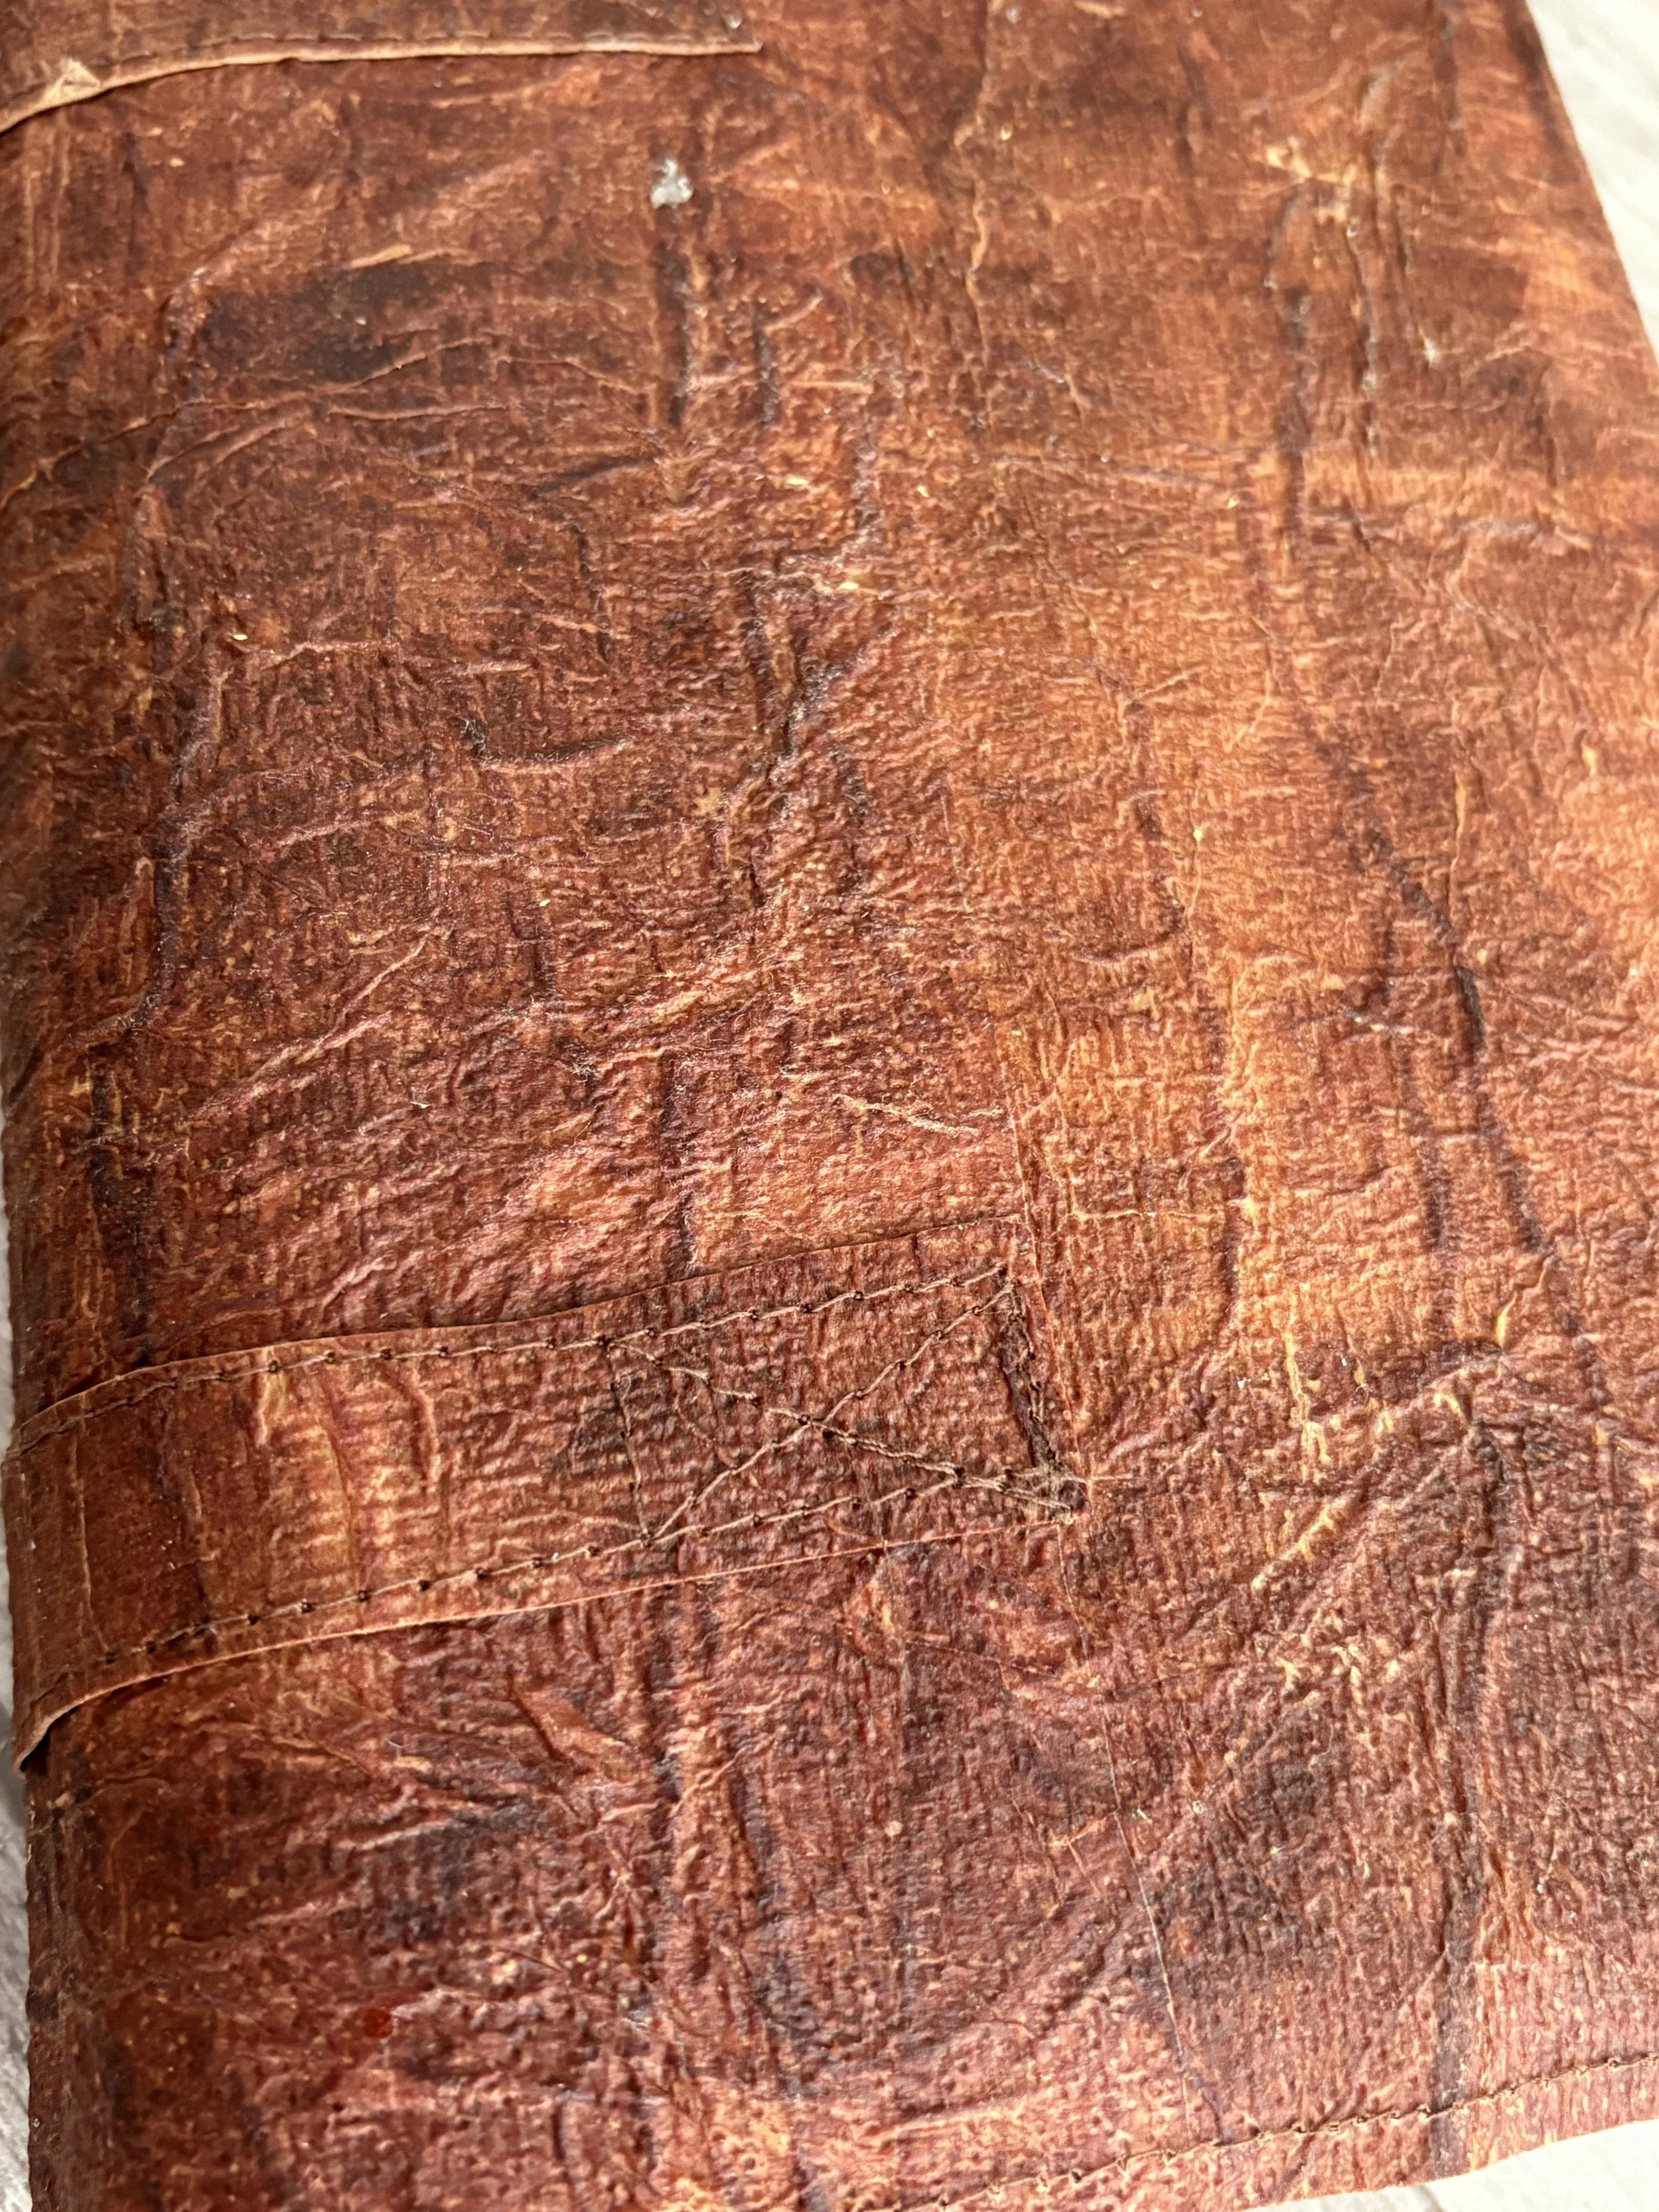
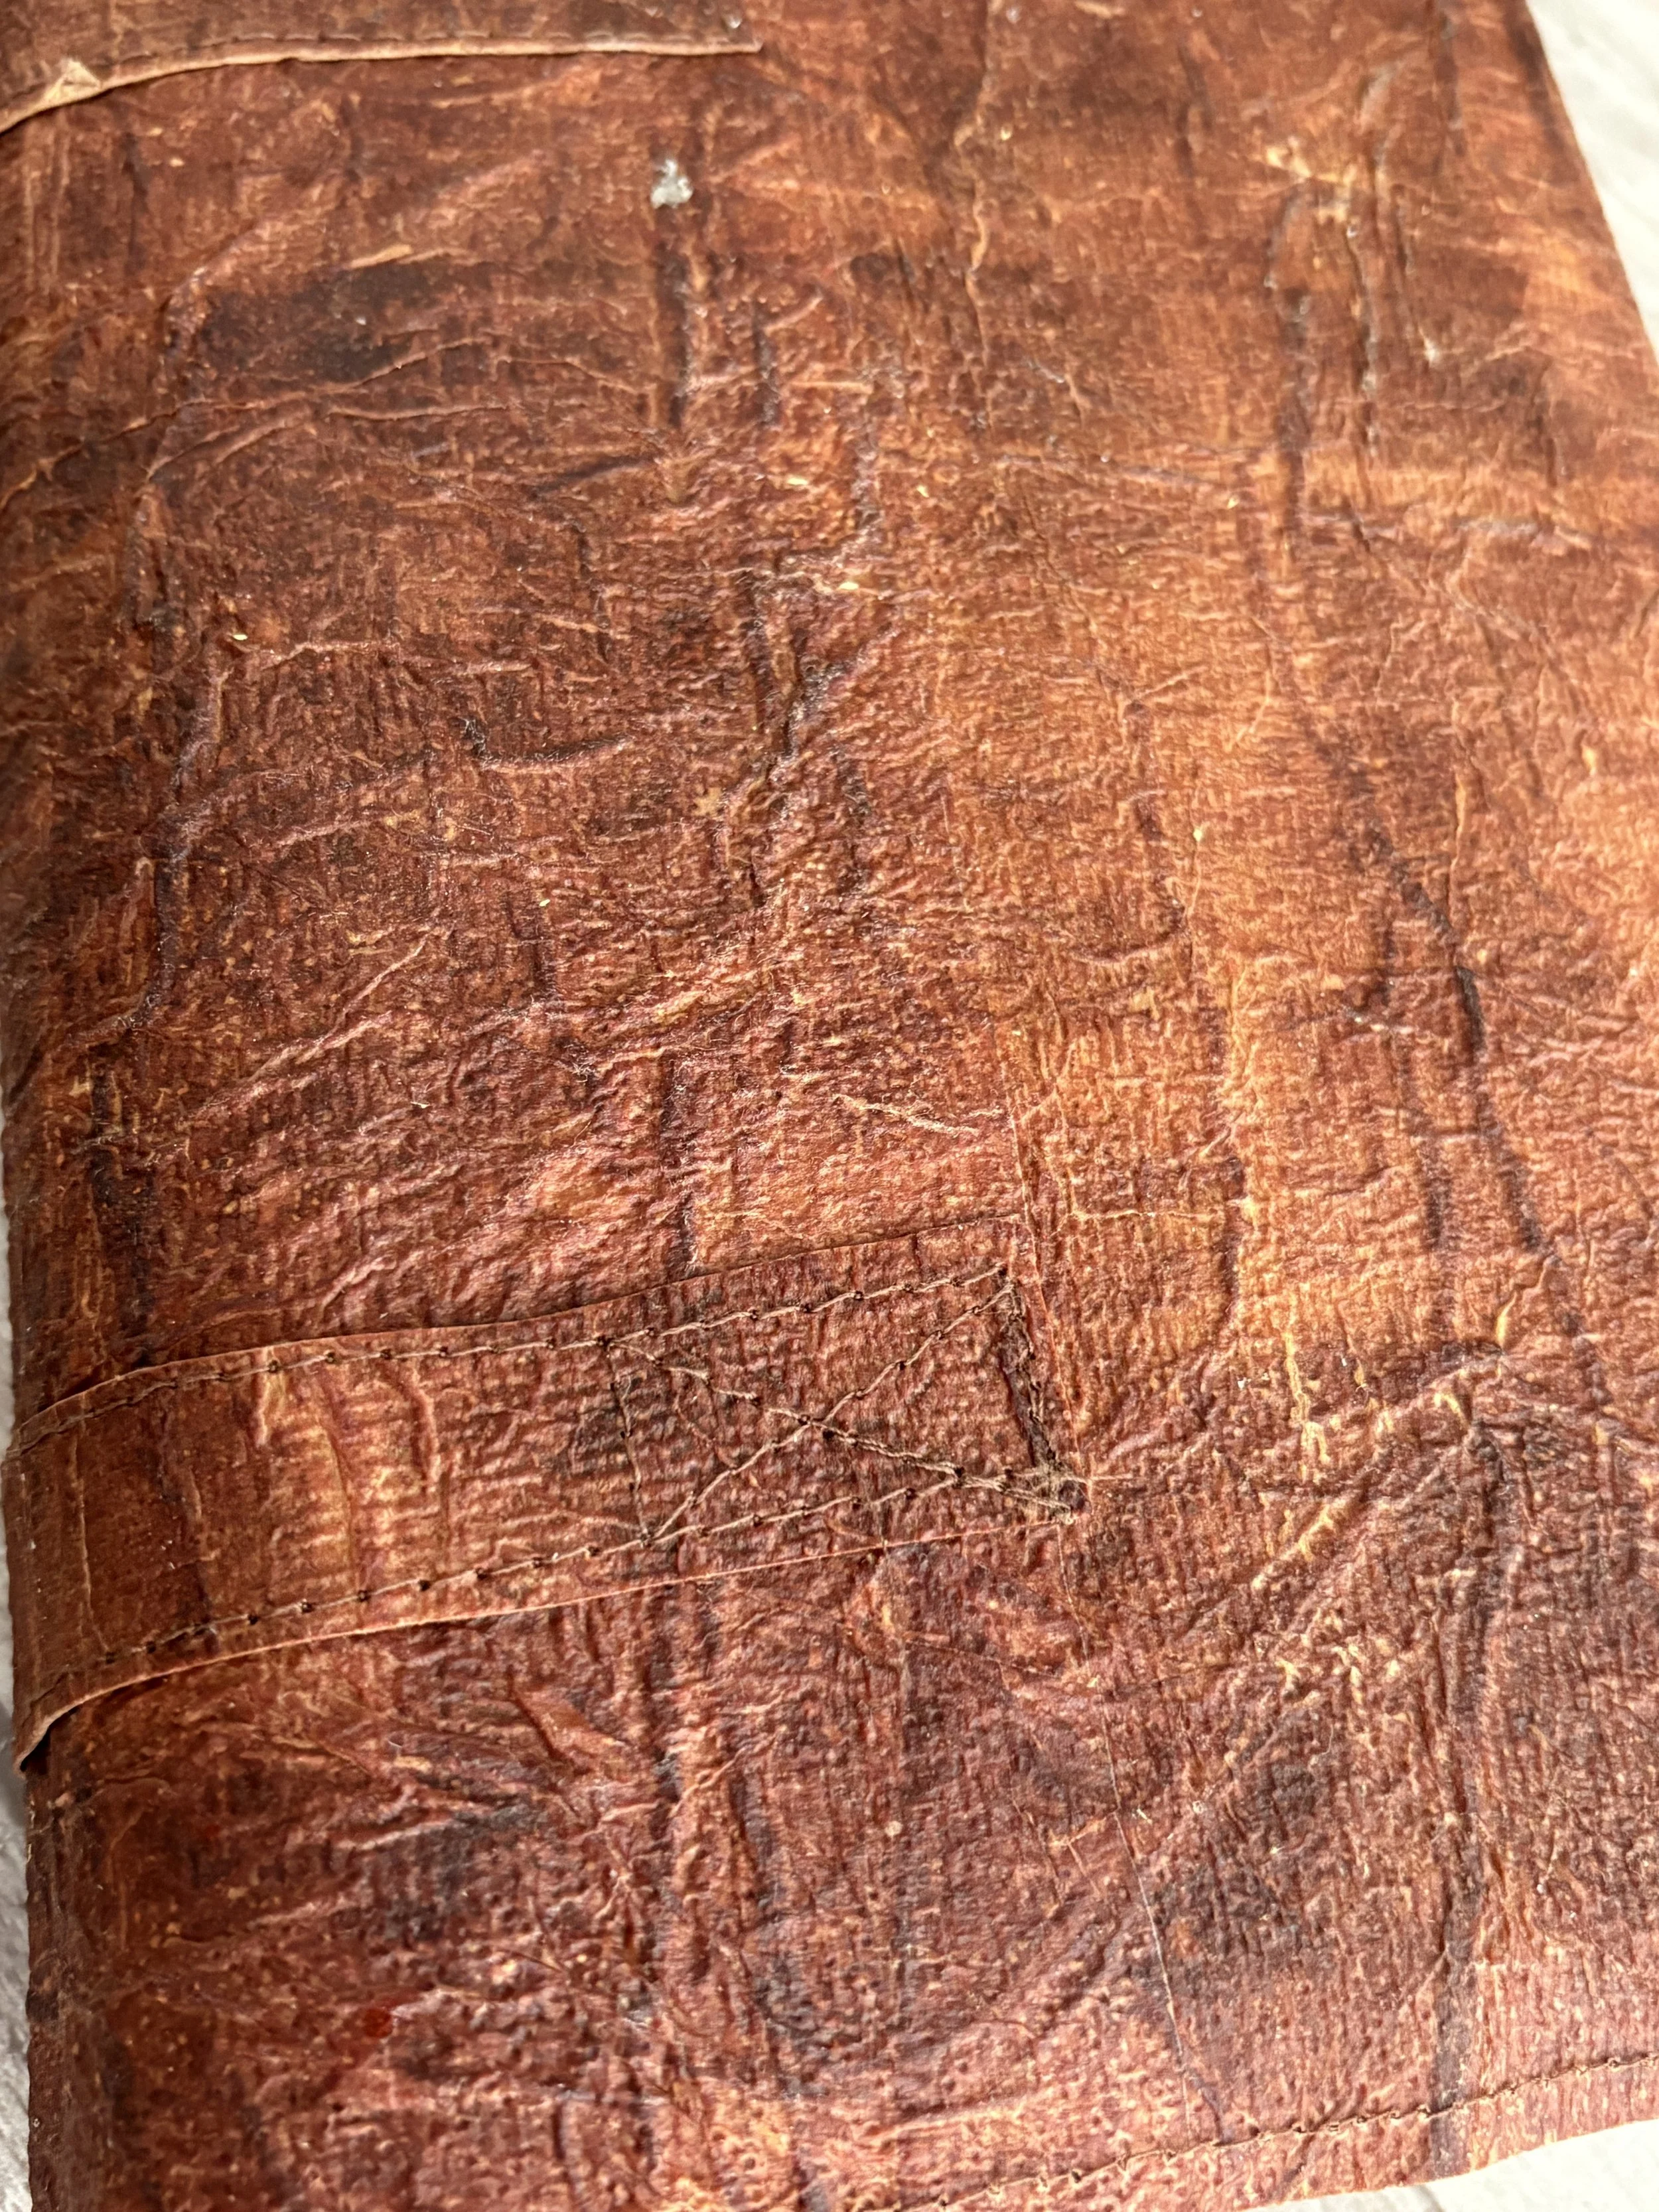
The finished material has wonderful wrinkles, texture and imperfections that give it the appearance of aged leather. Even better, you don't need expensive supplies or special equipment to make it.
So grab a roll of toilet paper and let's make some "leather!"
Supplies You'll Need
You only need a handful of household and craft supplies:
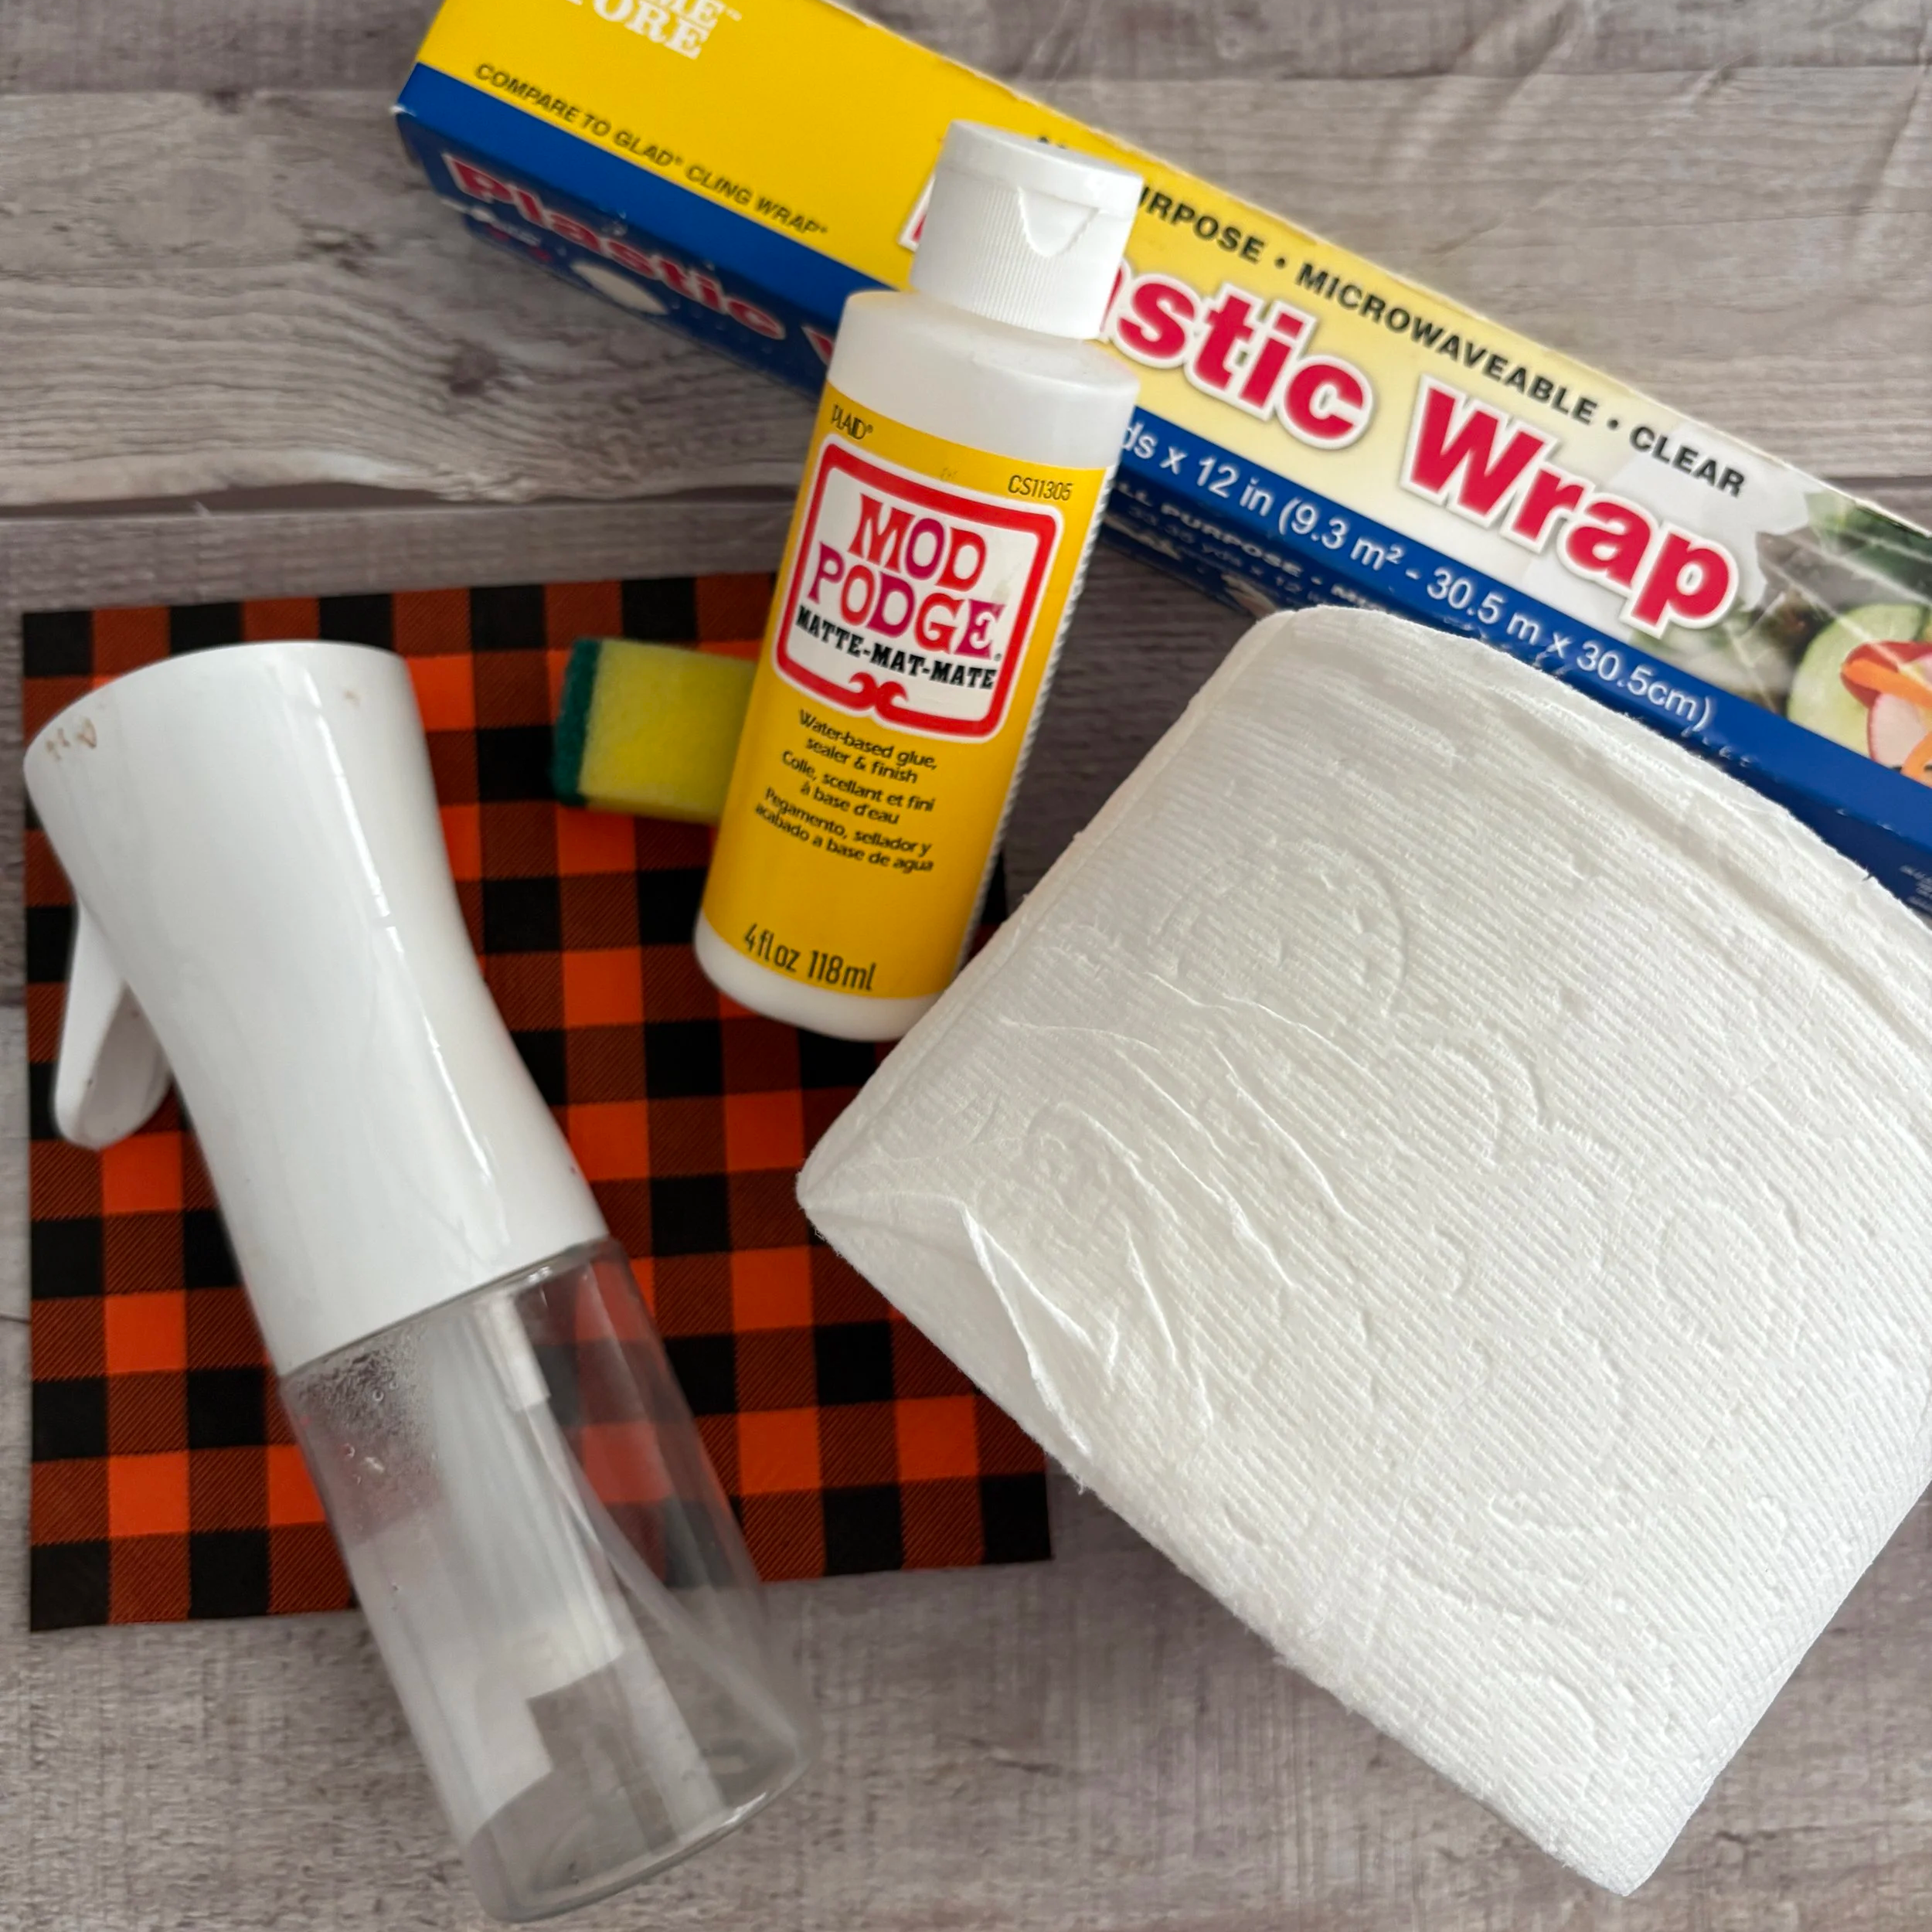
Toilet paper — don't use the really cheap stuff! You need something sturdy enough to withstand all the water and glue without immediately falling apart.
Water
Mod Podge or craft glue
Spritz bottle
Decorative napkin
Freezer paper, plastic tablecloth or another nonstick surface to protect your workspace
Container for mixing
Sponge
Plastic wrap
Plastic gloves
Optional: Liquid Distress Ink or another water-based colorant
A little warning before we begin: This project gets messy! That's part of the fun, but I definitely recommend protecting your work surface and wearing plastic gloves—especially if you decide to add brown ink or any other color to your glue mixture like I did.
Step One: Protect Your Workspace
Cover your work surface with freezer paper, a plastic tablecloth or another material that won't stick to the wet glue mixture.
Your faux leather will need to remain on this surface until it is completely dry, so make sure you're working somewhere it can stay undisturbed overnight.
In other words, the kitchen table might not be the best choice if your family expects dinner!!!
Step Two: Make Your Glue Mixture
In a container, mix approximately:
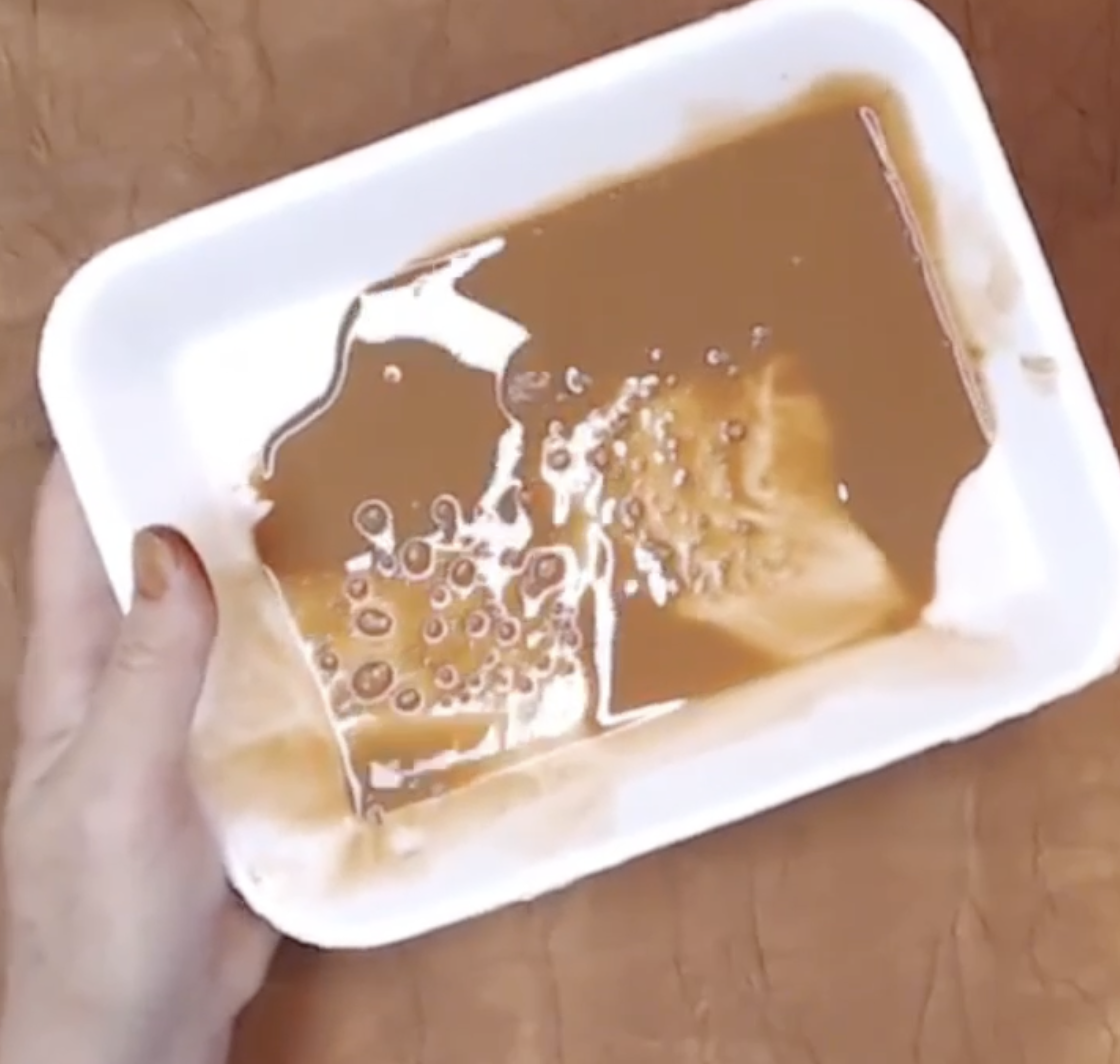
½ water + ½ Mod Podge or craft glue
You don't have to get out the measuring cups and make this scientifically precise. You're simply looking for a thinned glue mixture that can easily soak into the toilet paper.
Because I wanted my finished faux leather to have a rich brown, aged-leather appearance, I also added some liquid Distress Ink directly to my glue mixture. This step is optional, but I loved the color it gave my finished journal cover.
You could experiment with different shades depending on the look you're trying to achieve. That's one of the things I love about this technique—no two pieces of faux leather will ever look exactly alike.
Step Three: Create Your First Layer
Now comes the toilet paper!
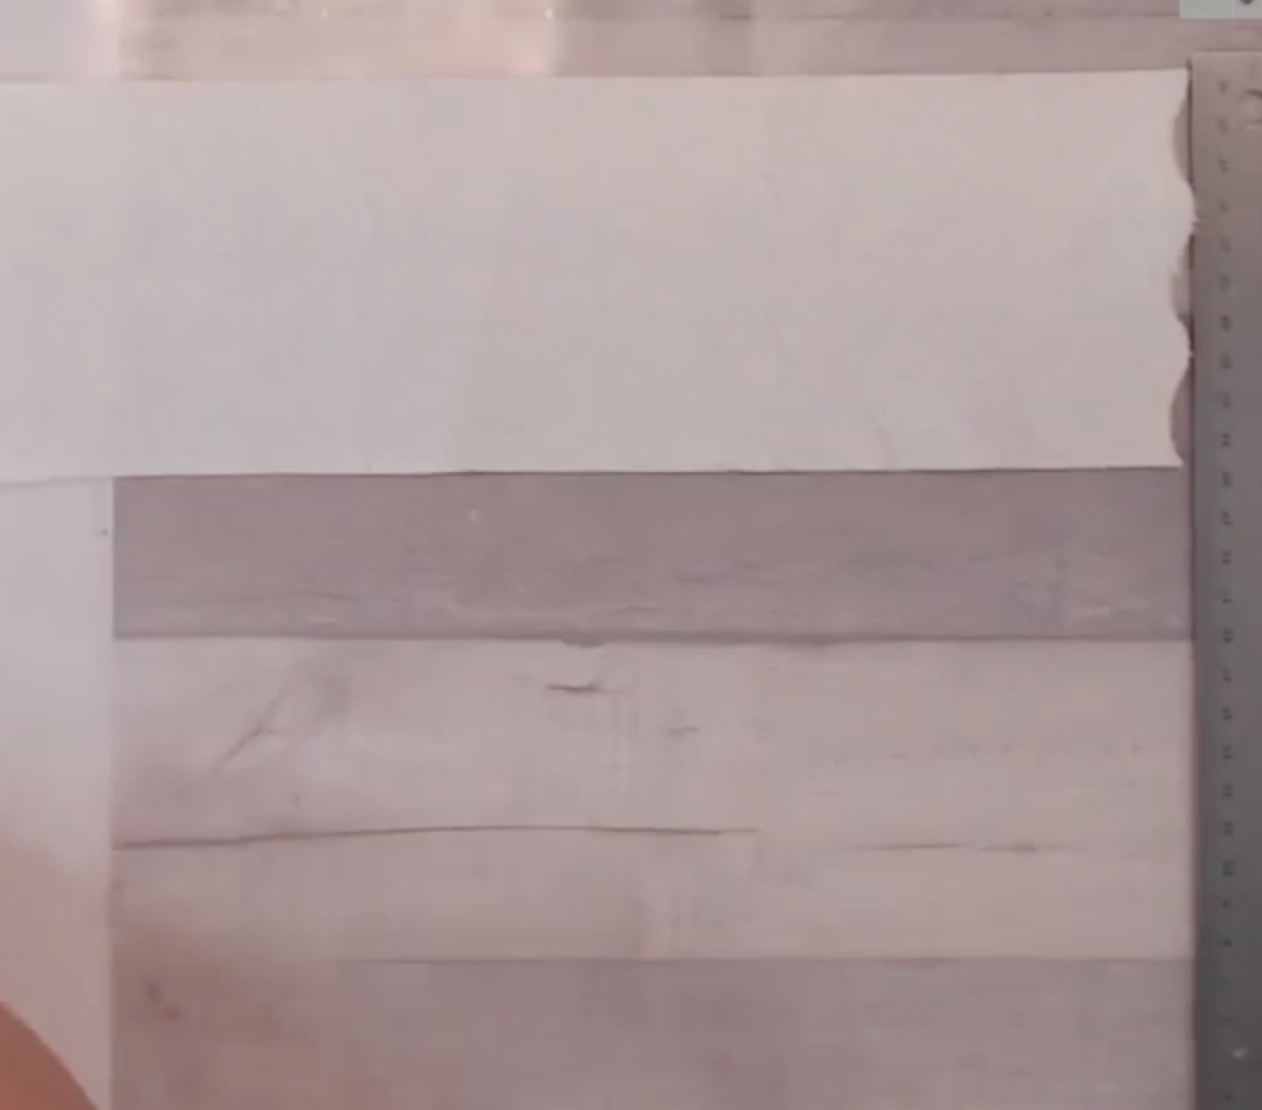
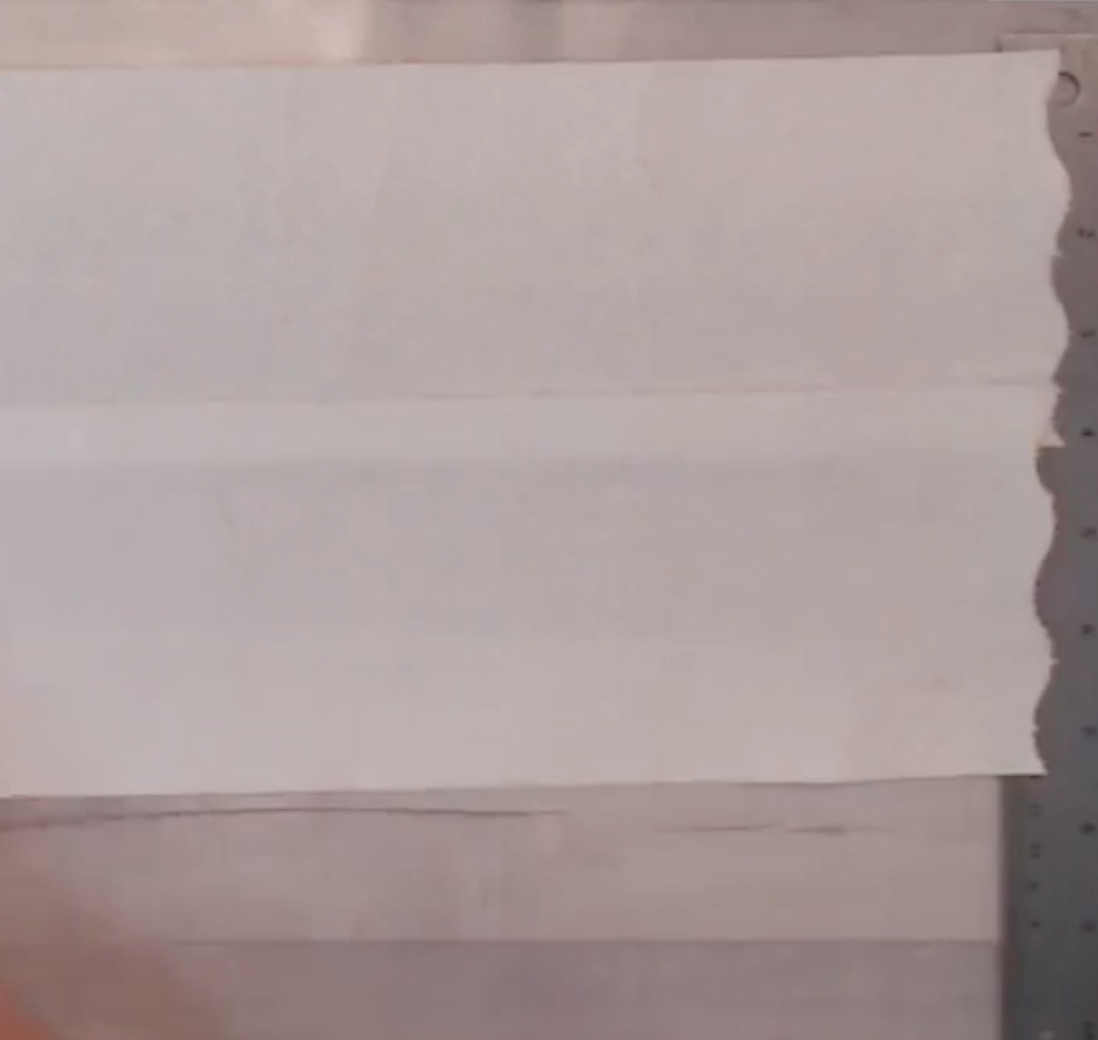
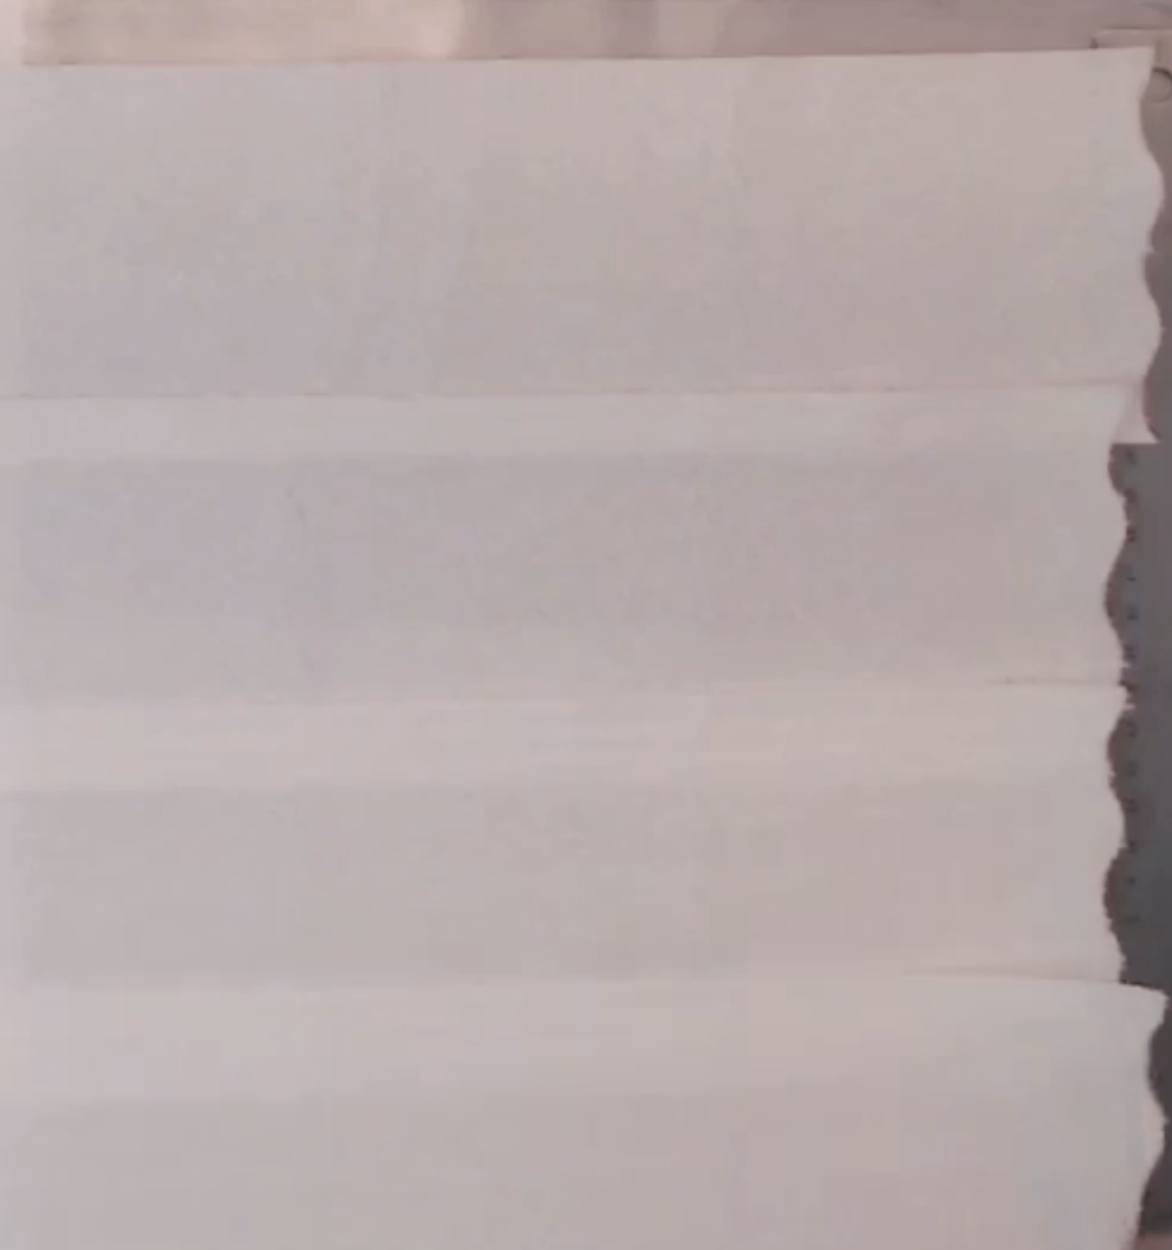
Begin laying strips of toilet paper lengthwise across your protected work surface. Overlap each section by approximately one inch.
Don't worry about making everything perfectly straight or smooth. Remember, we're trying to create something that resembles old, worn leather. Those wrinkles and imperfections are going to become part of the character of the finished piece.
Who knew imperfect toilet paper could be a design feature?
Step Four: Spritz With Water
Once your first layer is in place, gently spritz the entire surface with water.
You want the toilet paper to be completely damp, but don't blast it with your spray bottle. Wet toilet paper is fragile—and this is definitely not the time to test its strength! The water helps the fibers relax and begin bonding together.
Step Five: Add the Glue Mixture
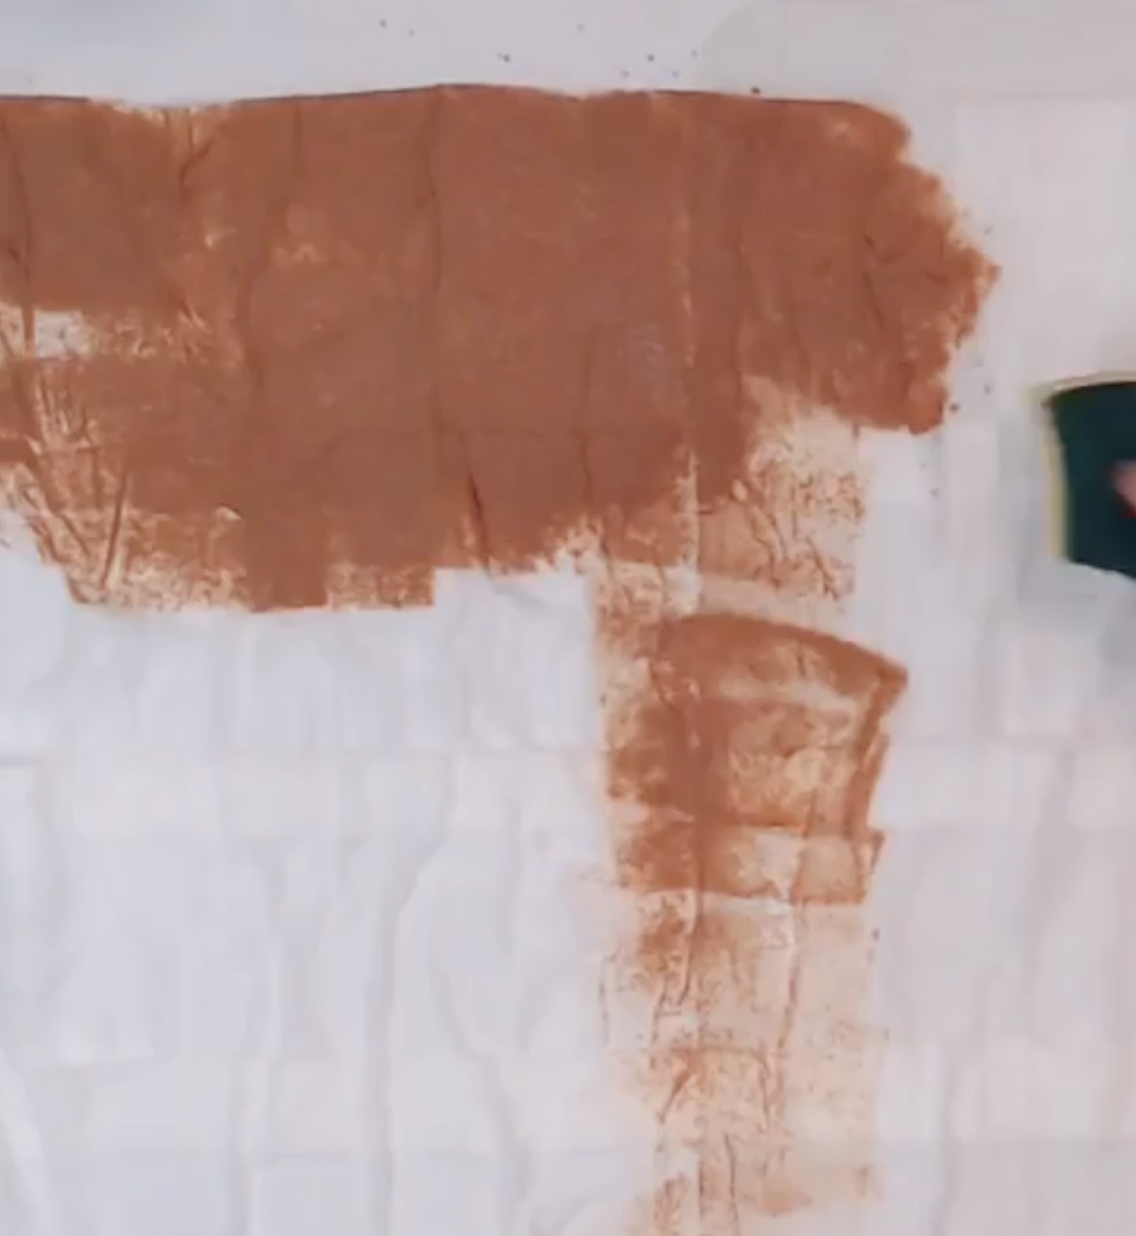
Using a sponge, gently apply your water-and-glue mixture over the toilet paper. I found that patting or dabbing works much better than aggressively wiping the sponge across the surface.
Remember what we're working with here…it's still toilet paper!
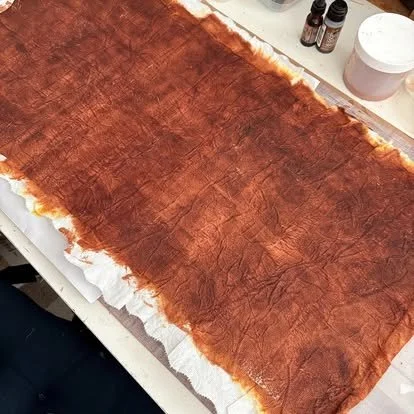
You want to saturate the fibers without tearing everything apart. If you've added color to your glue mixture, you'll also begin seeing that wonderful faux-leather color develop during this step.
Step Six: Add a Second Layer in the Opposite Direction
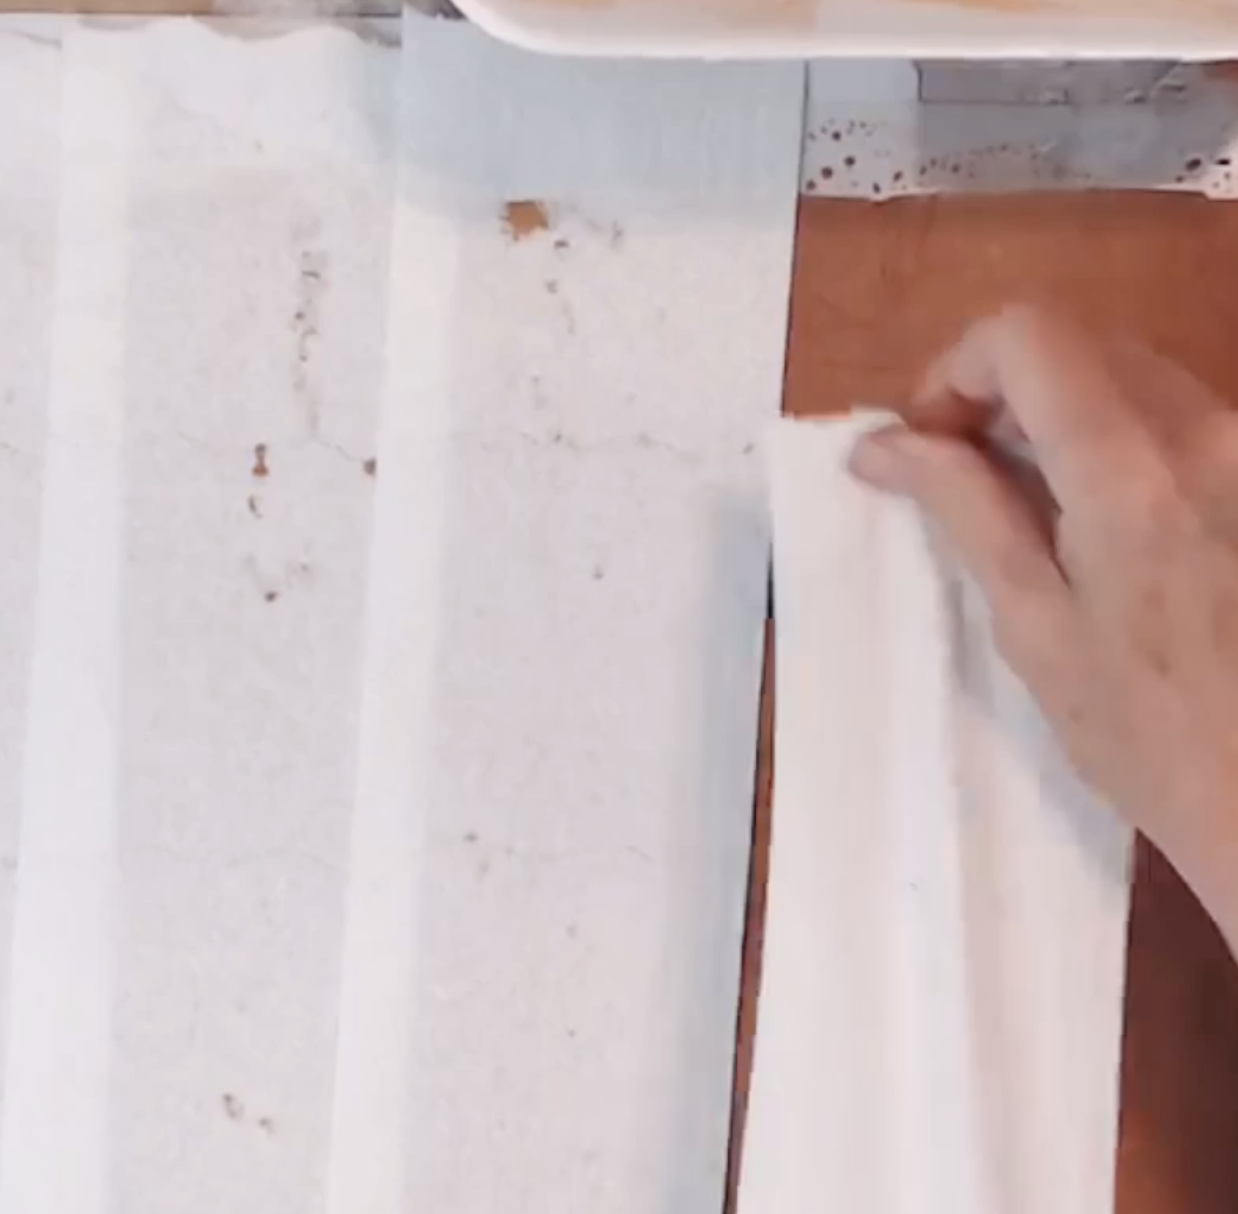
Now lay another row of toilet paper across the first layer, but this time turn the pieces so they run in the opposite direction.
Spritz this layer with water and once again gently apply your glue mixture with the sponge.
Alternating the direction of the layers helps create a stronger finished material because the paper fibers are crossing one another rather than every layer running in exactly the same direction.
We're basically turning our humble toilet paper into something much sturdier!
Step Seven: Add the Napkin Layer
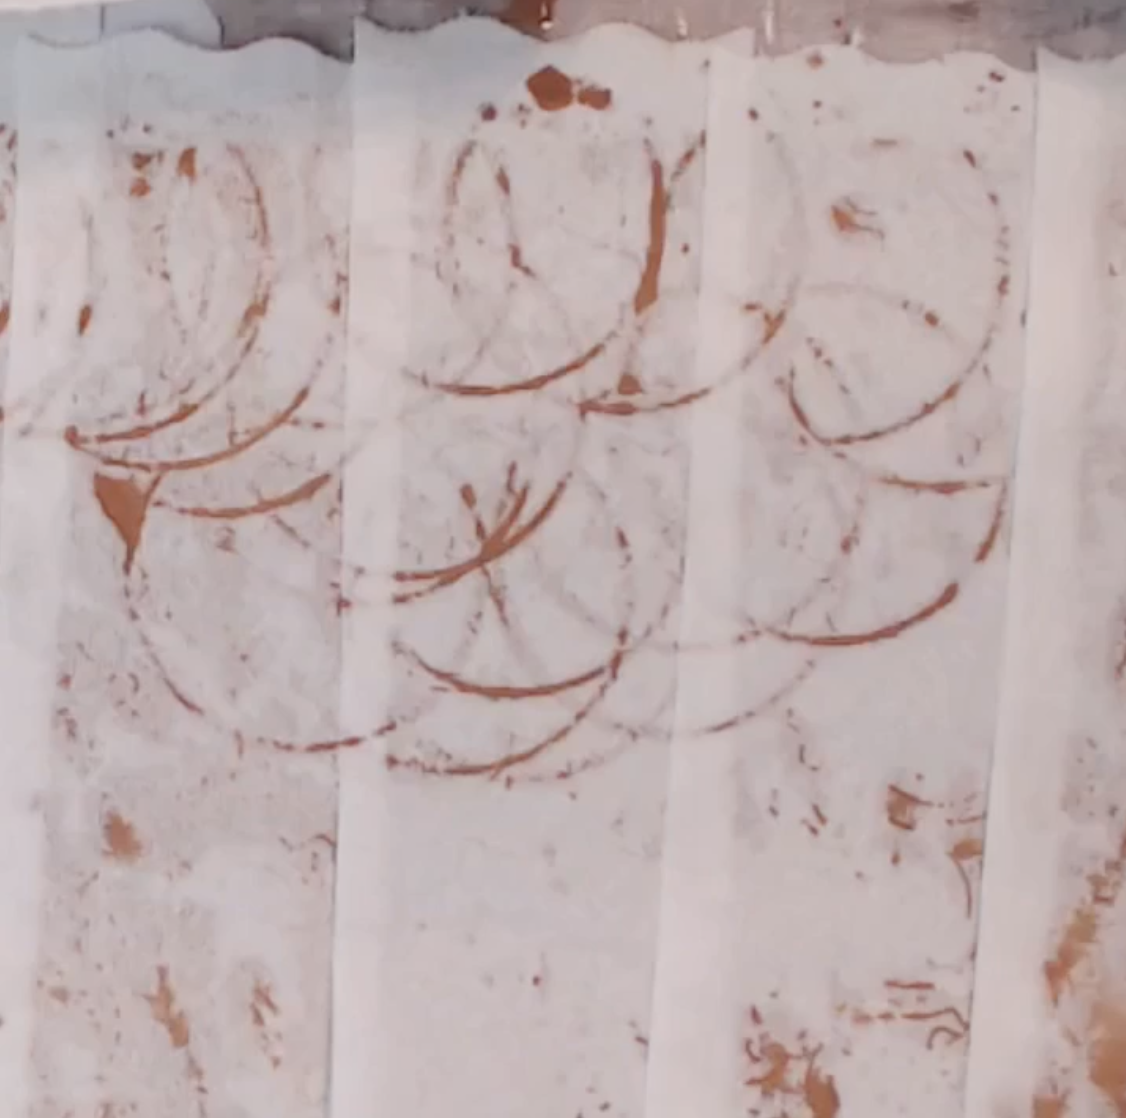
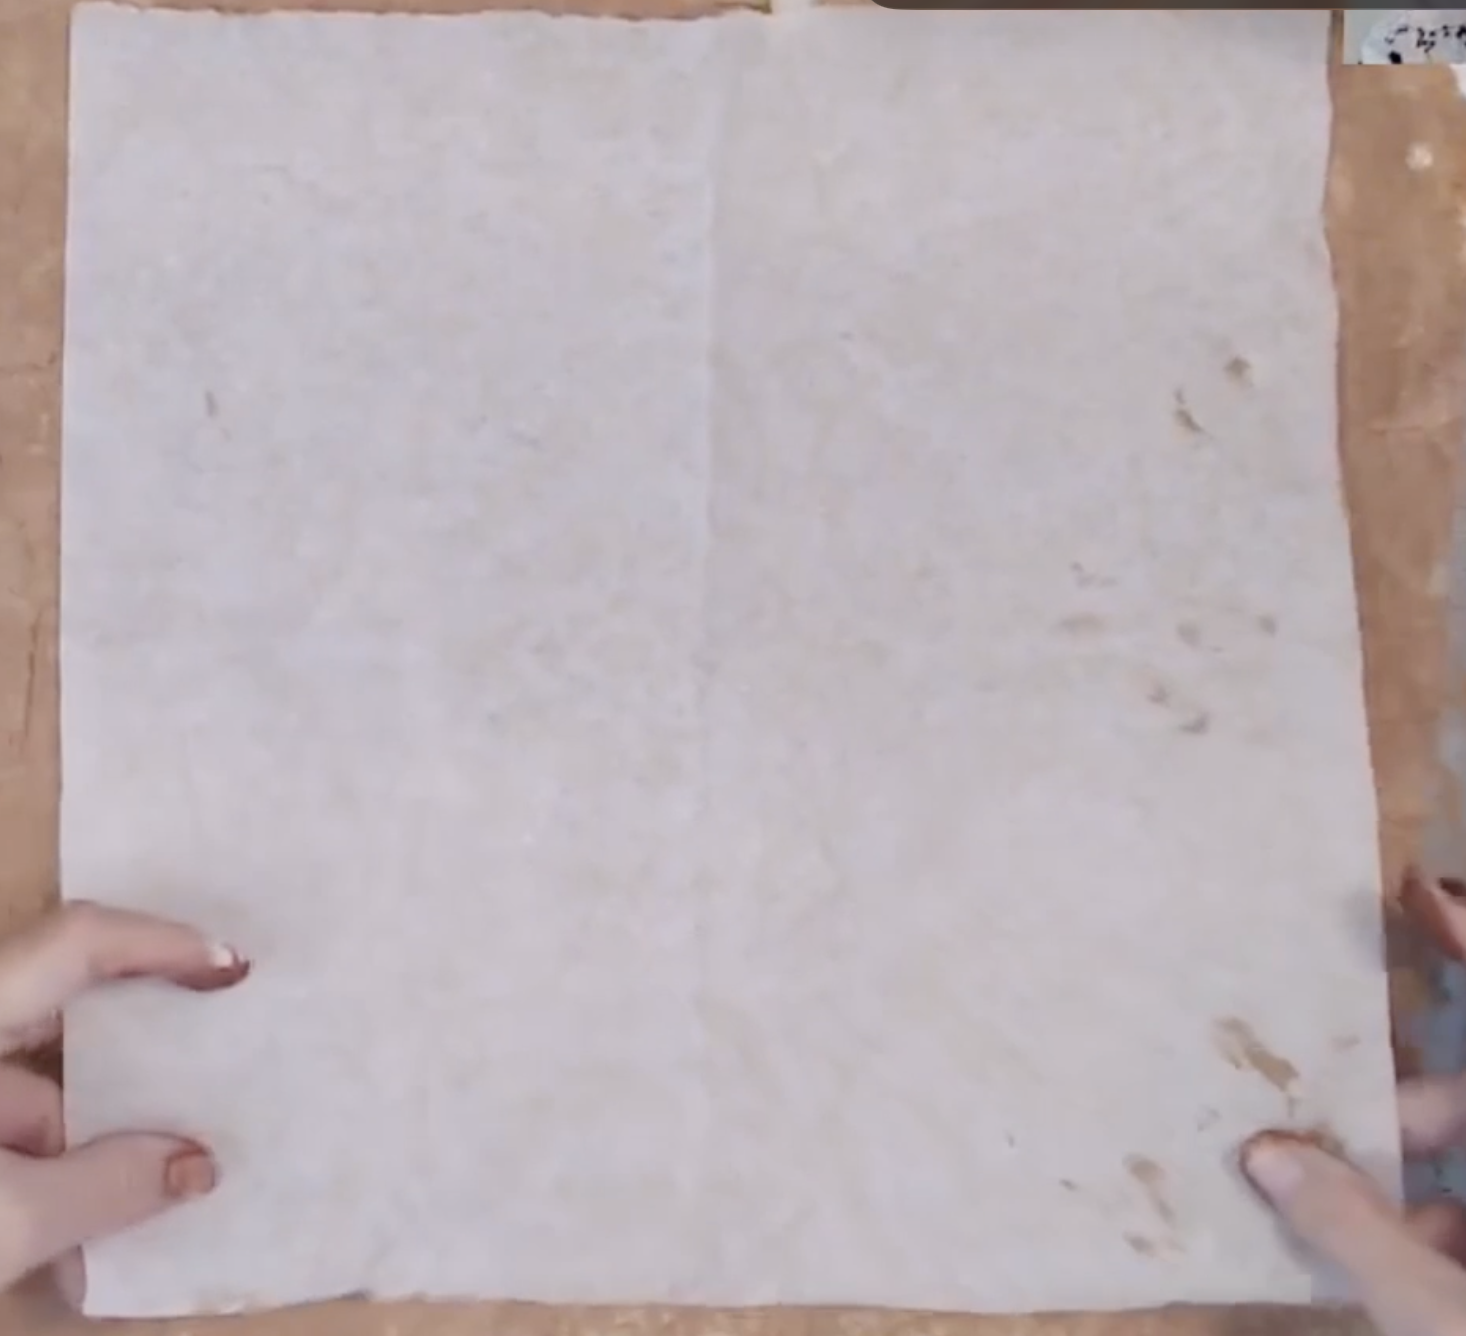
For the final layer, add a piece of decorative napkin.
You can use the printed portion of a napkin if you'd like some of the design to show through, or you can use one of those plain leftover plies that we normally peel away and throw in the trash when we're crafting with napkins. If you are using the decorative layer of the napkin, you do not have to tint the glue mixture.
Place the napkin layer over your toilet paper and once again gently apply the glue mixture.
This final layer adds another bit of strength and texture to your faux leather.
Step Eight: Bring Everything Together
Now crumple a piece of plastic wrap and gently pat and press the layers together.
Don't try to smooth away every wrinkle. Some of those wrinkles, creases and uneven areas are exactly what will make the finished piece look more like leather.
This is also where those plastic gloves come in handy!
Step Nine: Walk Away!
Yes, this is an actual step. Leave it alone!
Allow your faux leather to dry completely overnight and don't get impatient and try to pick it up too soon. Ask me how I know.
While it's wet, your beautiful future journal cover is still essentially a pile of very soggy toilet paper held together with glue. If you try to lift it before it has completely dried, it may stretch, tear or fall apart.
Once it's dry, however, you'll be amazed by how completely different it feels.
The Big Reveal
The next day is when the magic happens.
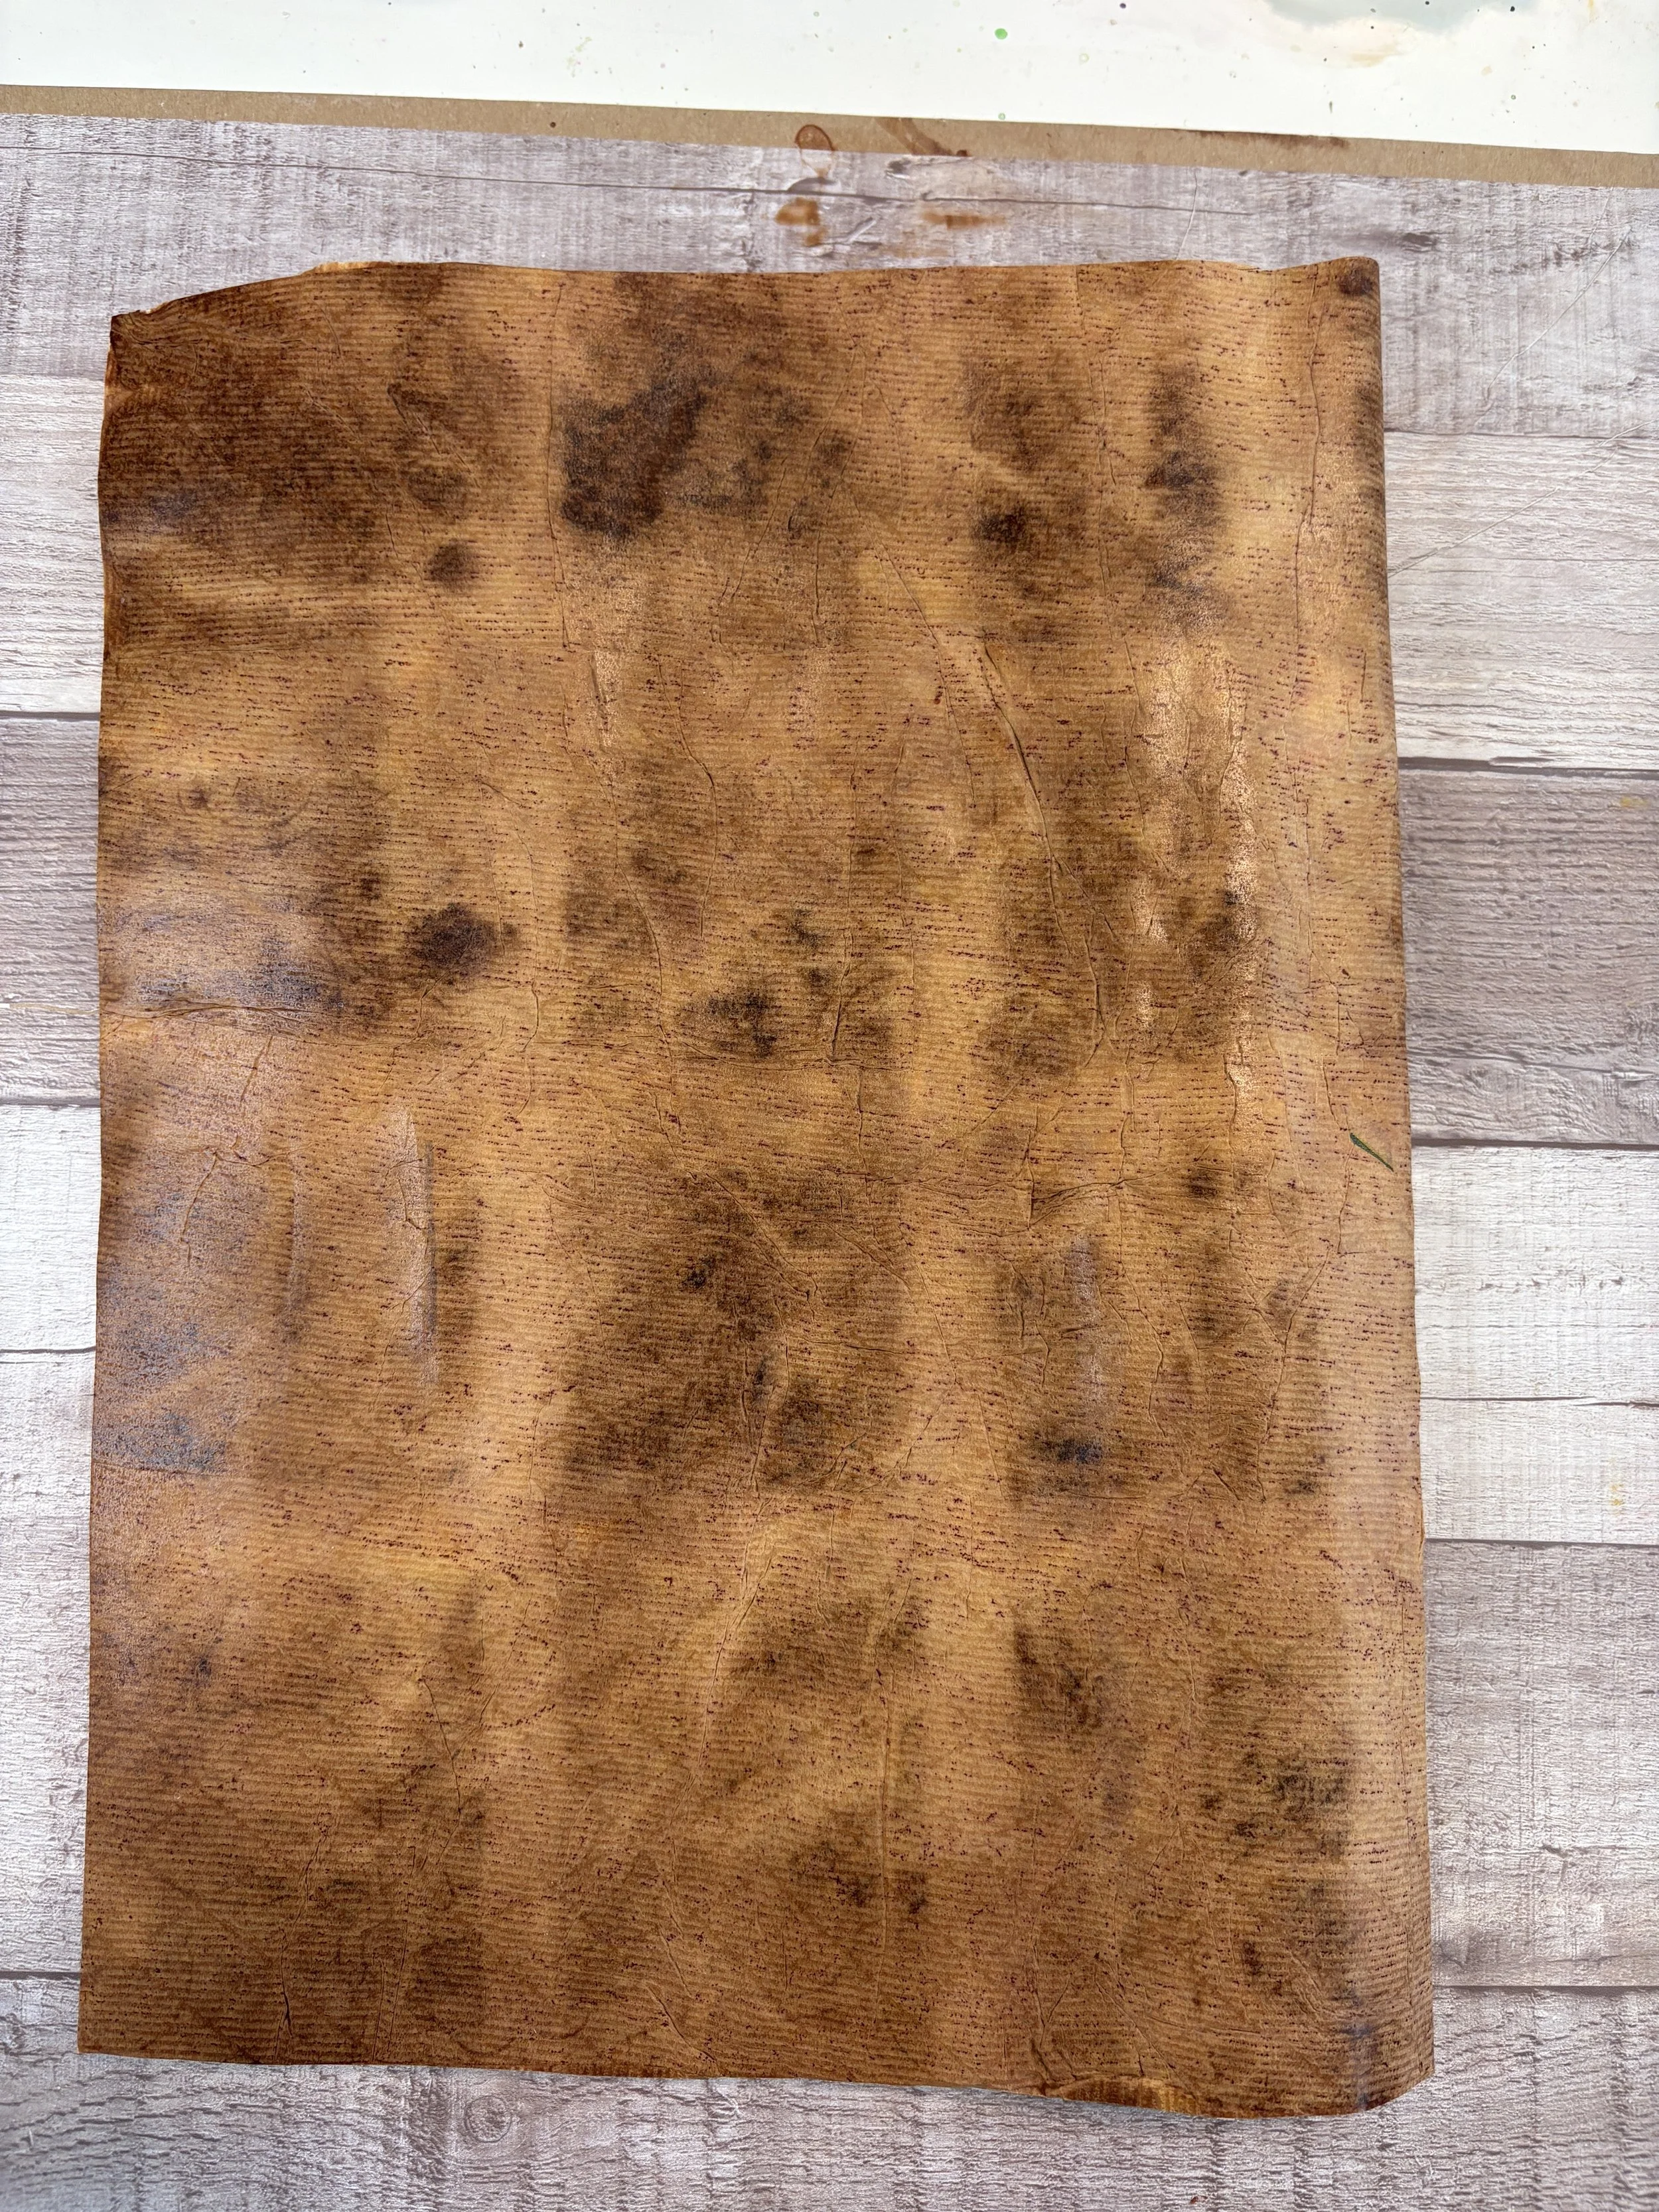
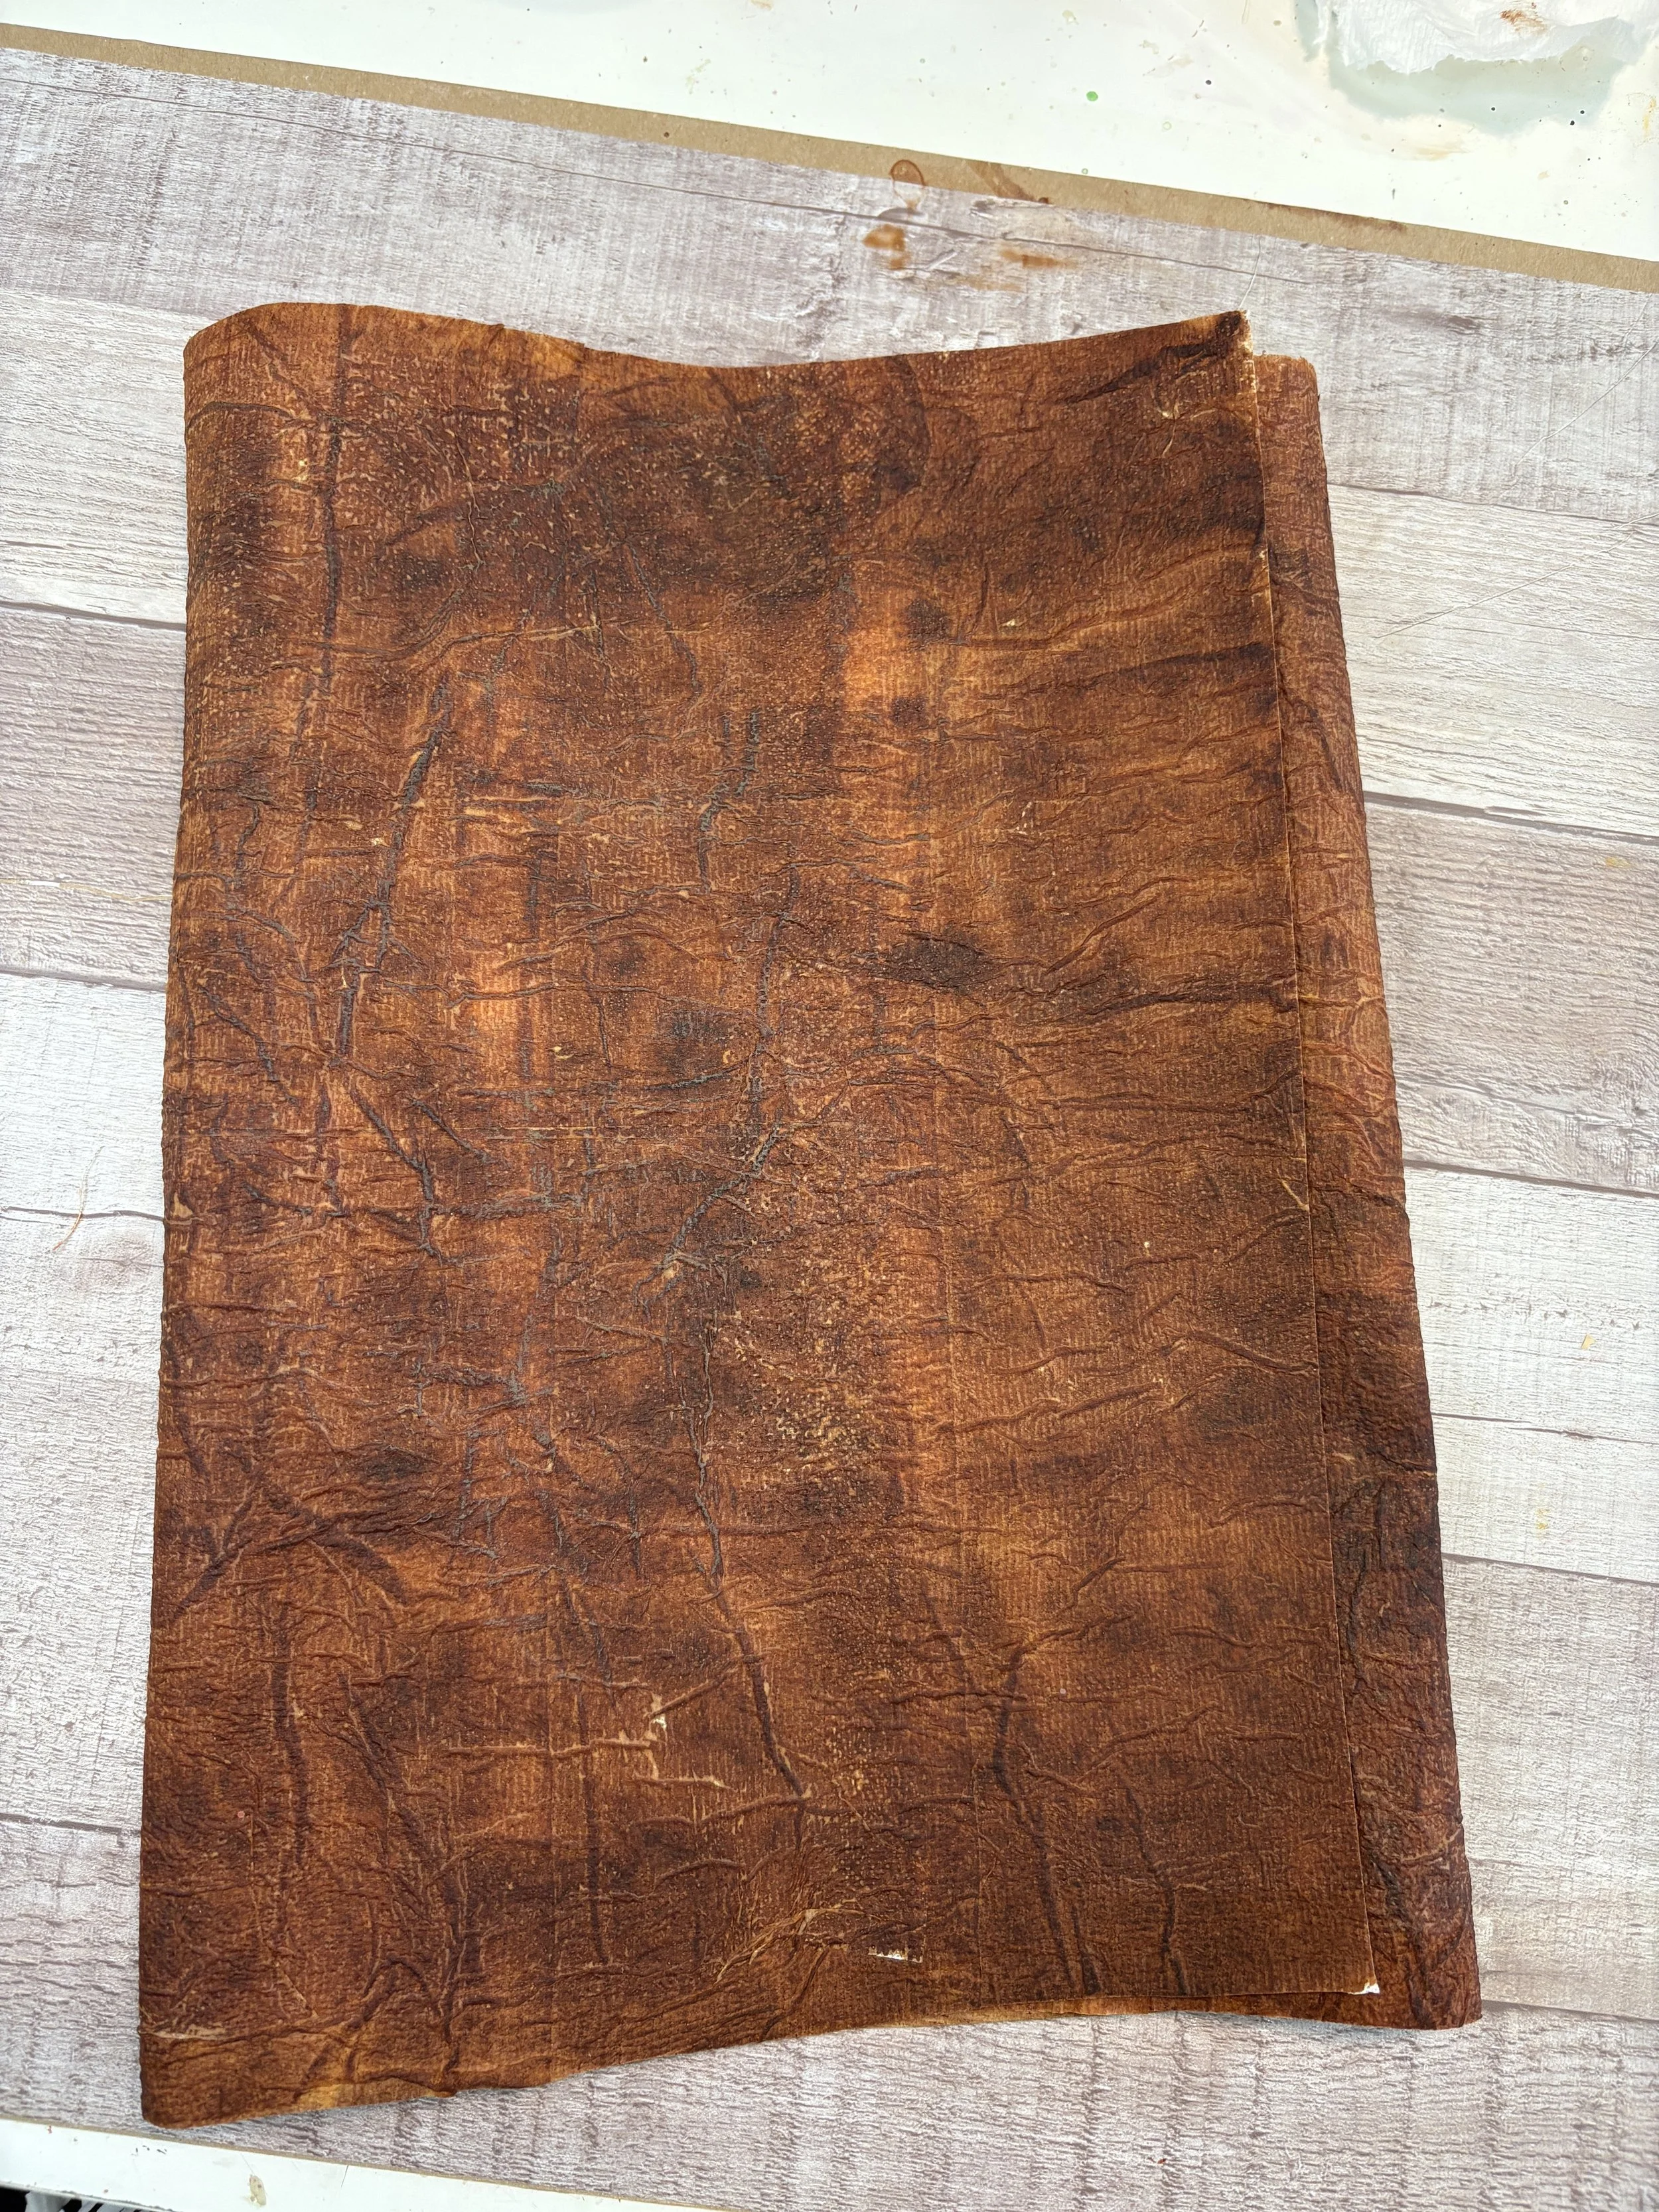
Once your faux leather is completely dry, gently peel it away from your work surface.
Now look at that texture!
What started as toilet paper, water, glue and a napkin has become a flexible sheet of wonderfully textured faux leather.
From here, you can use it for so many different projects:
Journal covers, tags, pockets, embellishments, book spines, junk journals, mixed media projects and more. The possibilities really are endless.
Turning My Faux Leather Into a Travel Journal
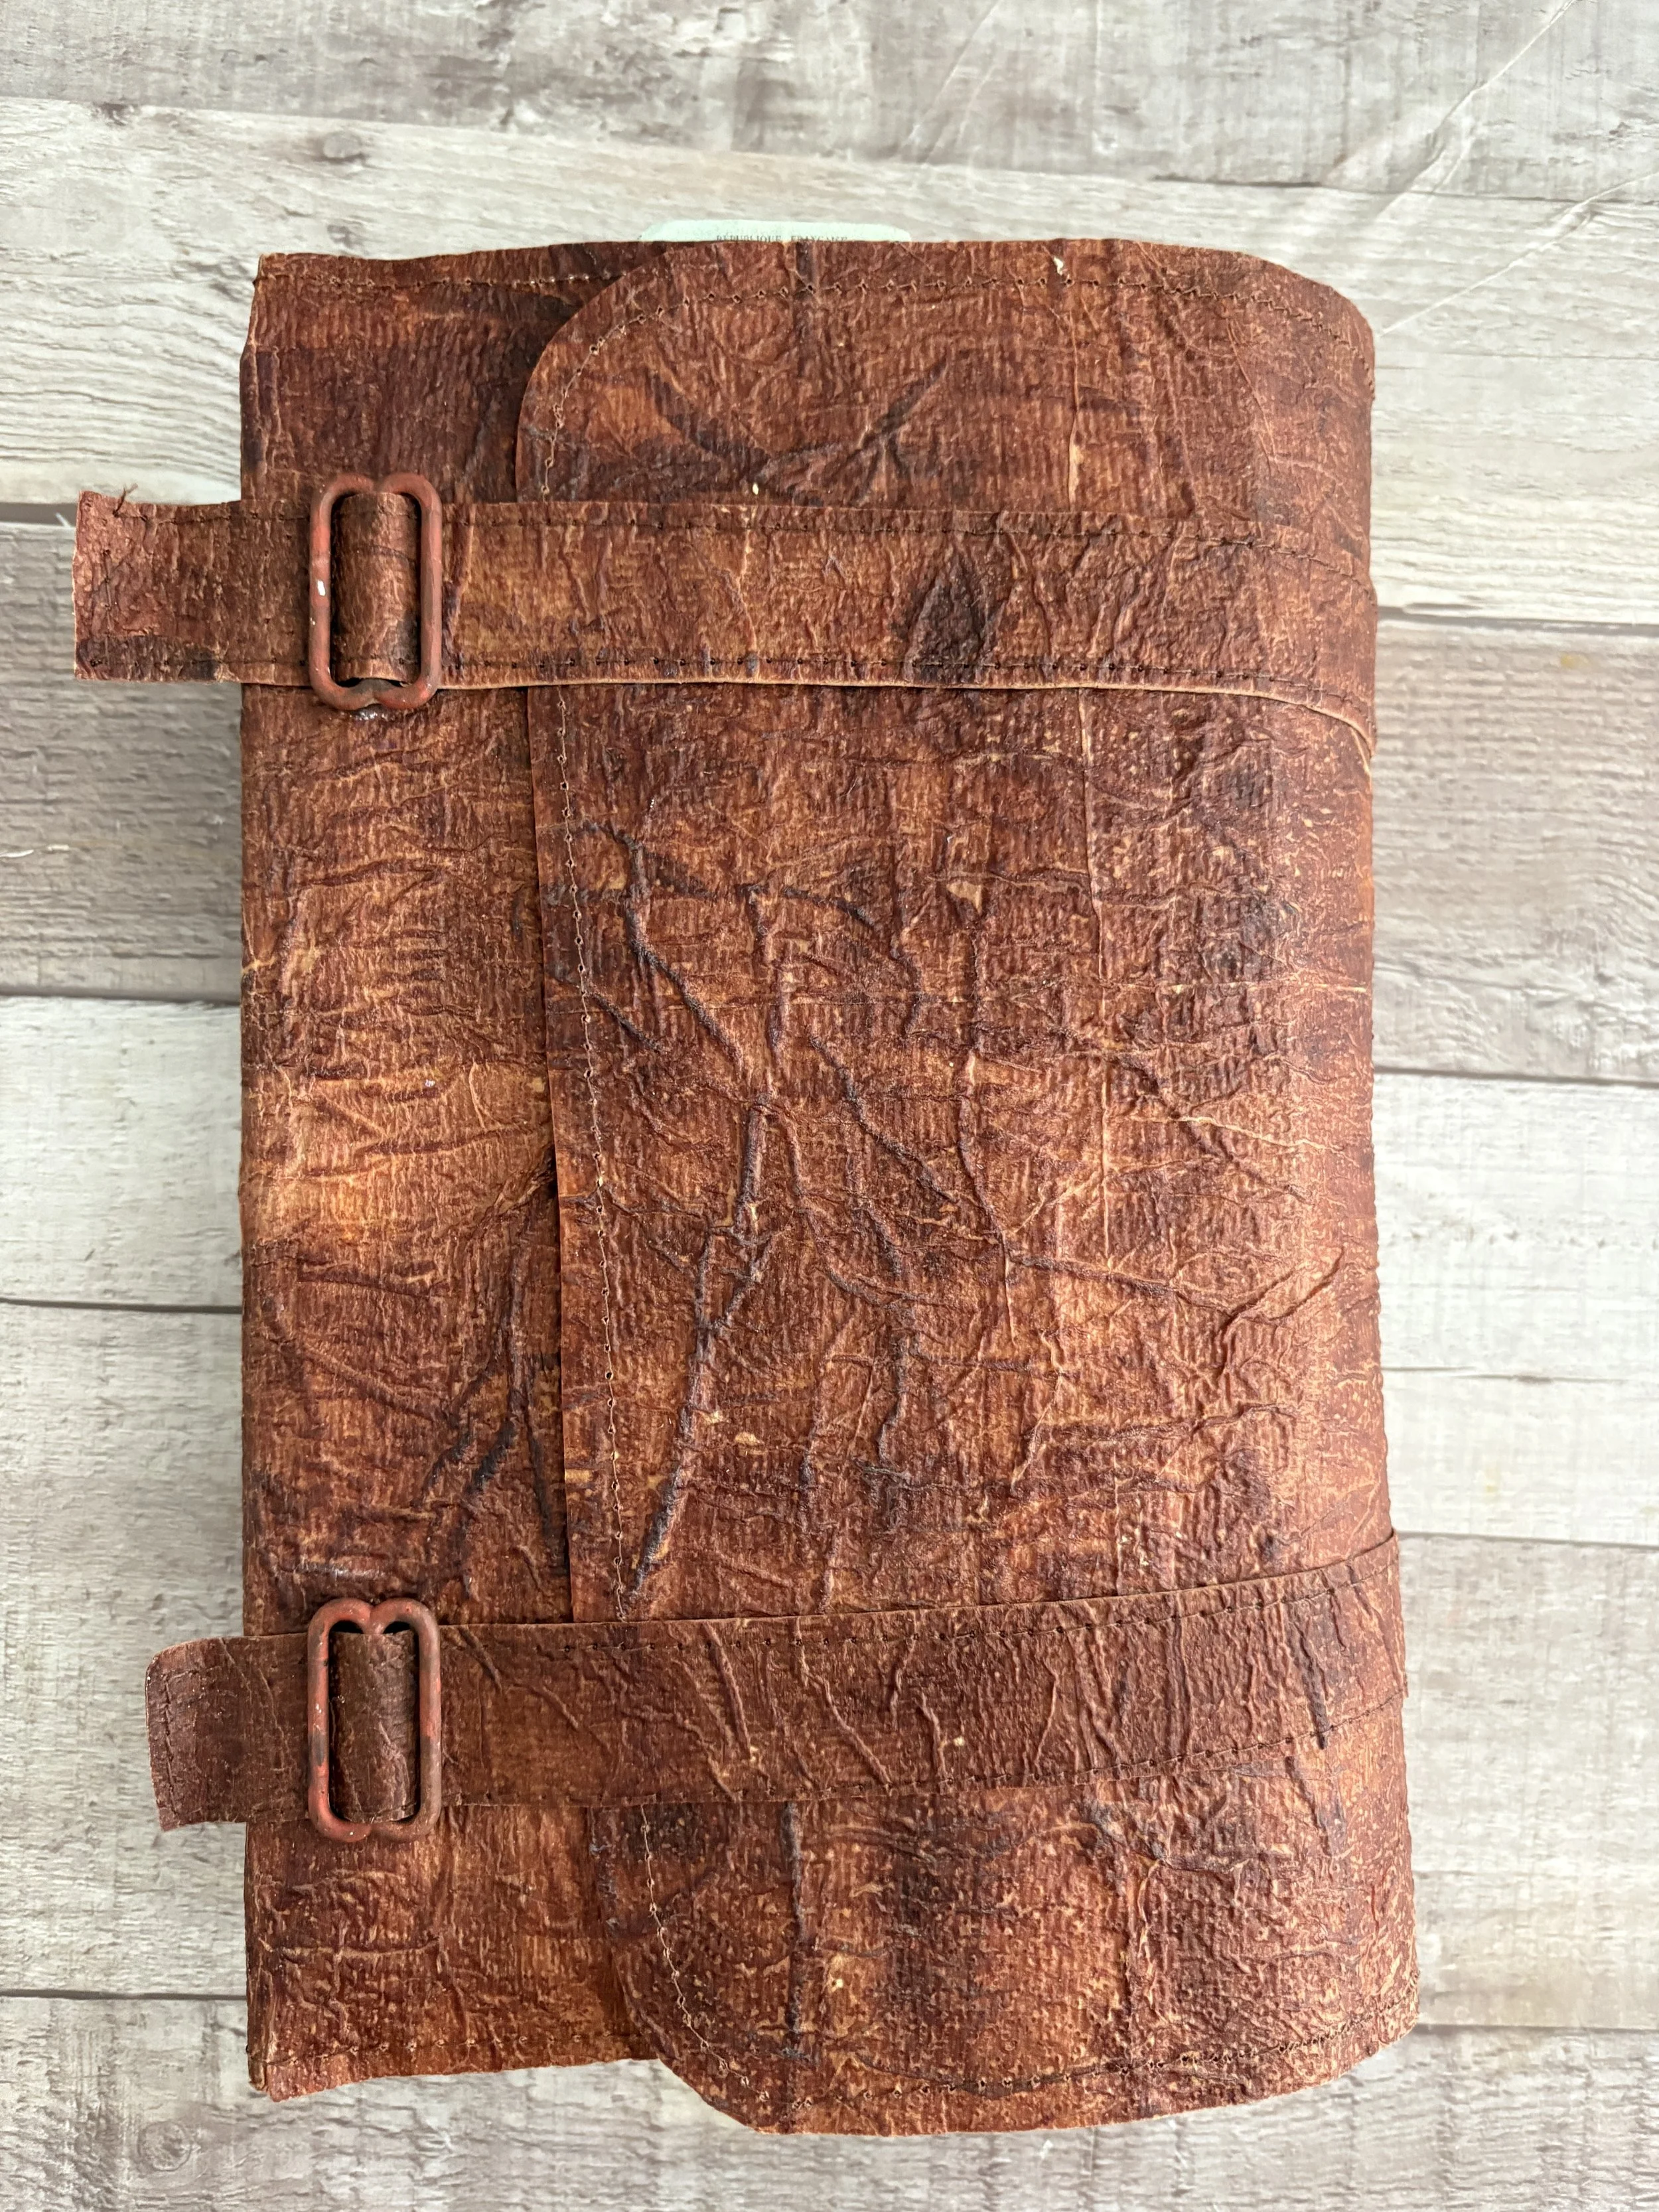
For my Ireland travel journal, I cut my finished faux leather to approximately 16" x 10".
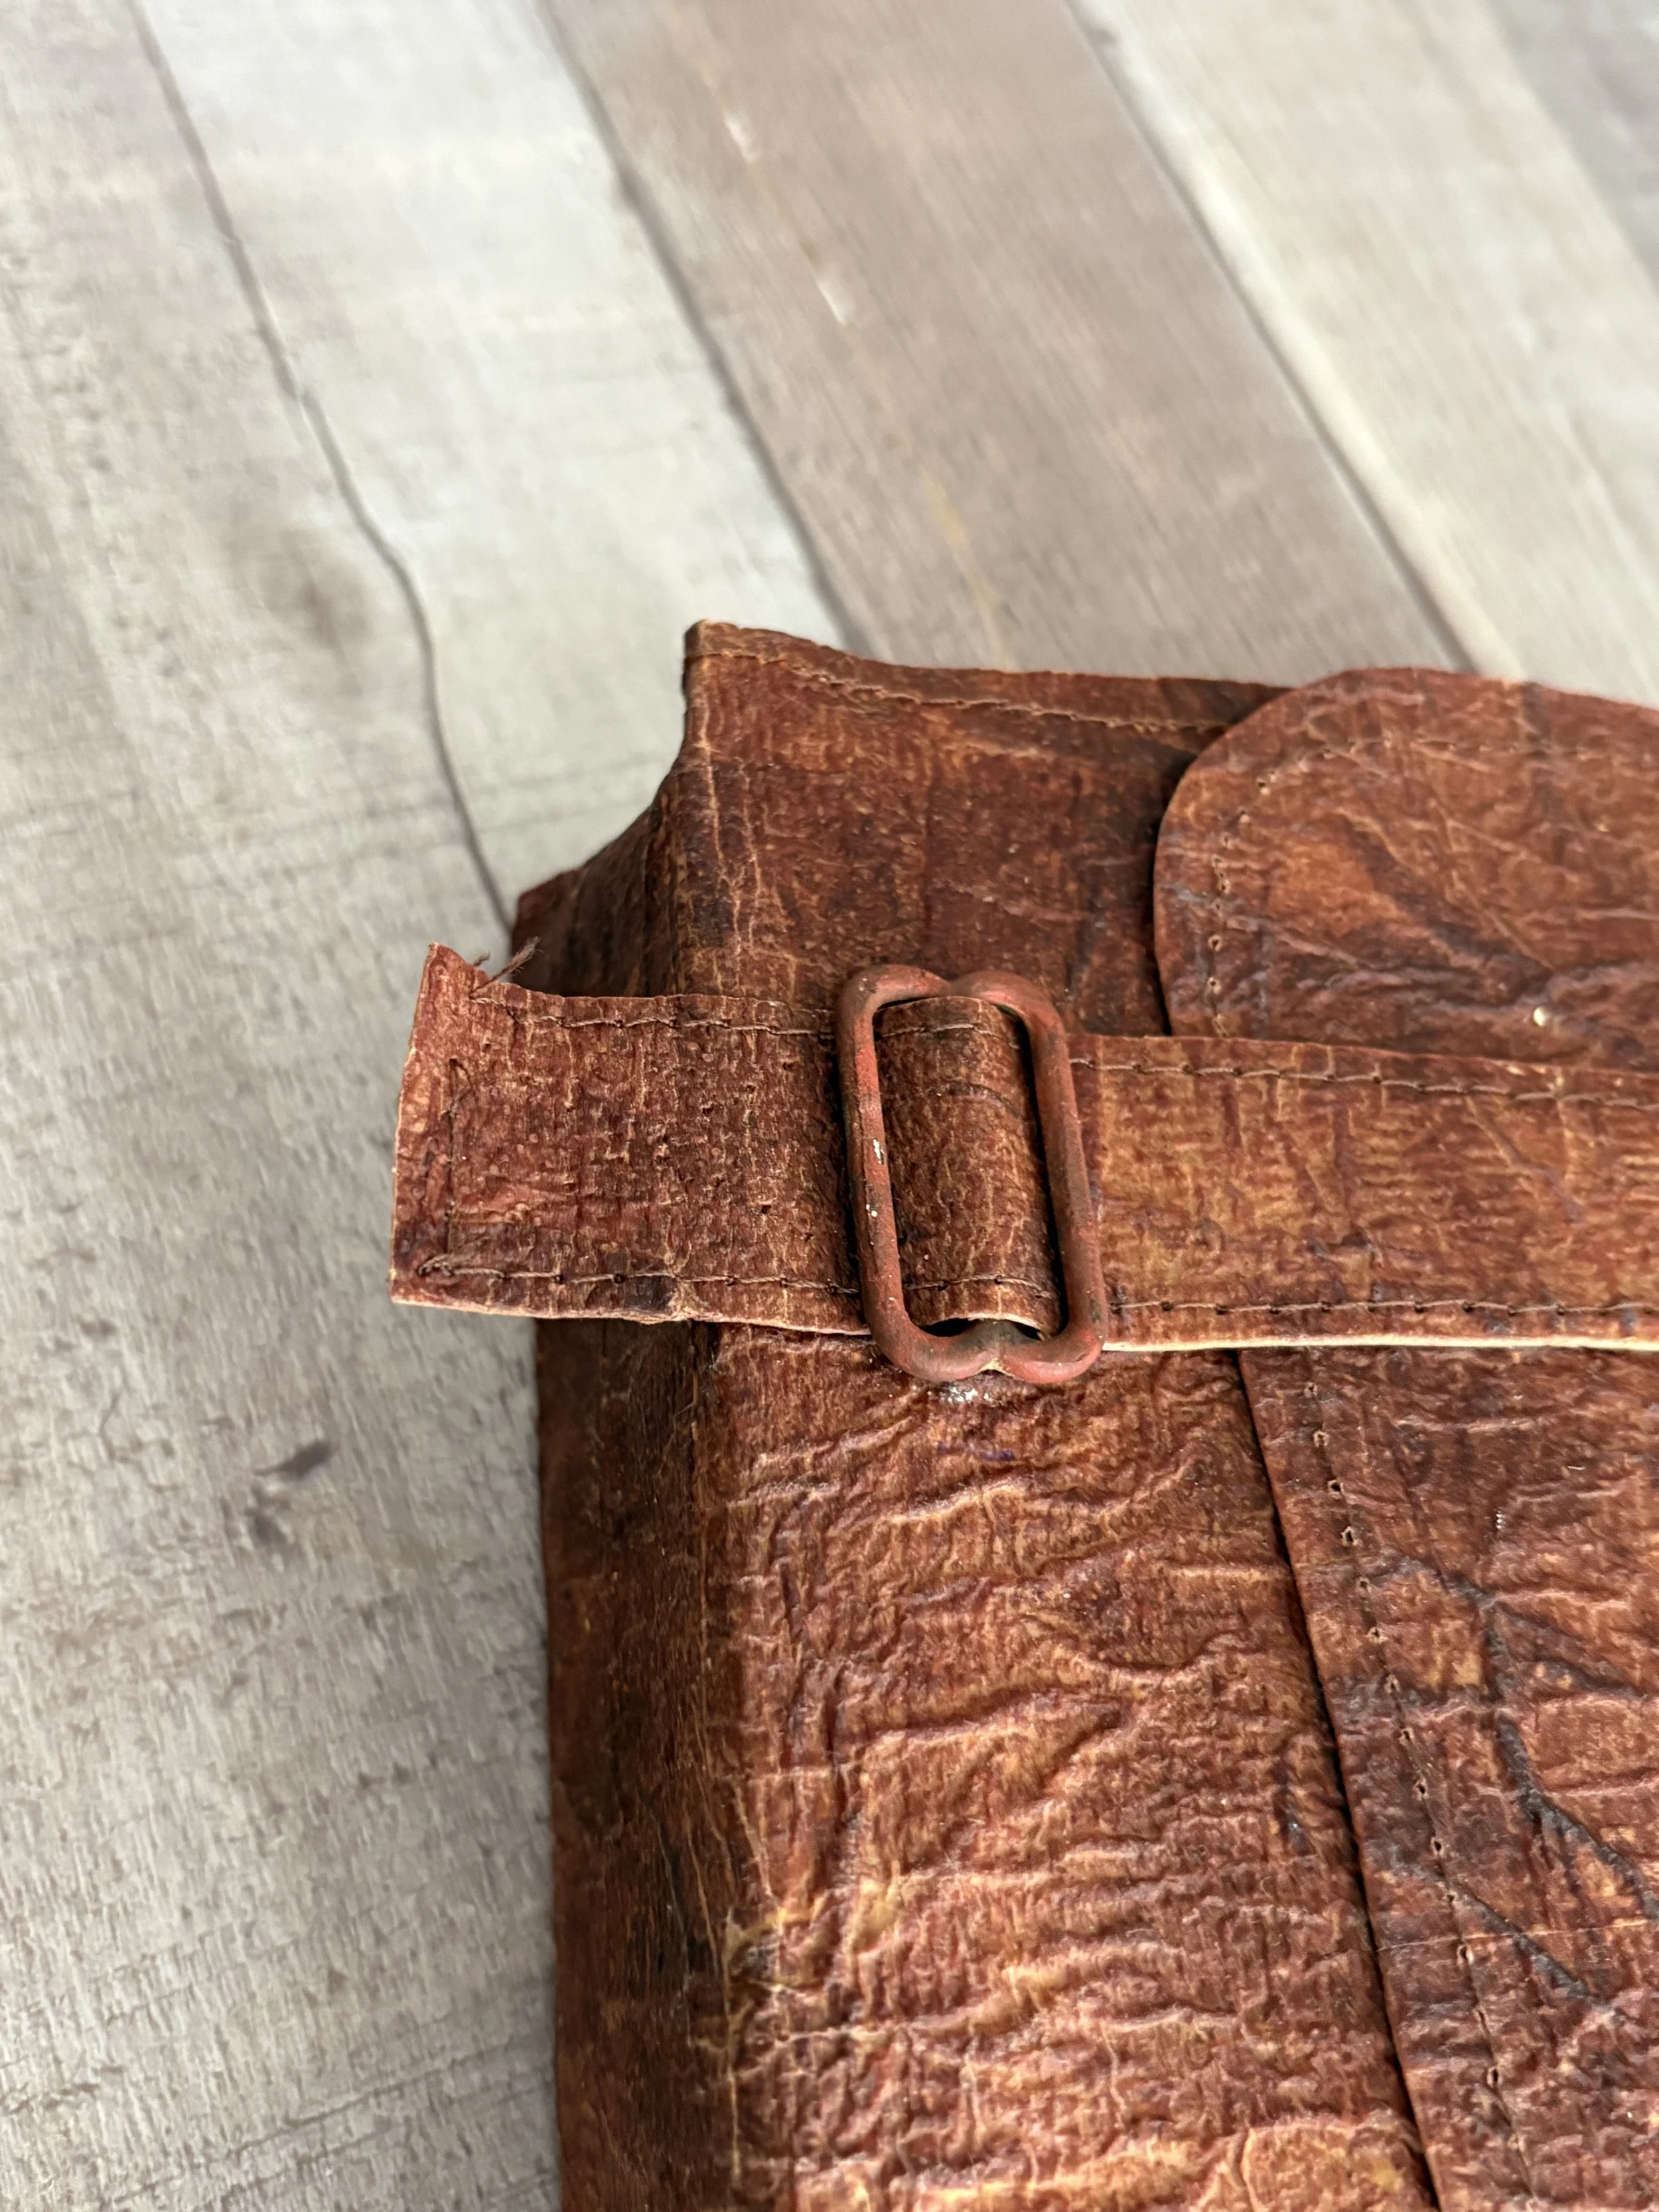
I stitched around the outside edges for a little extra reinforcement and because I liked the finished look it created. However, stitching is completely optional.
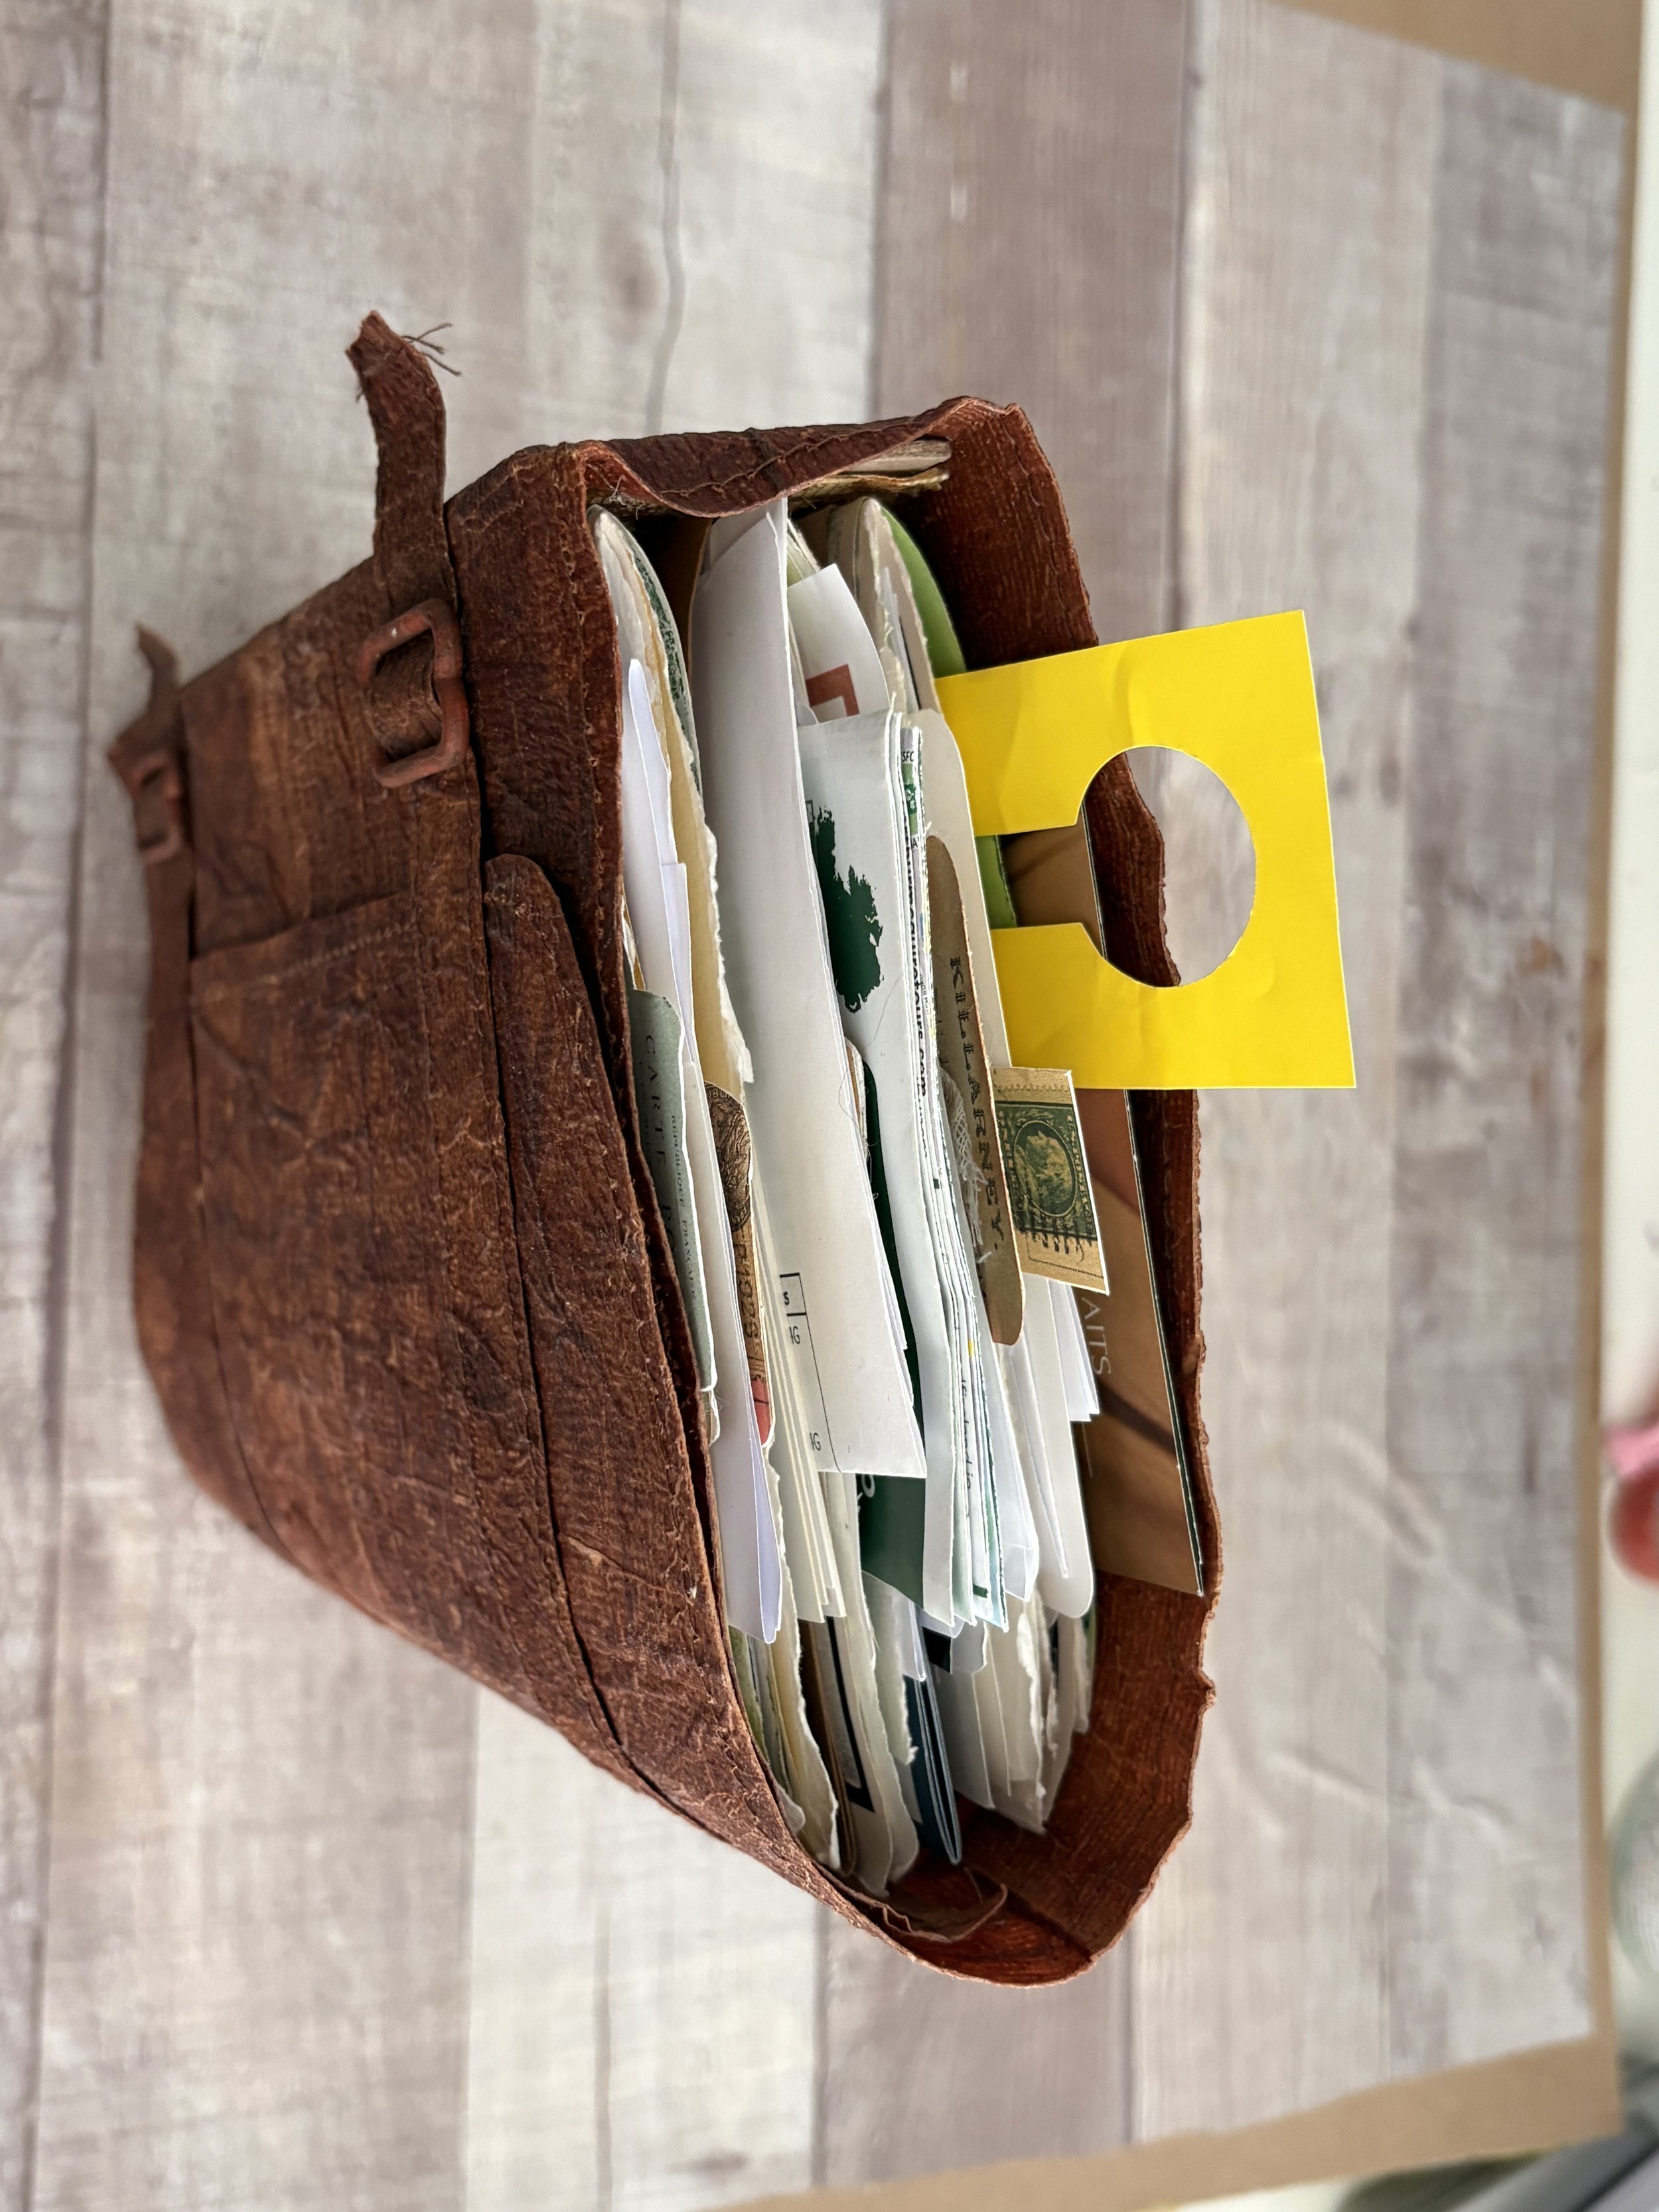
I also wanted my journal to have a more structured spine, so I cut a piece of cardboard approximately 2" x 9½", covered it with a fabric strip (you can use cardstock or leftover faux leather) and incorporated that into the spine area.
Then came my favorite part—turning the cover into an actual journal!
I added three signatures and decorated the inside with pockets, tags and ephemera. I intentionally left plenty of room to add things as we traveled because I knew this journal wasn't supposed to stay neat and pristine.
It was going to Ireland and I wanted to fill it with the stories of our trip.
But Does Toilet Paper Leather Actually Hold Up?
Now for the question I know you're probably asking: “Carol, it's made out of toilet paper. Did it actually survive the trip?” YES it actually did!
I carried this journal with me throughout our 10-day tour of Ireland. It was stuffed into a backpack, pulled in and out as we traveled and eventually packed into a suitcase.
This journal was not sitting safely on a craft-room shelf looking pretty. It traveled! And after all of that, the faux leather cover still looks like it did before I left.
I think that's what surprised me most about this entire experiment. Something that begins with such fragile materials becomes remarkably sturdy once all those layers of paper, napkin and glue have dried together.
From Toilet Paper to Travel Treasure
I think one of the reasons I love mixed media and junk journaling so much is that we're constantly looking at ordinary things and asking:
"What could I make with this?"
A piece of cardboard becomes a book cover.
An old envelope becomes a pocket.
A scrap of fabric becomes an embellishment.
And apparently...toilet paper becomes leather!
There's something wonderfully freeing about creating this way. We don't need expensive supplies or perfect materials. Sometimes the most interesting projects begin with things we already have sitting around the house.
My little experiment became a journal that traveled across Ireland with me and now holds memories from a trip I never want to forget. And that's pretty special for something that started with a roll of toilet paper.
I will definitely be using this technique again.
So the next time you reach for that roll of toilet paper, you may find yourself wondering... "Do I really need this—or should I make another journal?"
Happy creating!