How to Make a Pocket Envelope for Your Journal
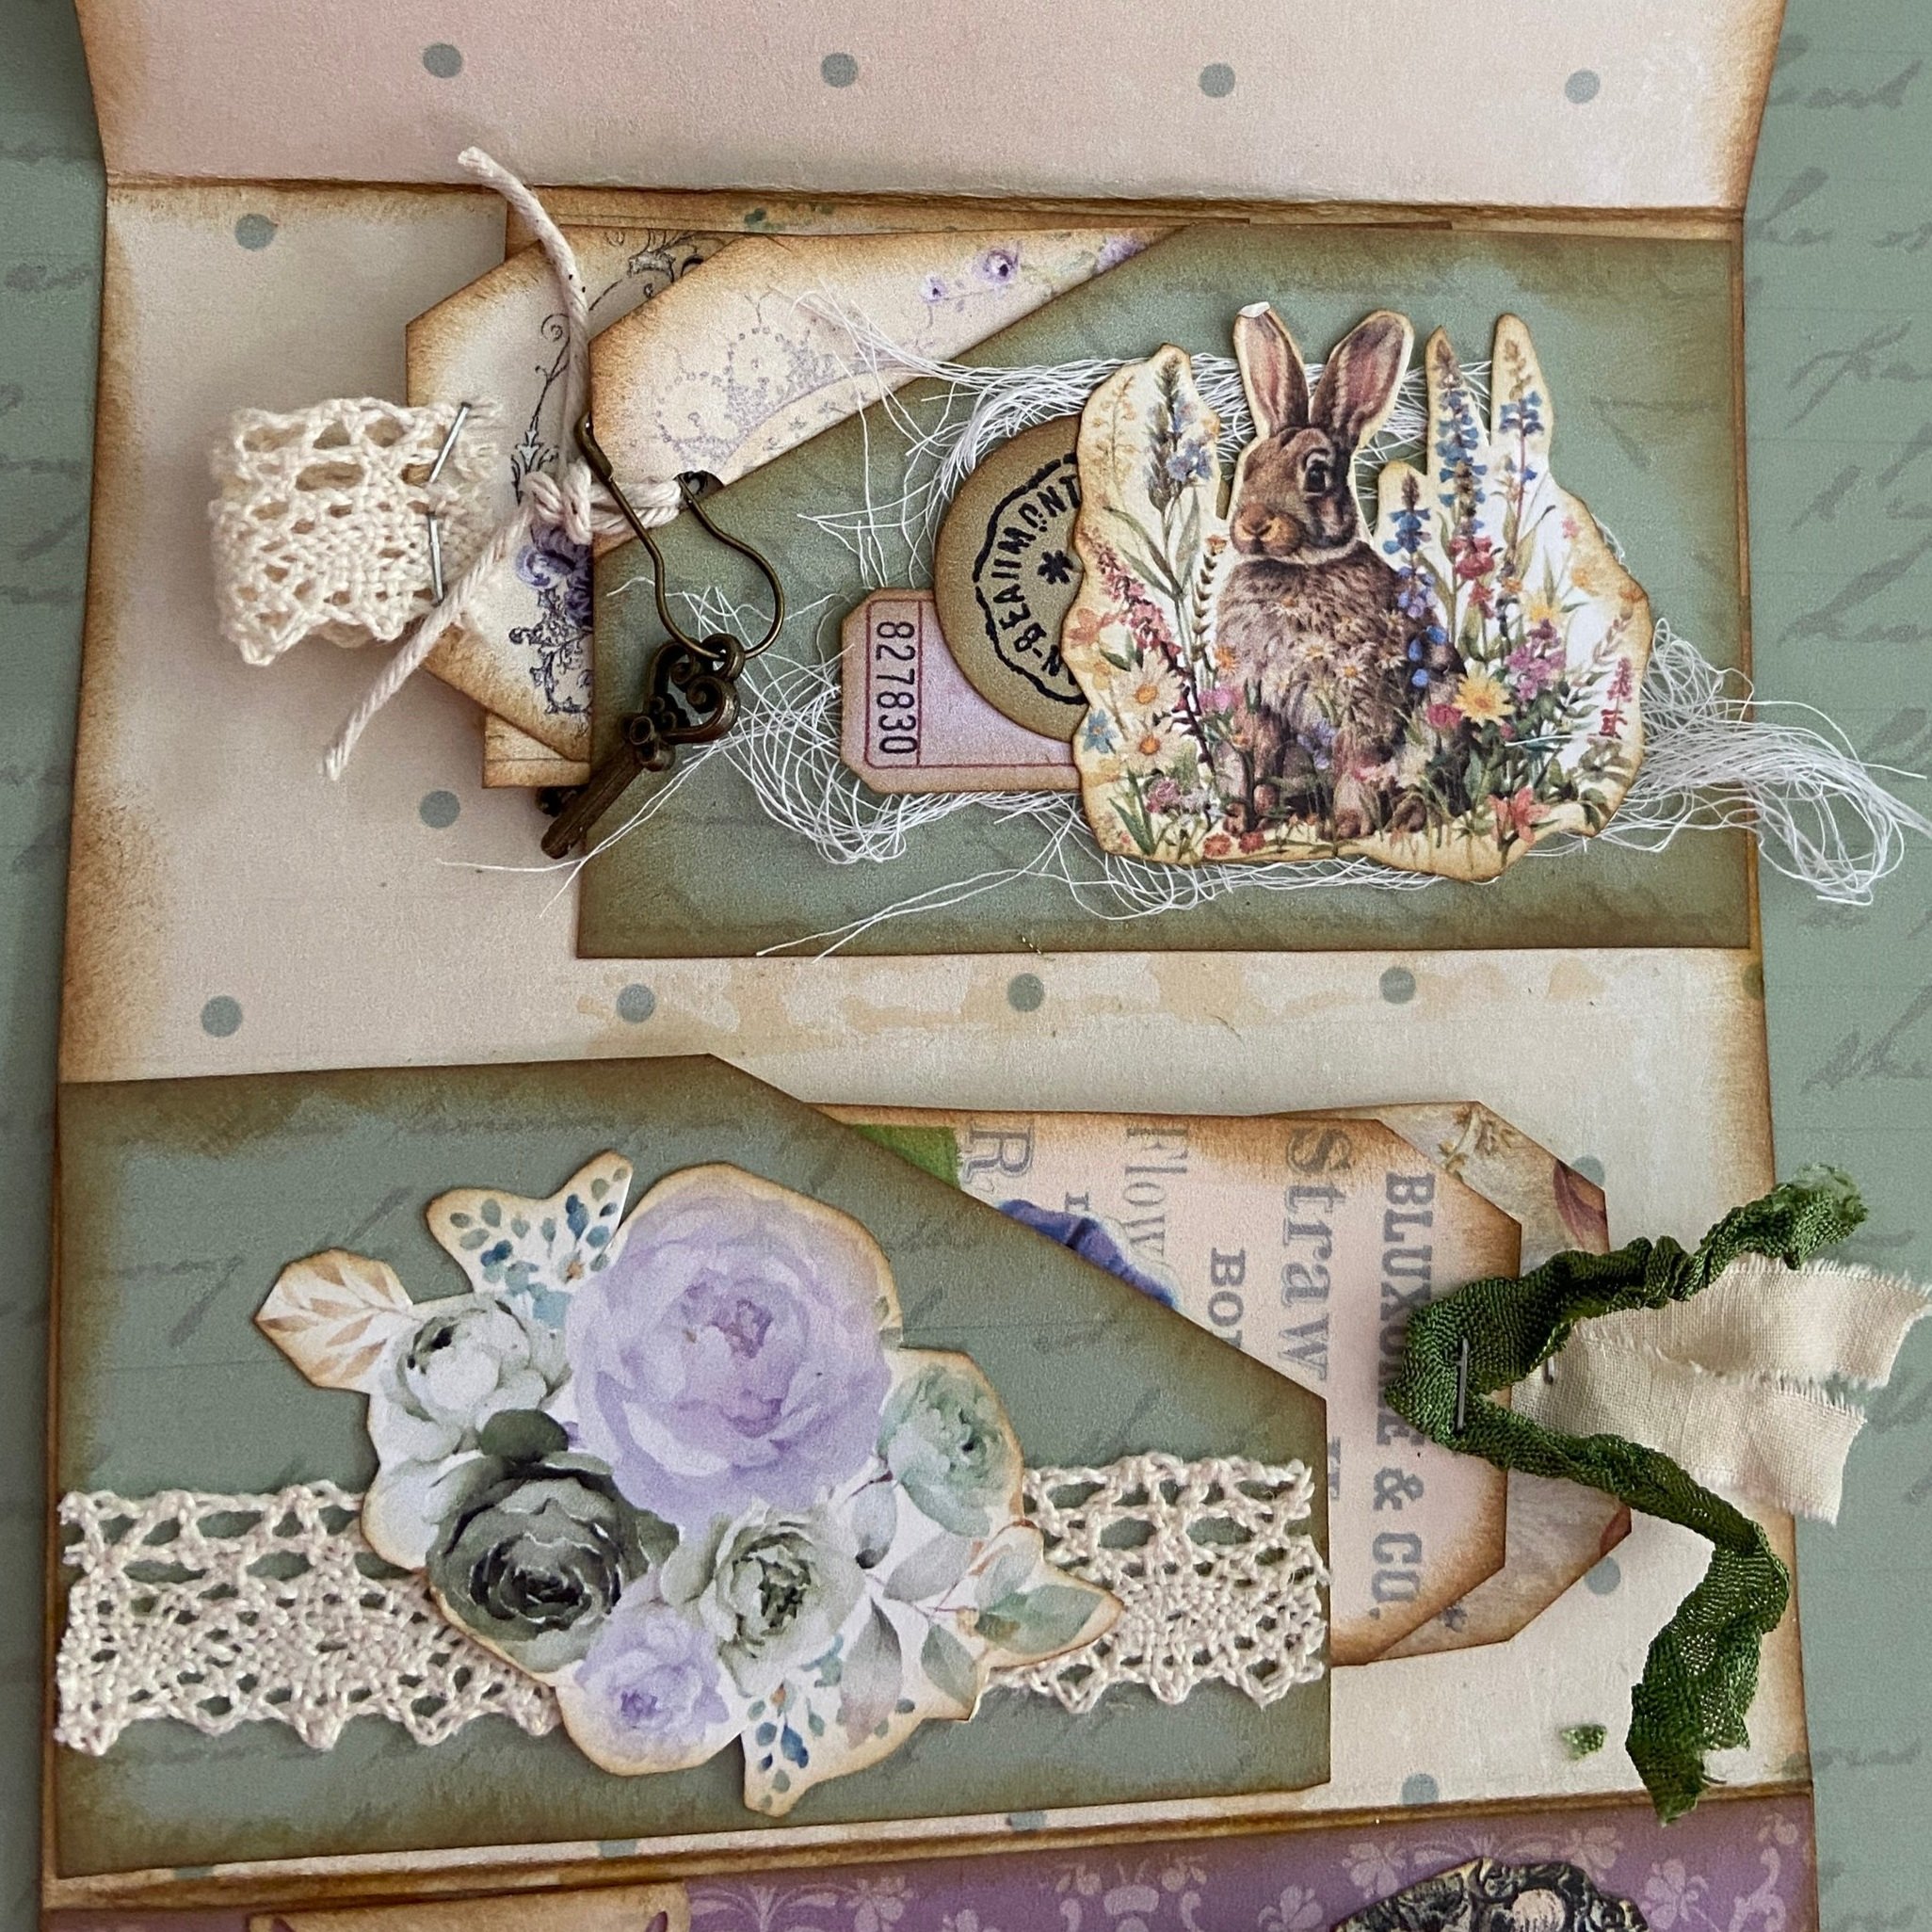
I just love how this pocket envelope turned out—with its soft colors of lavender and sage green, layered pockets, and sweet butterfly closure, it’s both practical and charming. Whether you’re adding it to your junk journal or gifting it to someone special, this project is super quick and easy to put together.

✂️ Supplies Needed:
Distress Ink (I used Gathered Twigs Distress Oxide Ink)
Blending Tool or Sponge
Scissors or Craft Knife
Adhesive
Ribbon, Lace, Cheesecloth
Embellishments (butterfly, buttons, cheesecloth, etc.)
This page contains affiliate links. If you choose to purchase after clicking a link, I may receive a commission at no extra cost to you.
🧵 Instructions:
Step One: Print Your Pages
Print the Pocket Envelope Printable on white cardstock. To make just the envelope, you’ll need pages 7–9. For a more finished look, print page 6 on the back of pages 7 and 9—this adds a beautiful pattern to the inside of your envelope and tags. In the YouTube video, I didn’t double print the cover but used a stencil and Concord Grape Distress Ink. I think that the double printed cover looks better….but personal preference.


Step Two: Cut It Out
Carefully cut out all the printed pieces, including tags, pockets, and the envelope base.


Step Three: Ink the Edges
Use Distress Ink and a blending tool or sponge to ink the edges of each piece. This step is optional, but it adds beautiful depth and a vintage feel. (Gathered Twigs by Ranger is my new favorite!)
Step Four: Assemble the Envelope Folder
Cut out the white slits on the envelope folder (these are for your butterfly or other closure). Then, fold the bottom flap up 4” and the top flap down 2” so they slightly overlap. Don’t forget to ink the creases inside the envelope for that finished look.

Step Five: Add the Green Pockets
Glue the small green pockets inside the envelope. Apply glue only to the bottom and long sides to leave room for your tags to slide in. Just be sure not to place the bottom pocket too close to the fold—it’ll keep your envelope from closing properly.
Step Six: Create the Butterfly Closure
If you're using the printable, a closure strip is included. Otherwise, cut a piece measuring ½” x 3”.
Fold each end in ½” toward the middle, then fold both ends back ½” in the opposite direction to create an accordion-style closure. Insert it into the slit and glue your butterfly or embellishment on top. (A button or gem would be adorable too!)

Step Seven: Add the Purple Pocket
Glue the purple pocket (3” x 5”) to the bottom inside flap. This hides the closure and gives a tidy, layered look. Then punch the top and bottom of the small floral piece (2” x 3”) and glue only those edges to create another pocket layer on top.

Step Eight: Embellish to Your Heart’s Content!
Use ribbon, lace, cheesecloth, and ephemera to decorate the pockets and tags. Be creative! You can follow my layout or let your imagination guide you.


Step Nine: Add Finishing Touches
Tie ribbon or lace to the tags or journaling cards. I love using the Tim Holtz Tiny Attacher to secure the lace to the smaller tags. Finally, tuck the postcard into the purple pocket, and you're done.
This little envelope would make a sweet Mother's Day or birthday gift—just add handwritten notes or encouraging scriptures to the backs of the journaling cards and tags. Or, pop it into your junk journal as a beautiful flip-out or tuck-in page!
✨ Looking for the printable? You can find it for FREE in the FREEBIES section of my website!
Be Sure and PIN for later!
