Sliding Card for Journals or Handmade Cards
A Twist on the Waterfall Effect Technique

A Sliding Card is a fun interactive element that can be used in art journals, handmade cards, scrapbooks, Bible journals, and junk journals. It allows you to display multiple images in a small space while creating a unique pull-tab effect.
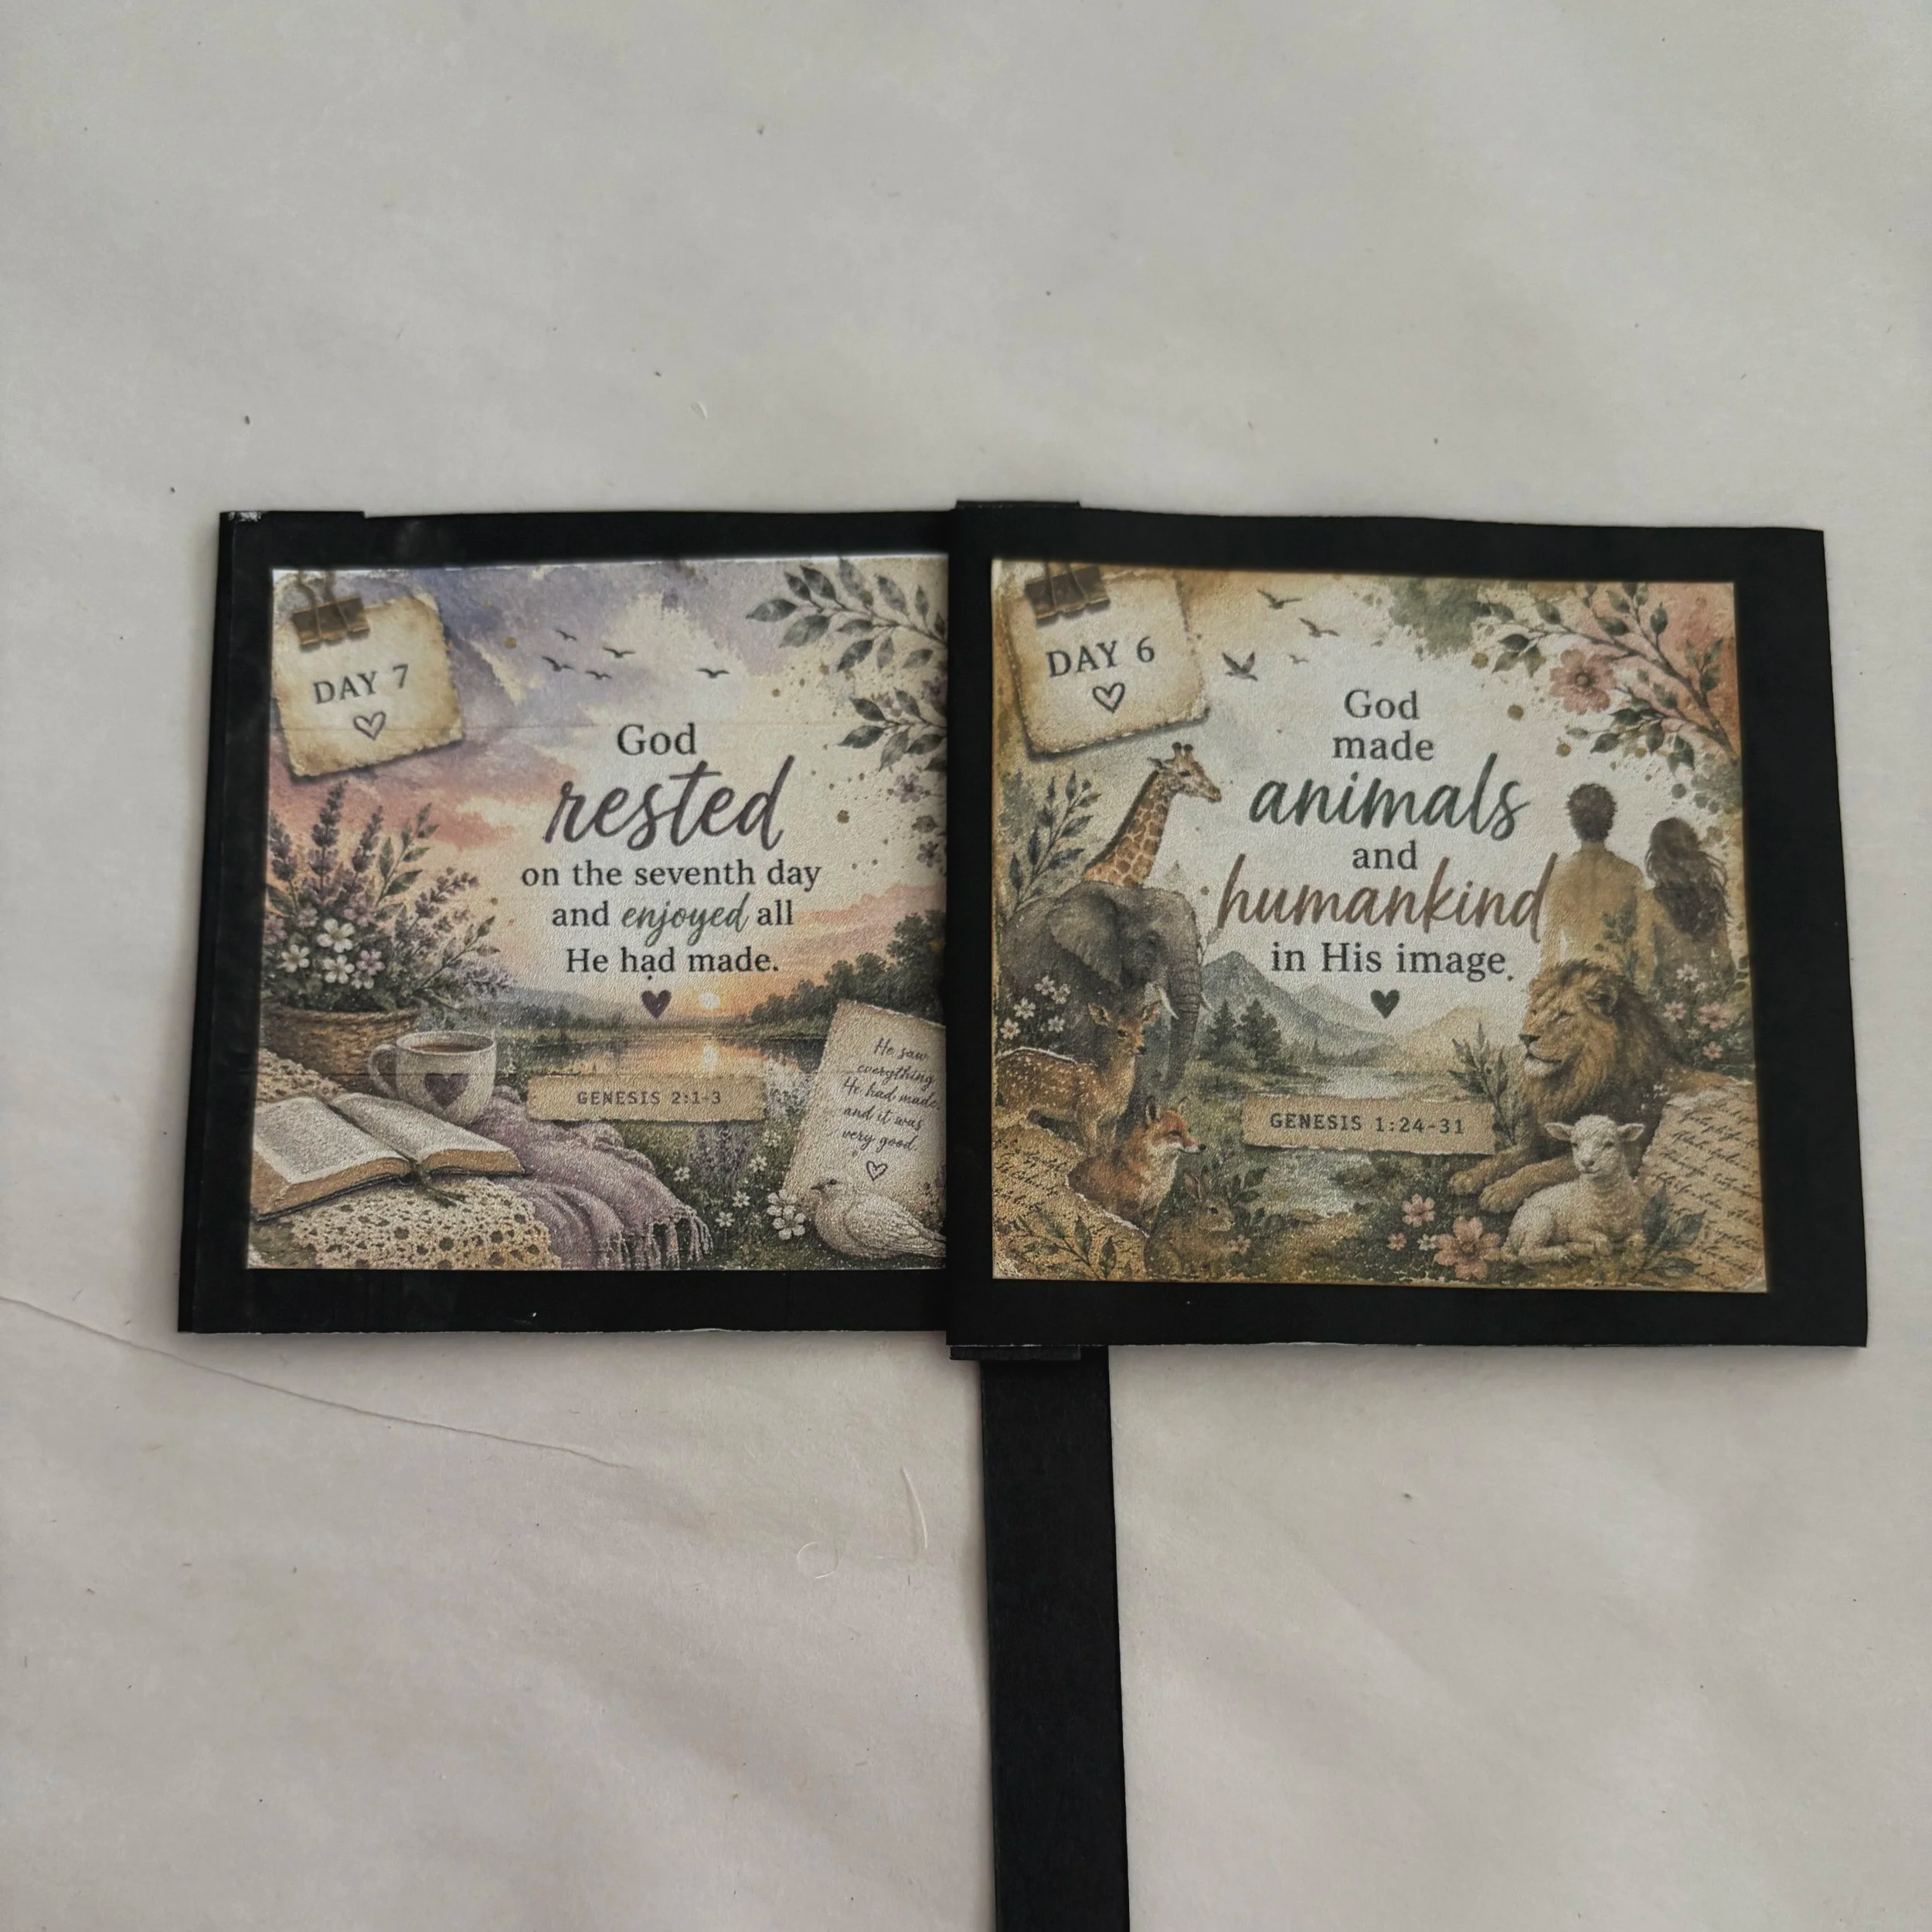
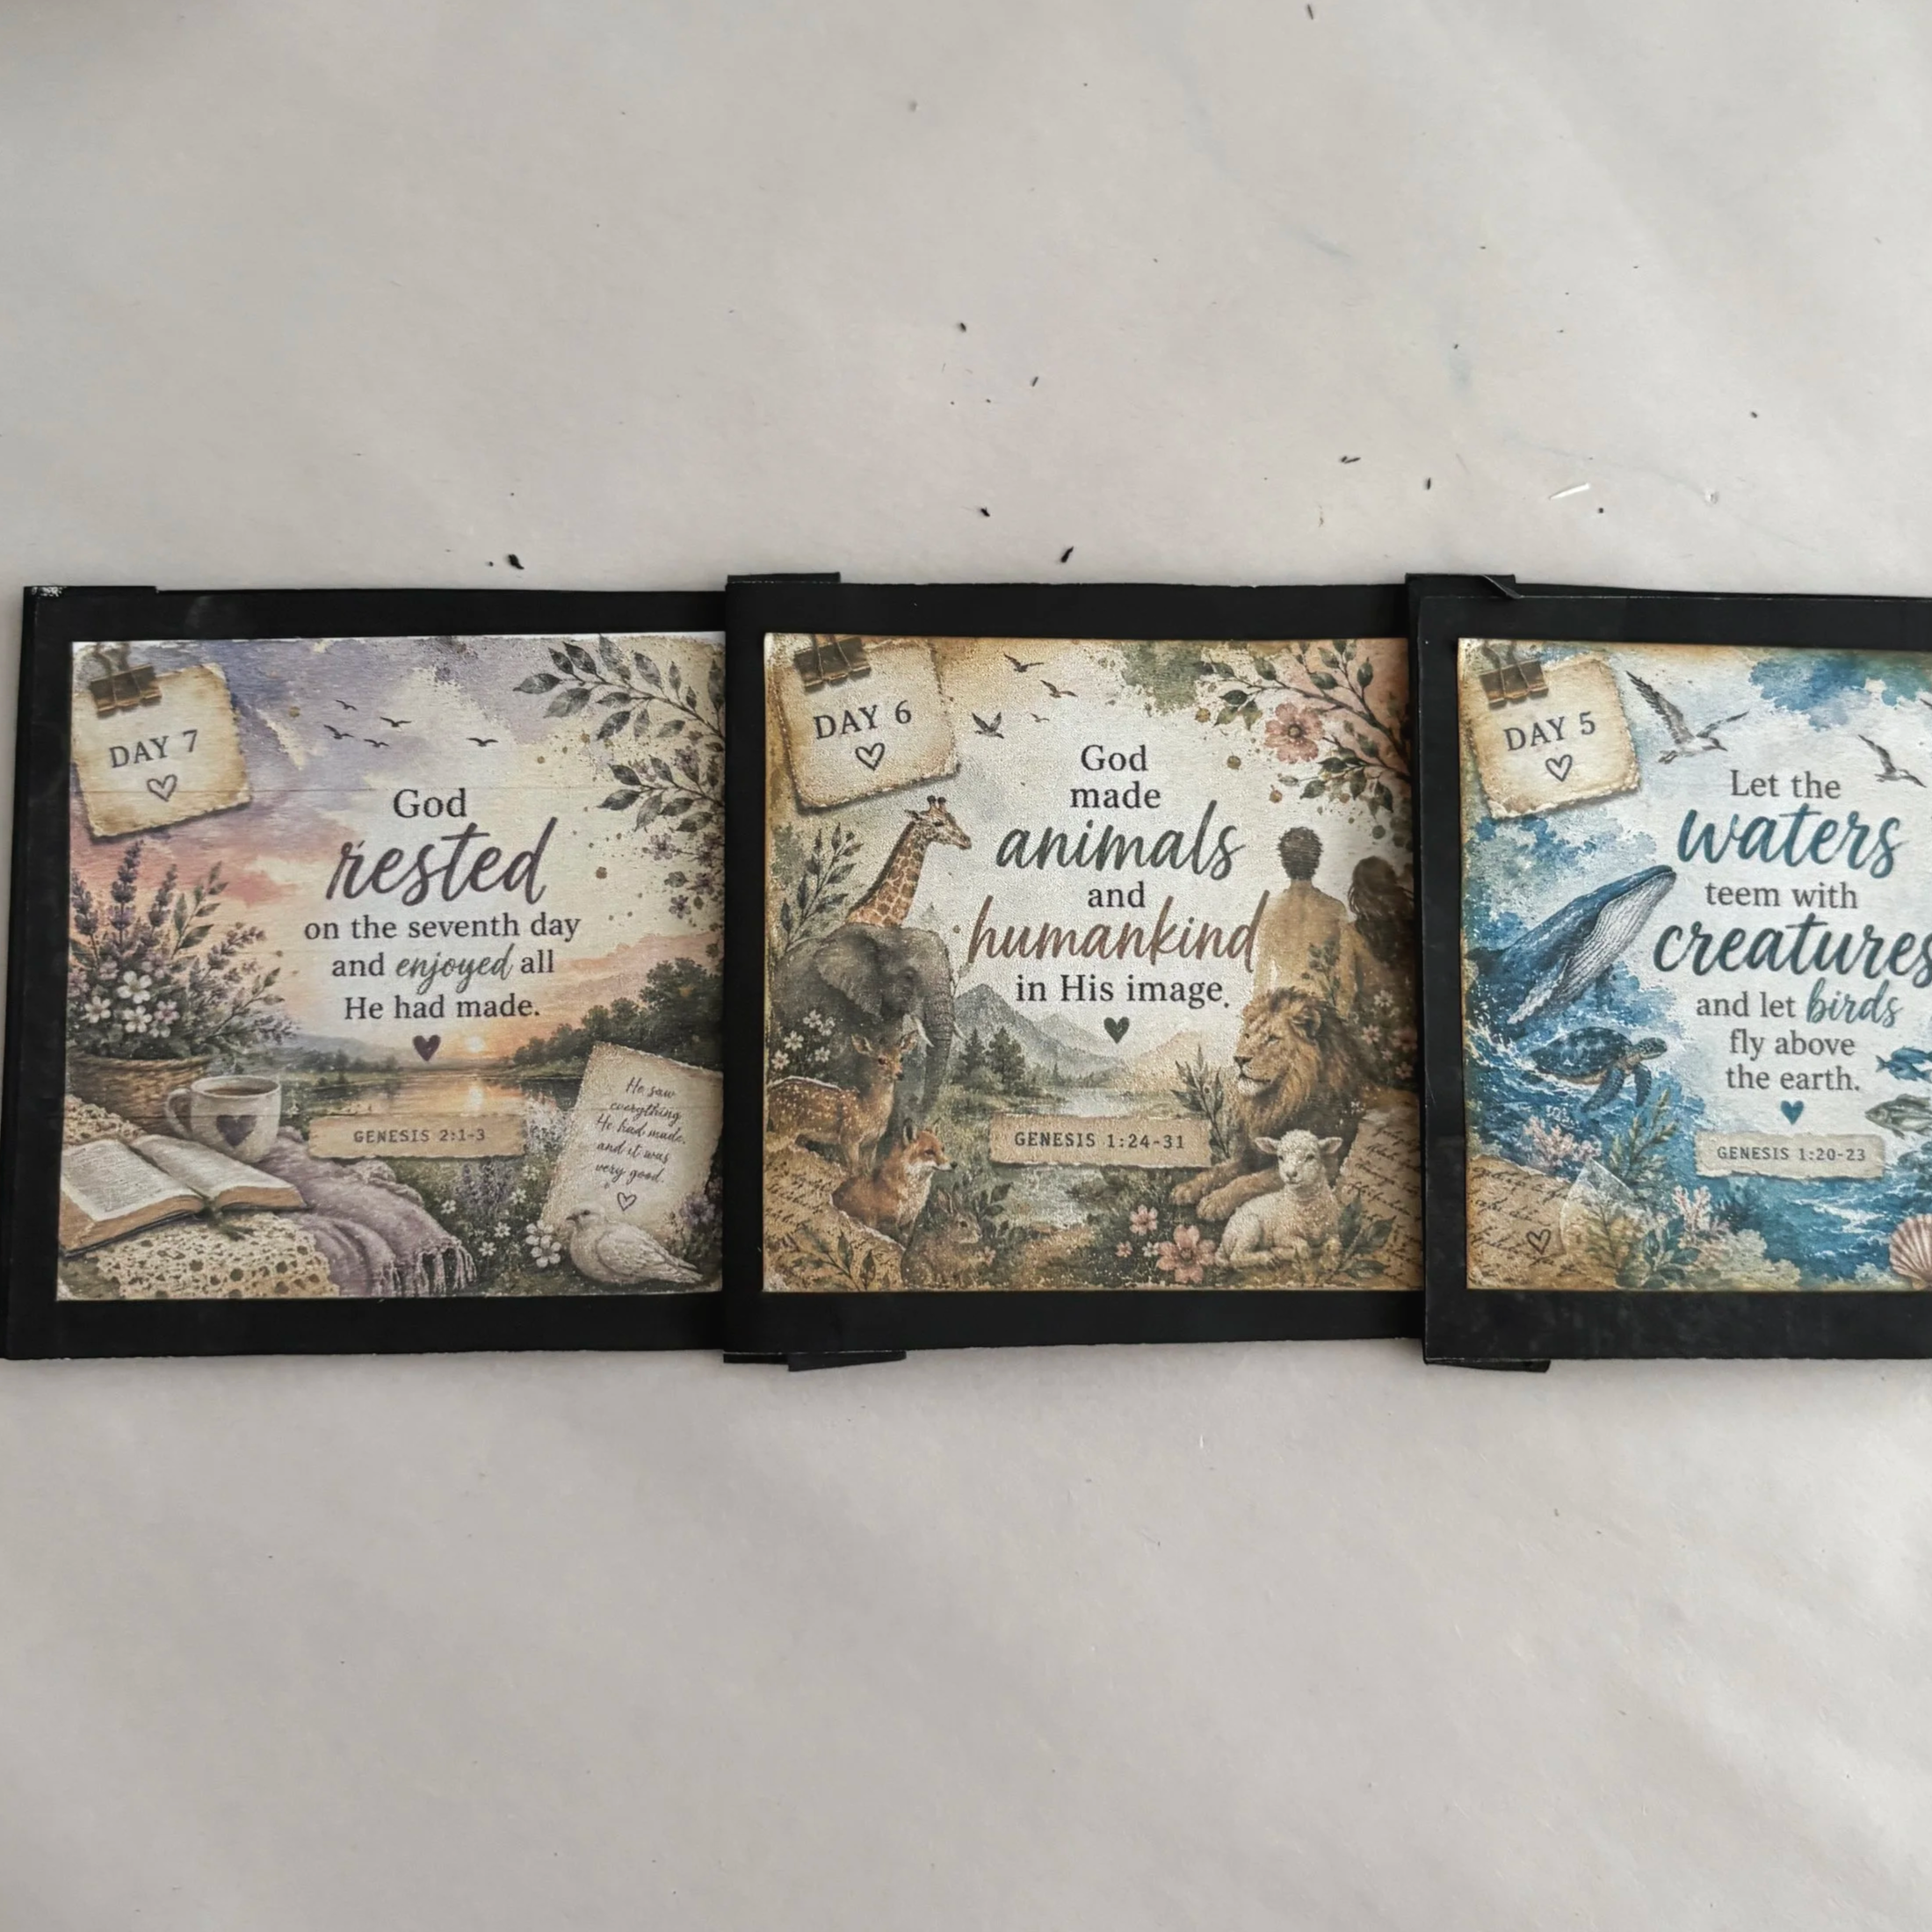
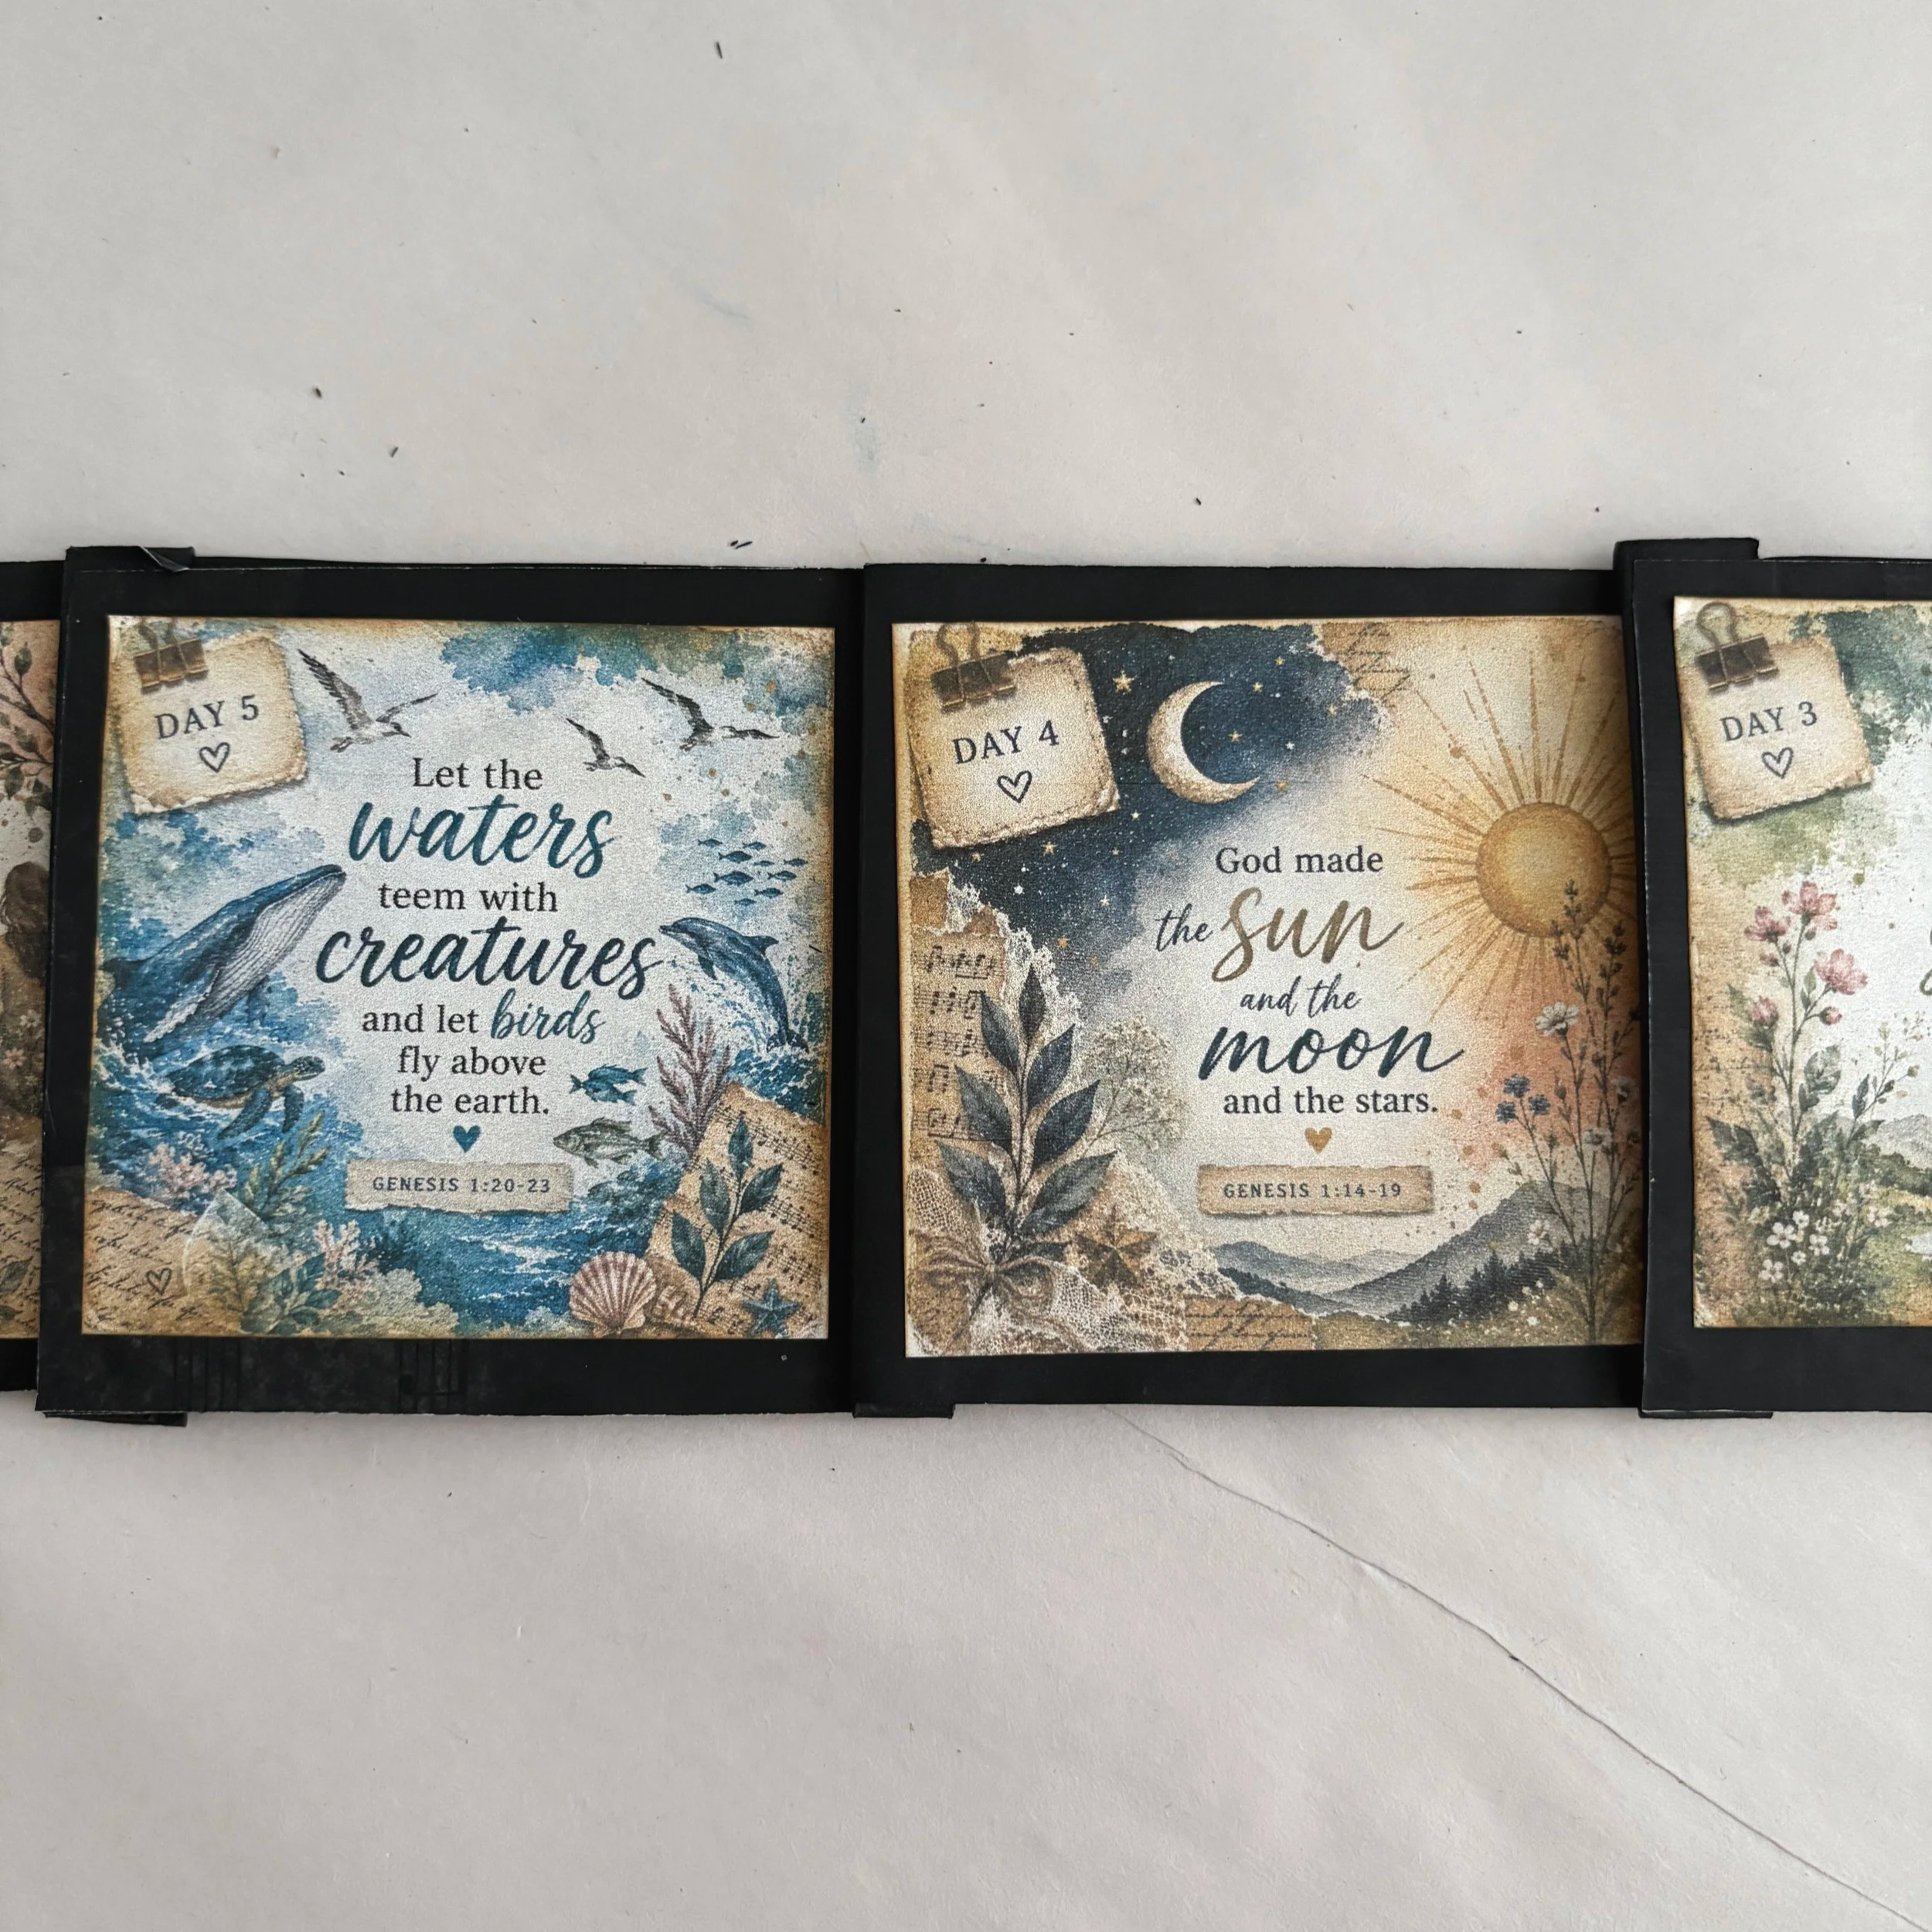
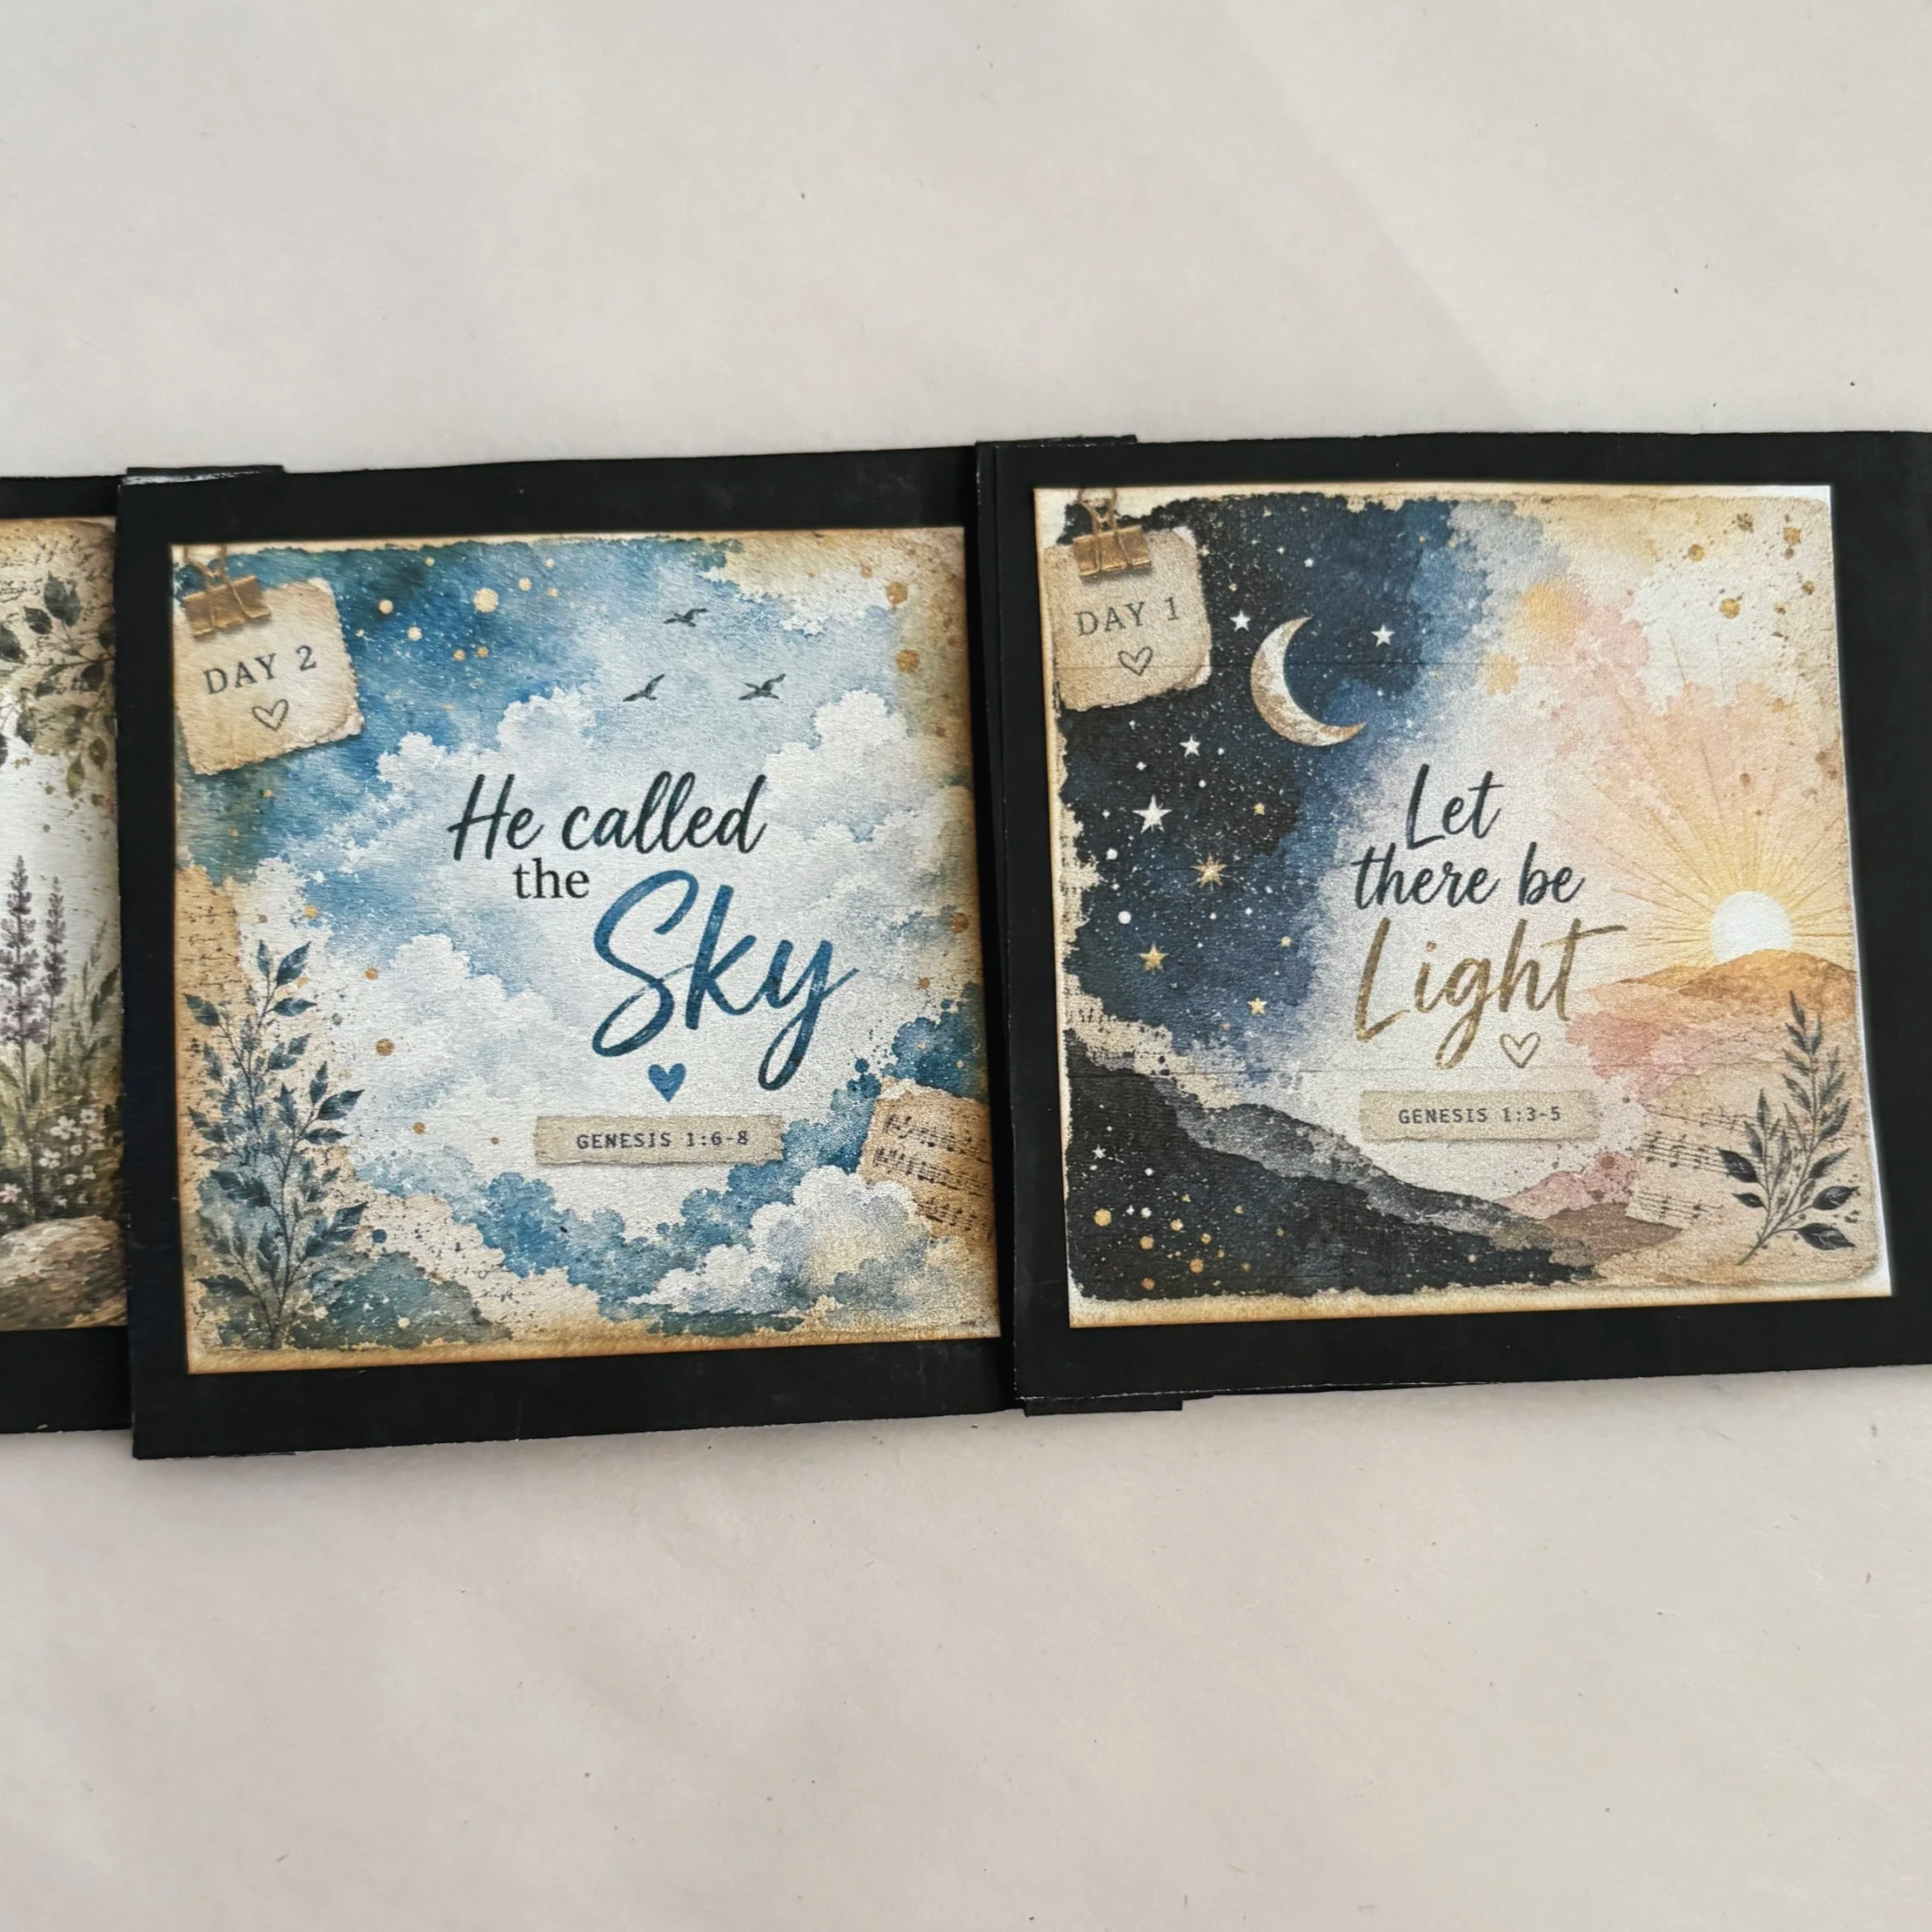
I used this technique to illustrate the seven days of creation in my Bible journal, but the possibilities are endless. You could use it for a timeline, scripture study, vacation photos, prayer prompts, or even a mini storybook.
Supplies Needed
Cardstock, copy paper or mixed media paper
Acrylic paint (optional)
Credit card or scraper tool (optional)
Paper trimmer
Scoring board and a Bone Folder
Adhesive
Decorative papers
Images, photos, drawings, or journaling cards
Preparing the Card Base
My first Sliding Card was made from black cardstock. While it worked beautifully, it added too much bulk to my Bible journal.
To reduce the thickness, I painted copy paper (paper I was recycling) with acrylic paint instead. Using a credit card to spread the paint creates a thinner layer that dries quickly and helps keep the finished project lightweight.
Cut and Score the Main Pieces
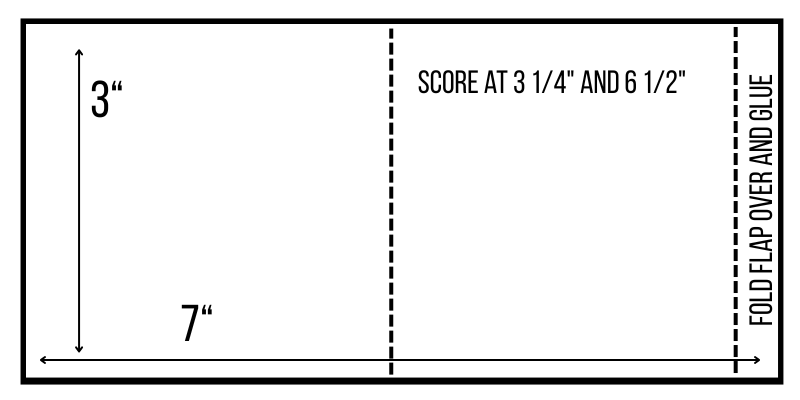
Determine how many panels you want in your Sliding Card and the size of your images.
My images measured 2¾" x 2¾", and I wanted a small border around each image. For this reason, I cut each main piece:
3" x 7"
Score each piece at:
3¼" and 6½"
Fold along the score lines. You can use a bone folder to get crisper folds.
Apply adhesive only to the small flap created by the 6½" score line. Do not glue (glue stick or craft glue) any other areas.
Create the Sliding Strips
Cut coordinating paper strips: ¼" x 8" (approximately)
These strips will become the sliding mechanism that connects each panel.
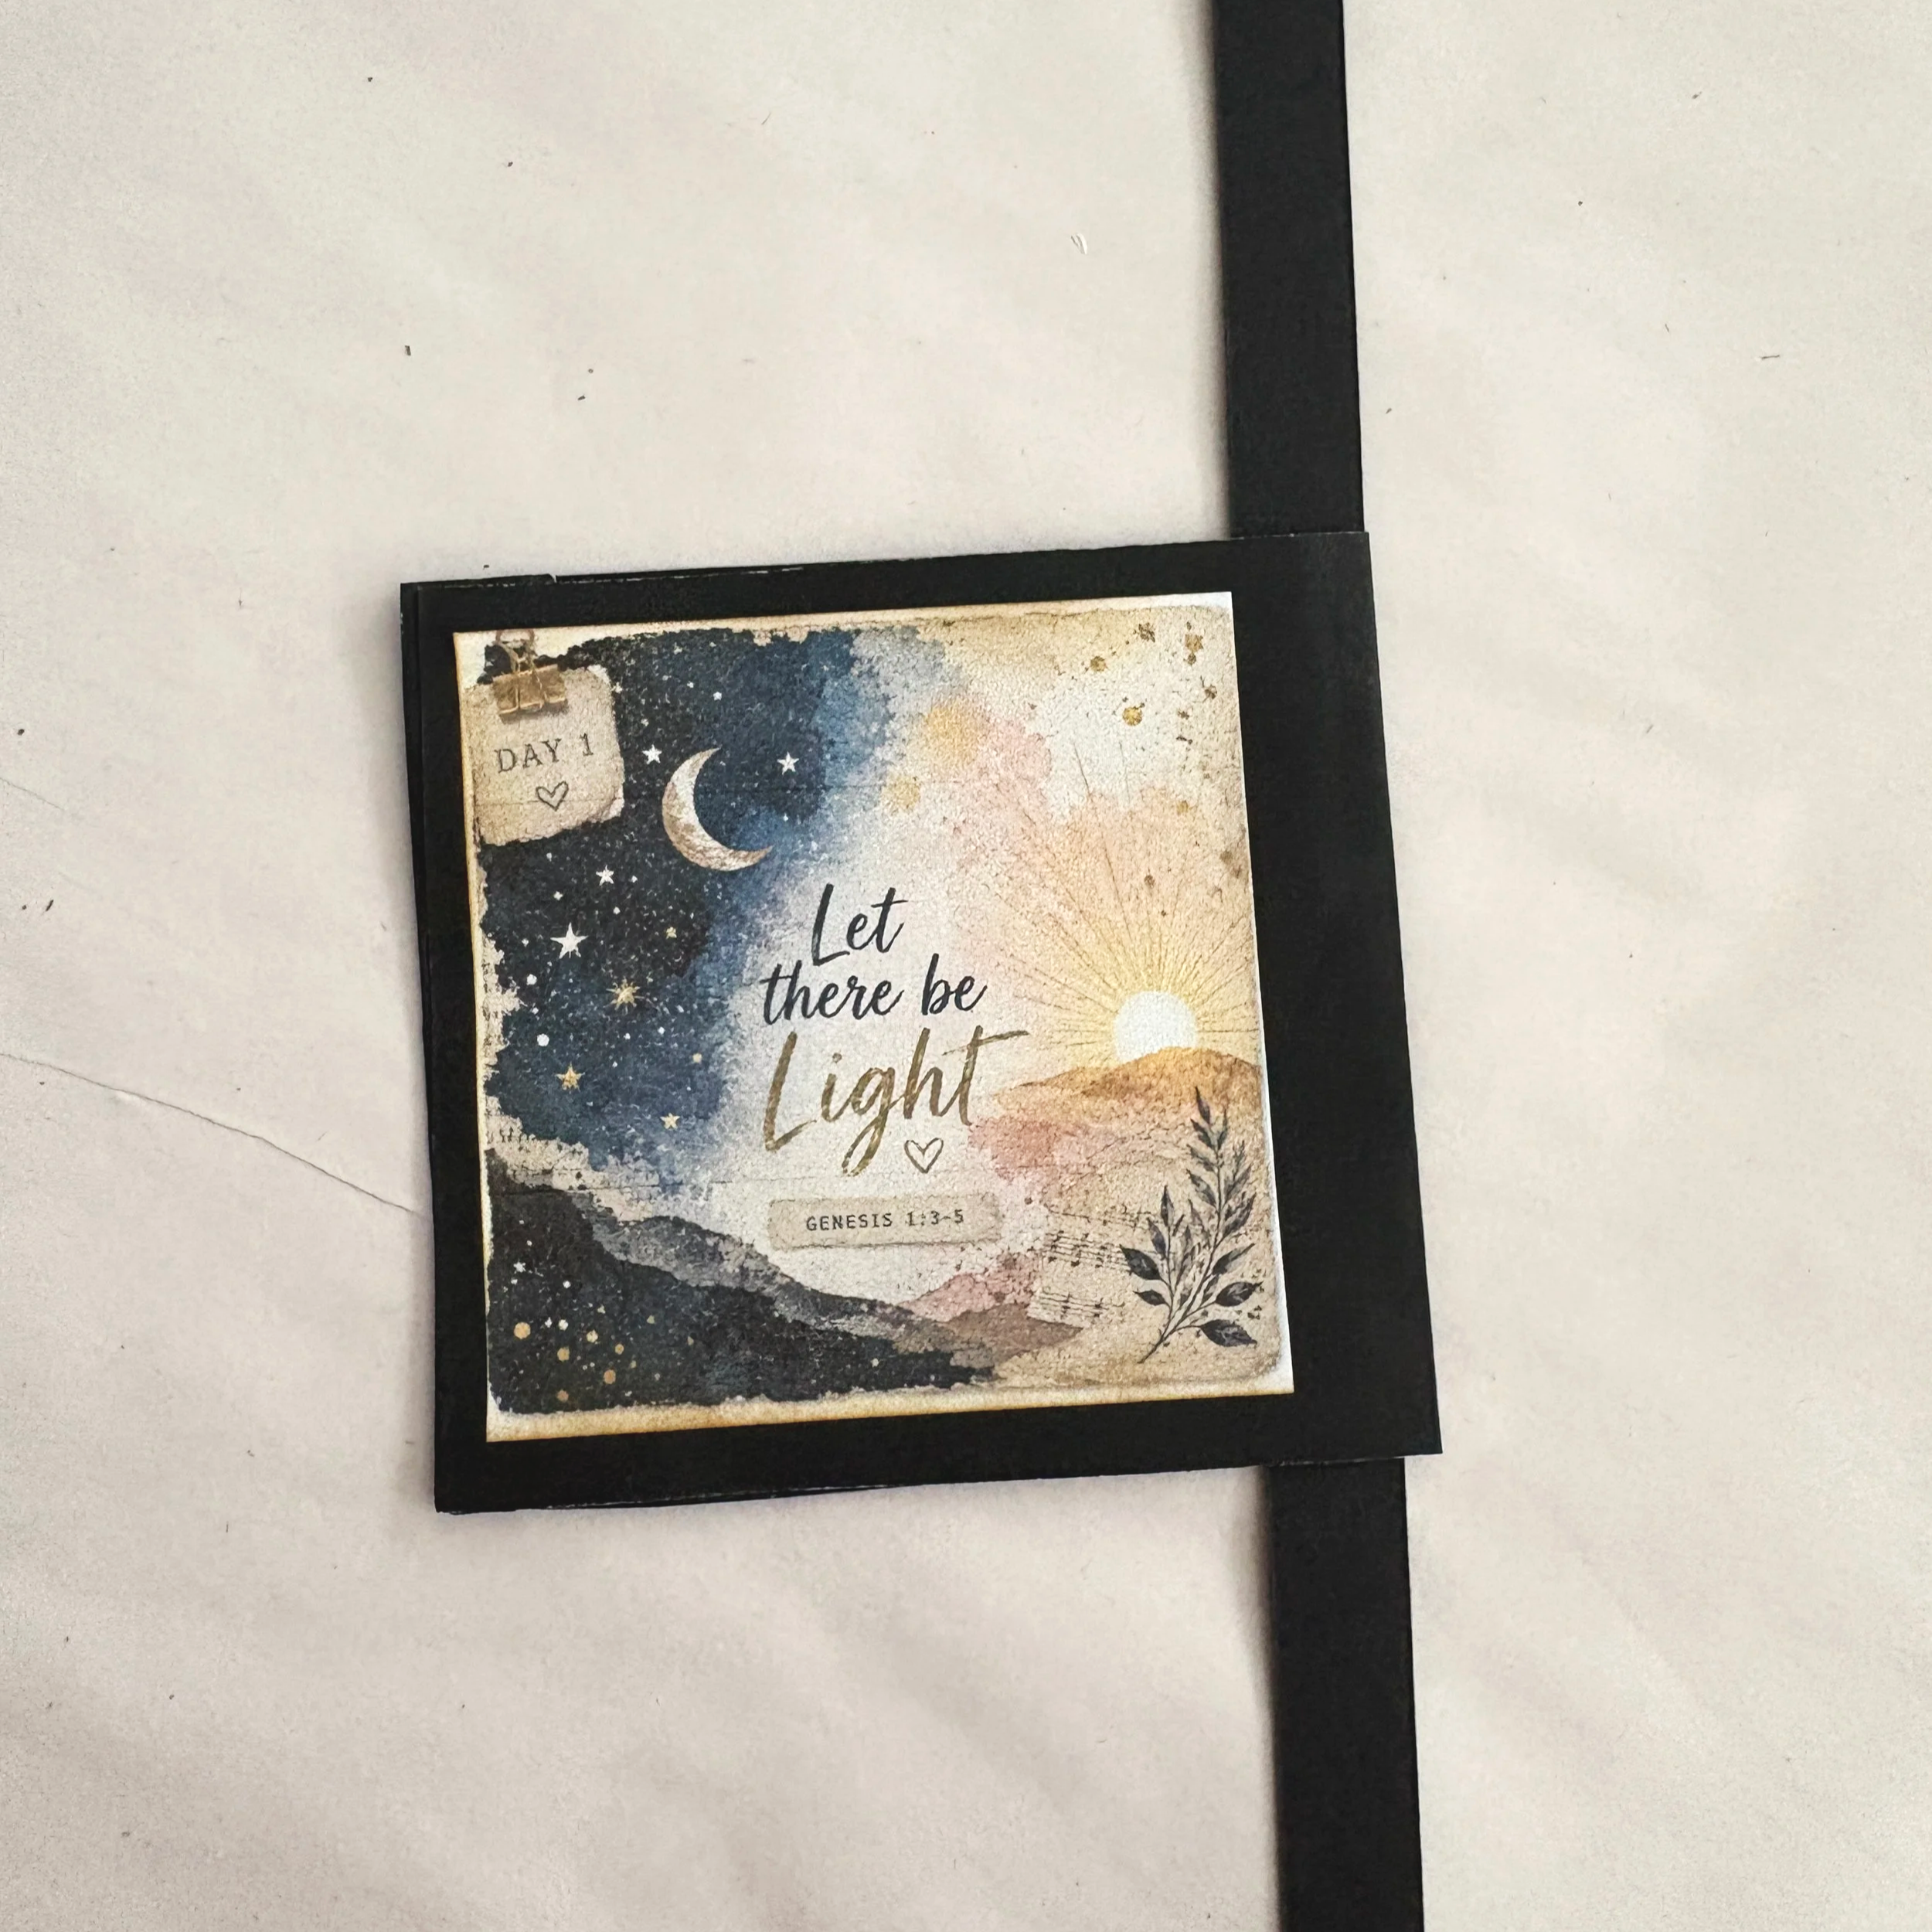
Add Your Images
You can add your images before assembling the Sliding Card or after it is assembled.
I tried both methods and found it easier to add the images after the entire Sliding Card was put together. This allows you to make sure everything lines up properly before decorating.

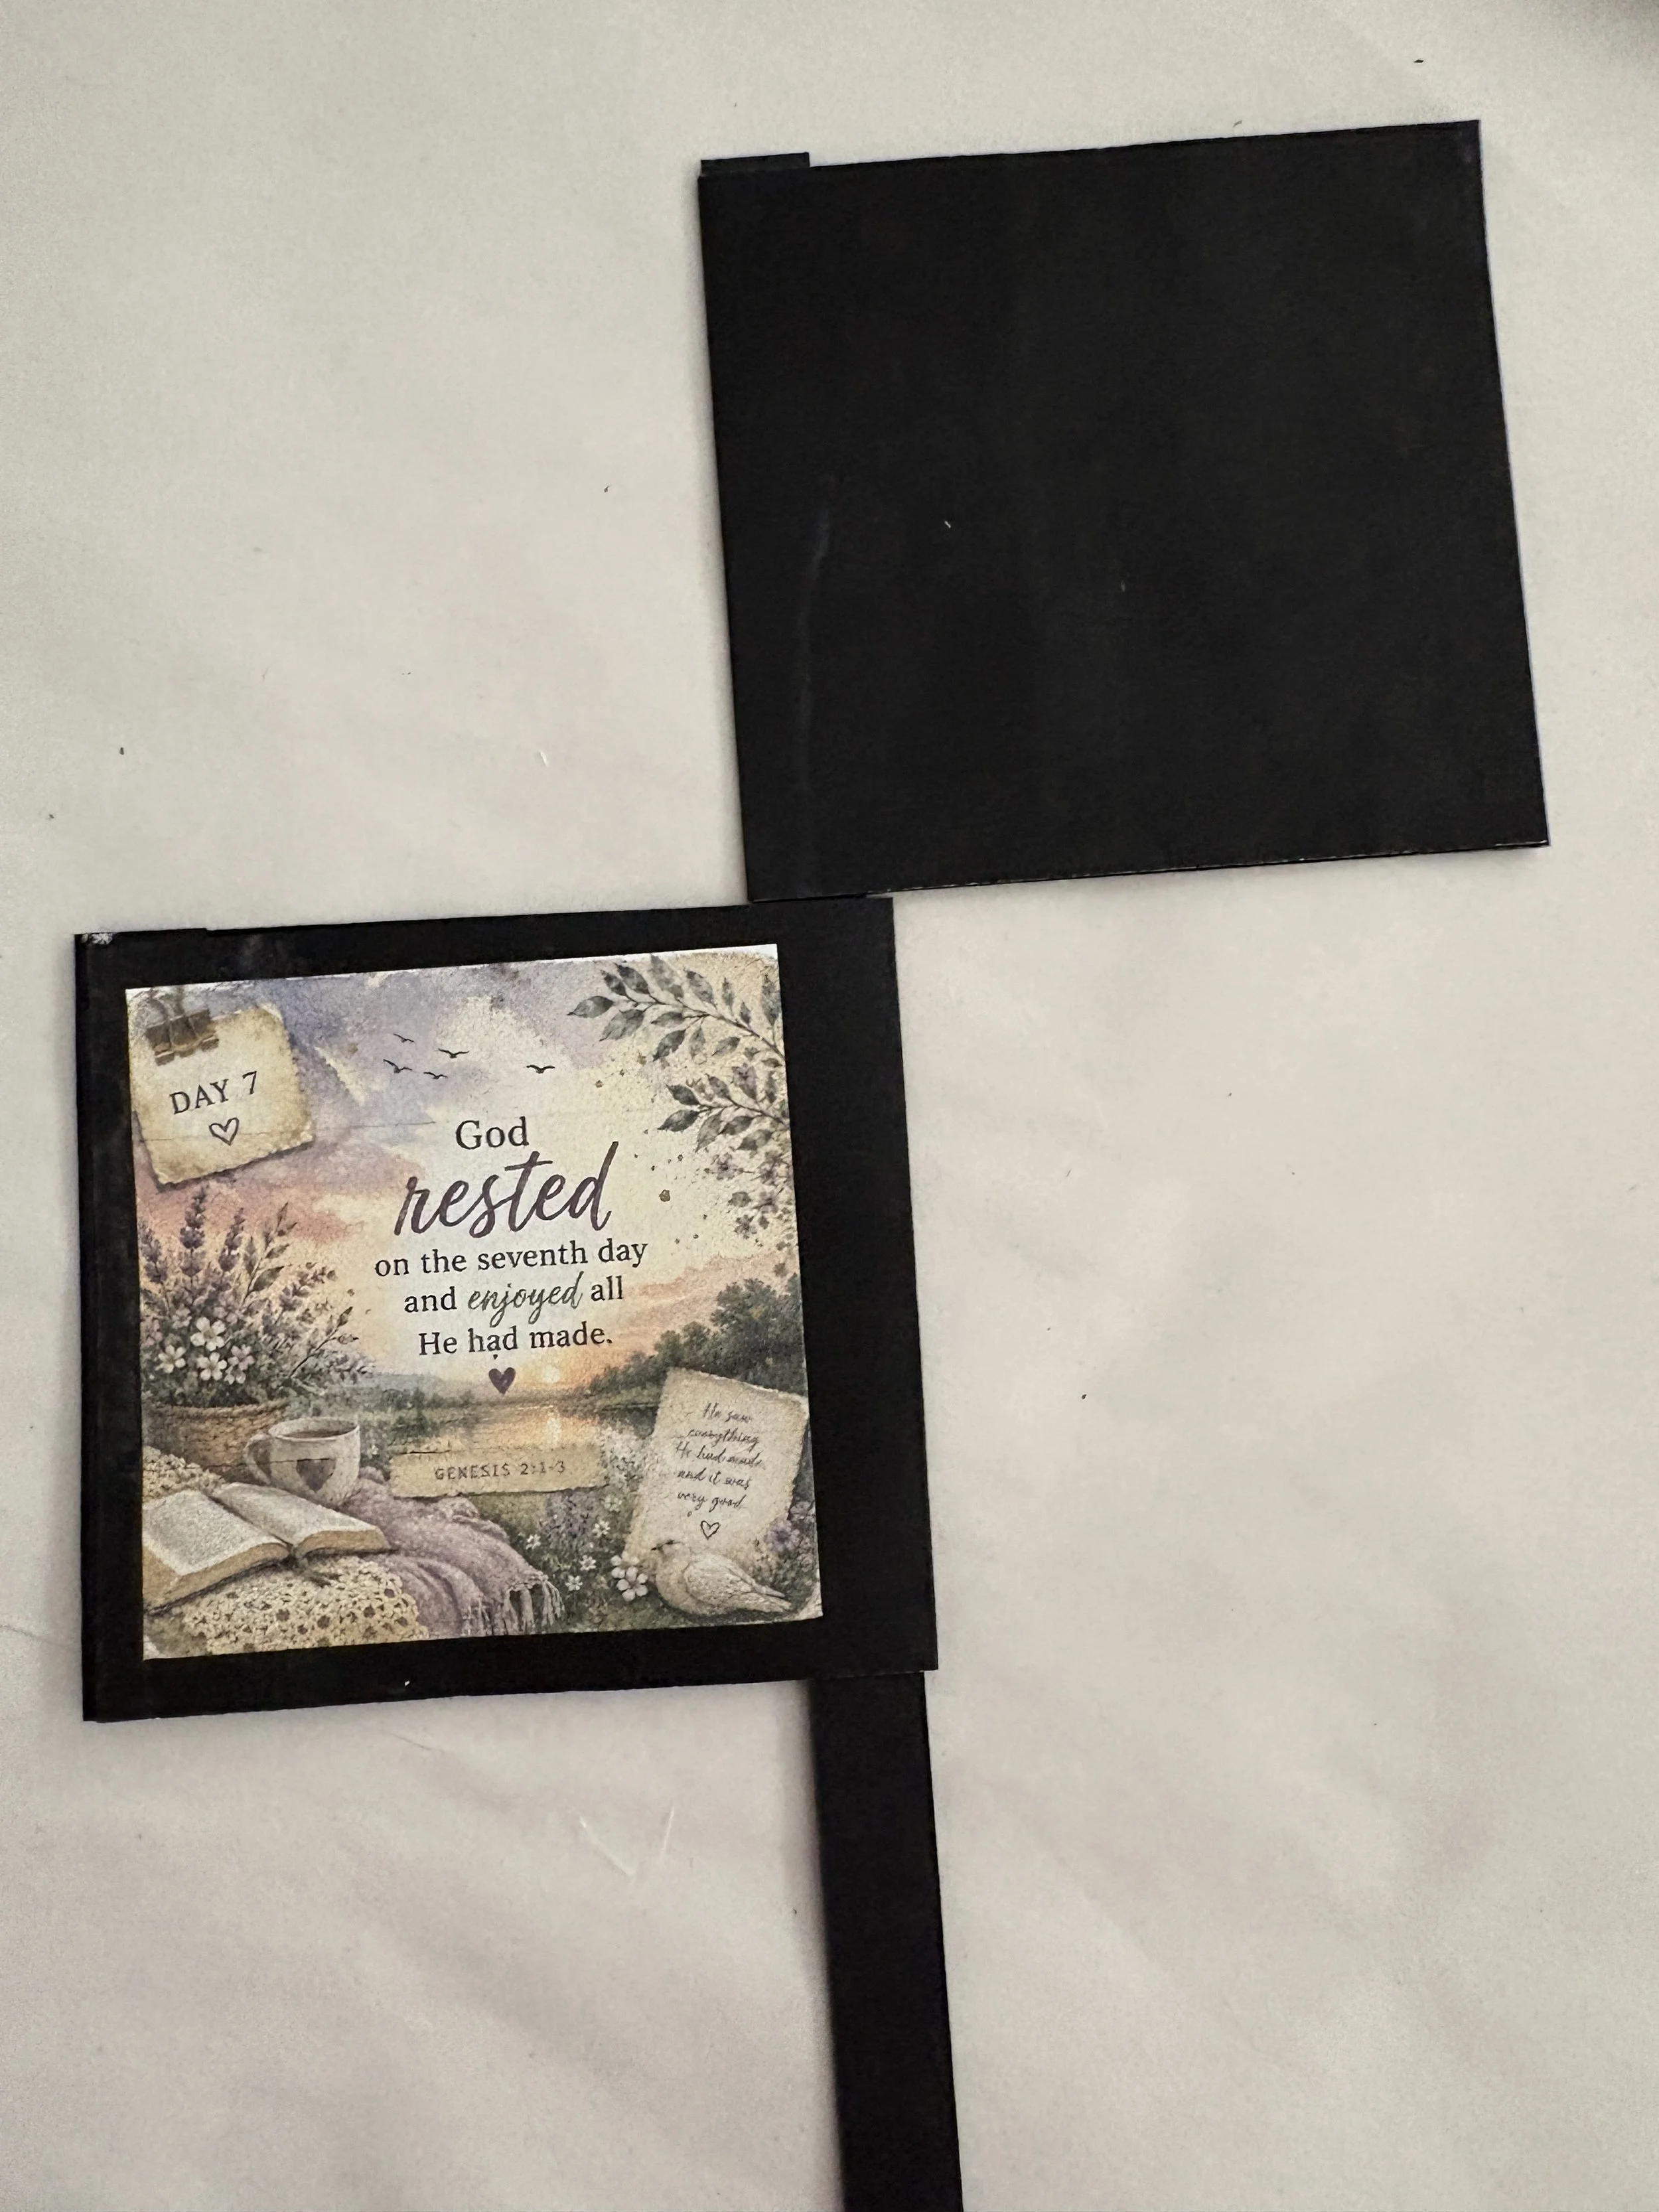
Assemble the Sliding Card
This is instructions for a sliding card without any images first. If you have already applied your images, start with the last slide card first.
Insert a ¼" x 8" strip into the bottom opening of the first panel (the side that is not glued). (Image #1)
Place the second panel above the first panel, facing the opposite direction. (Image #3)
Pull the strip all the way to the top of the second panel and fold the panel down. (Image #3)
Insert the remaining strip into the bottom of the second panel to create the sliding mechanism. You may need to trim the 1/4’ strip (if necessary)
Repeat this process for each additional panel.
You may add a small amount of glue to secure the strips if desired, but I found it wasn't necessary.
Finishing Touches
Once all of the panels are connected, decorate each section with photos, stamped images, Bible journaling illustrations, quotes, or written journaling.
You can add a tab or string to use as a pull tab.
This simple interactive element is a wonderful way to tell a story, document a process, or fit multiple images into a small space while adding movement and interest to your journal pages.
Designer Tip:
Number the backs of your panels lightly in pencil before assembling. This makes it much easier to keep the panels in the correct order, especially when creating a Sliding Card with several sections like the Seven Days of Creation.
Video Tutorial:
I hope you've enjoyed learning how to create this fun and interactive Sliding Card Technique! Whether you're using it in a Bible journal, junk journal, scrapbook, or handmade card, it's a wonderful way to showcase multiple photos, illustrations, or special memories in a small space. If you'd like to see the entire project come together step-by-step, be sure to watch the video tutorial on my YouTube channel.
While you're there, I'd love for you to like the video, leave a comment, and subscribe so you won't miss future tutorials, creative inspiration, Bible journaling ideas, and FREE printables.
Thank you for being part of the Carol Adams Creations community—I can't wait to create with you again soon!